Ok, guess I am seriously confused? Master model railroader? Minimum standards? What is this, the model railroad Police?
Are they coming to my house to critique my layout? This sounds like something this hobby, remember HOBBY,
doesn't need and certainly not something that belongs on this forum.
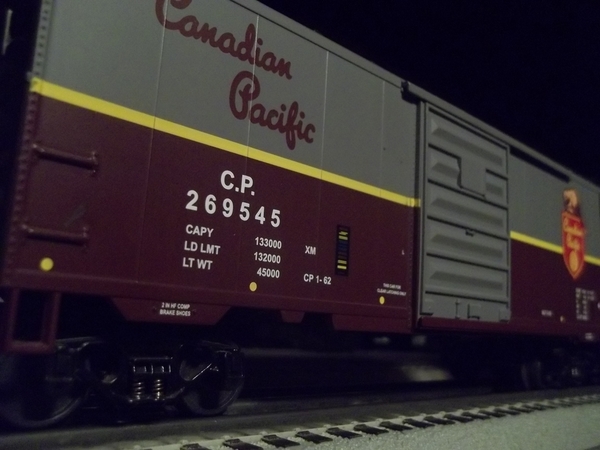
I don't really see how this doesn't belong on this forum. What I'm sharing here may be a bit personal, but it's totally train related.
Yes, you missed part of the conversation. It happened many pages ago. Actually, it happened three years ago when the National Narrow Gauge Convention, local committee announced that they had won the bid for 2018. At that time they asked me if I wanted to be on the layout tour. Since then, I have been working toward the goal of getting onto the tour. I need to jump through their hoops to be included. Nobody is coming to anyone's house, unless they want them to. I do.
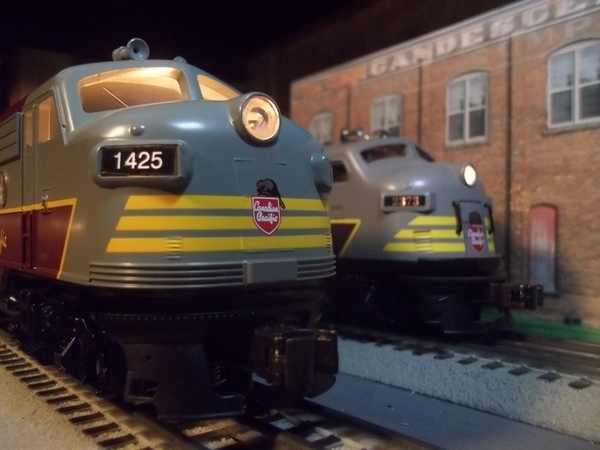
Frankly, I hope everyone here would want me to be on the tour because people from all over the country and even the world will be attending. Mine would be the only 3 rail layout on the tour. It gives our corner of the hobby some exposure, that it doesn't usually get.
This has nothing to do with the NMRA. There is no organization associated with the NNGC, just the local convention committee. I know the guys on the committee. They've been to visit my layout, and liked it, but now I'm getting push back from the gate keeper as it were. I'm dealing with it, but I'm a bit frustrated. I WILL GET THIS!
-----------------------------------------------------------------
The NMRA Achievement Program is how one earns the title Master Model Railroader. Think of it like becoming a doctor of model railroading. It takes years of dedication. Nobody forces anyone to do anything, but for those who choose to participate, and complete the requirements, they earn the title and the respect of their fellow hobbyists.
I've known about the program for over 40 years. Perhaps if I had started 20 years ago, I might have gotten it by now. But I didn't. Building this layout will get me a bunch of the certificates, but not all that are required. My problem is I have little interest in some of the required aspects of the program, which has always kept me from starting.
To tell you how rare MMR's are, since the start of the program in 1961, there have only been 608. You're not even looking at 11 per year average. Pretty thin air at the top of the mountain, but nobody makes you climb.


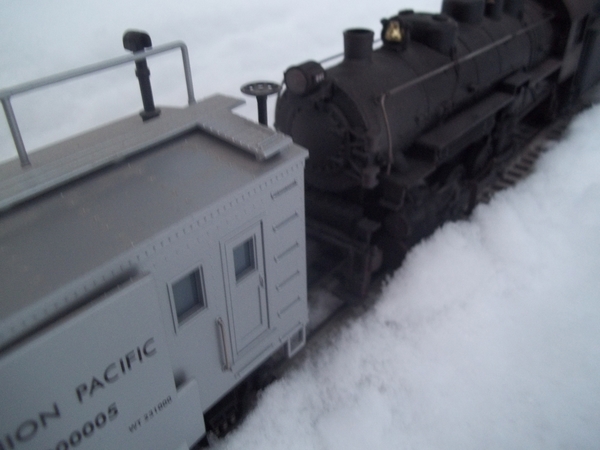
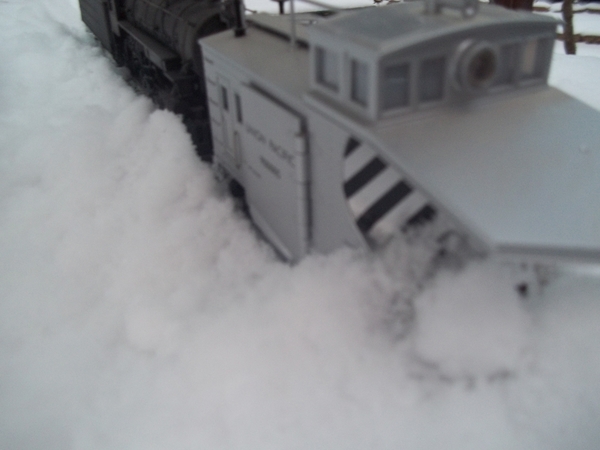


 Looks like a doosy too- 12-18" expected. Heavy wet stuff too.


