Bob, AKA DAD! I truly feel for you! The snow here is just starting to melt!
Josef, Nice job on the Cathedral! Really like the new windows!
Brian, what a great day! Trains, Mexi food, and a new car! I bet Marci is just thrilled! Hey also thanks for the BN Crane pictures! I would have to guess in real life they are either Black or Yellow!
Paul 2, that sure turned out looking great! I bet when your done with your water pours its going to look even better! Oh by the way I broke my snow shovel so no more for me! LOL
Dave, that is quite the lake remodel! Best of luck, I will be checking in to see how it turns out!
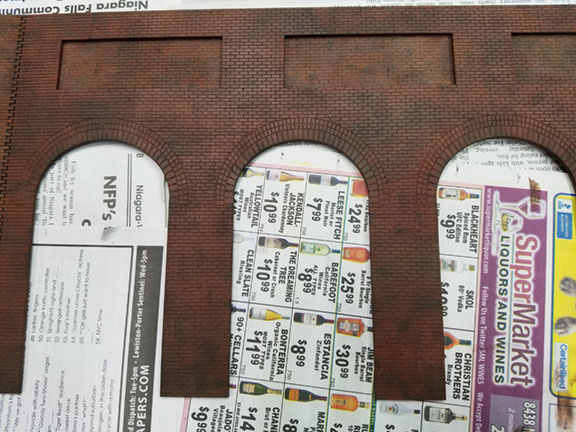
Jim, the new portal looks great! Perfect!
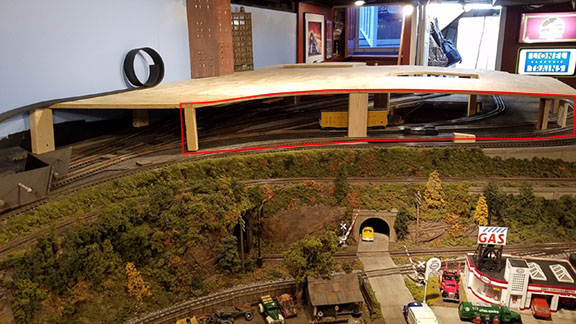
Andy, nice view of the layout! Your buddy sure is luck to have you helping him! It looks like its going to be a very nice layout!
Johan, what a great picture to show off your skills! Wonderful weathering!
So today I went out to power up the Tortious switch machine, but I am a little off, doesn't work yet, but I will get it! LOL Oh side note, does anyone have a MTH Scale Trax switch machine extra?