I've had the K-line 15" WP California Zephyr for two weeks and decided I needed to fix the doors that didn't shut all the way. And while I was at it retrieve the conductor that had come loose and was stuck under one of the tables! I've named him Stuckey Wedgewood do to his unfortunate predicament.
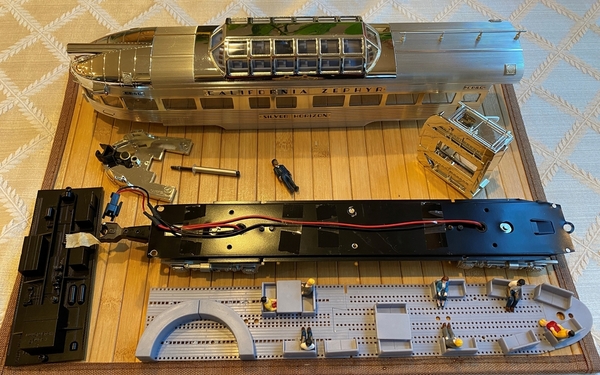
These aluminum passenger cars are not easy to take apart. The metal frame is in a groove in the aluminum shell and has to be pulled out of the front of the car. It was resistant to being pulled out, and I had to spread the aluminum body out at the bottom to pull the chassis out. Can't wait to put it back together! LoL
Stuckey Wedgewood is seen in the middle of all the parts.
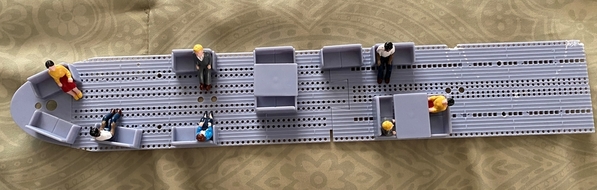
I don't like the perforated floor, I'm on the hunt for doll house carpet that might be similar to was was in the real Zephyr cars. Plus, more passengers are required. Updates later.
Here's an update on the progress so far on my K-Line Aluminum 15" Cal Zephyr passenger car.
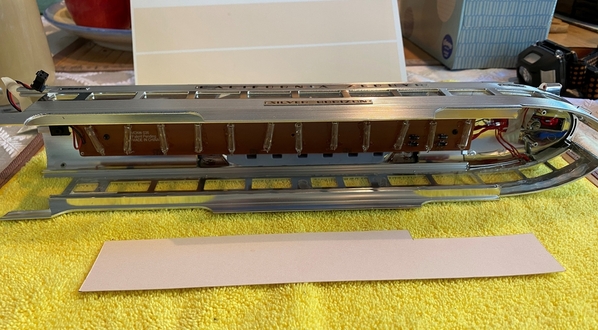
Close up of after I had just disassembled the car. Plastic perforated floor, everything is gray:

Starting disassembly, removed half oval bar, then all the love seats and tables:
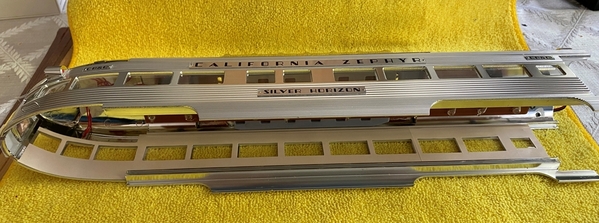
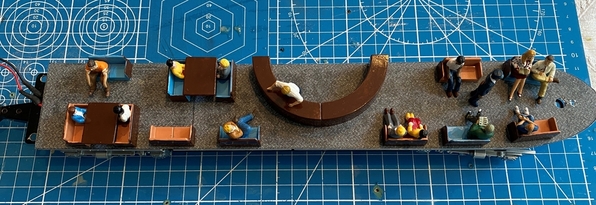
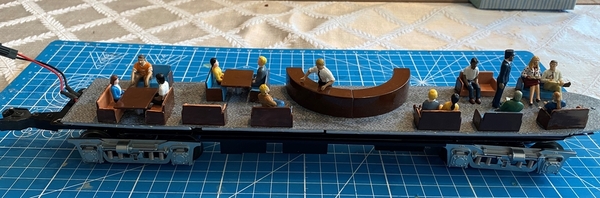
New carpet floor, printed on my Canon photo printer. Hand painted love seats, table tops, and half oval bar. Used the figures that came with the car and added some Woodland Scenics figures. I had to do major surgery on the bartender and Stucky Wedgewood removing a portion of their legs, they were too tall! I got the colors from a online photo of one of the California Zephyr Observation cars. The floor in the real car is darker, but the chairs and couches were pastel blue and peach. I used Testors paints.
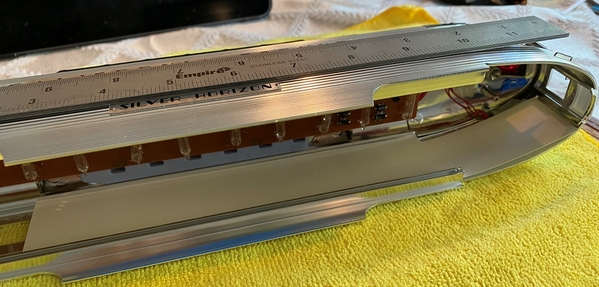
It was very difficult to remove the steel chassis from the aluminum body during disassembly, so I took the opportunity to do some Dremel work on the chassis, and some filing on the aluminum body. Glad I did, the frame slides easily in and out of the body now! I was going to upgrade to LED lighting, but the original incandescent lighting works great and doesn't flicker. My track must be clean at the moment. I'll keep the lighting stock for now, until a light burns out.
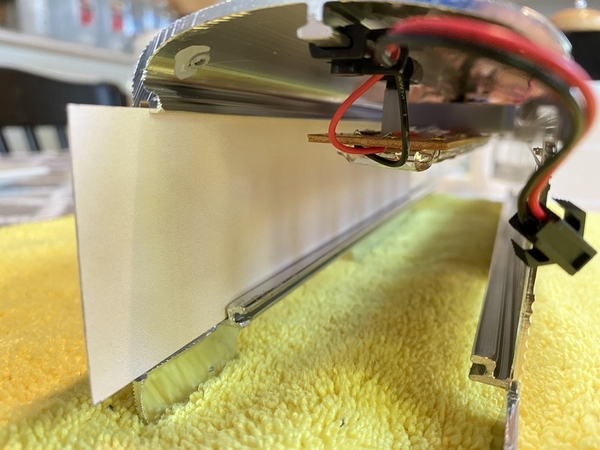
The interior of body is just aluminum, plastic windows, and some sloppy factory glue. So my next project is to line the interior walls with printed photo paper in a very light pinkish color like the real Zephyr car. I'll have to cut out the windows in the photo paper, the measurements are critical. More updates to come.


")
")
")
")


")
")