Ok Here we go! Thanks everyone for the nice words on my track and test cars! A lot of you have been very helpful for me and I would not be here without all of you! I would name you but I know I would forget someone so Thank you all so very much!
Chief Bob Looking good! Your layout is really coming along! Keep up the wonderful work!
Pete, thanks still along way to go!
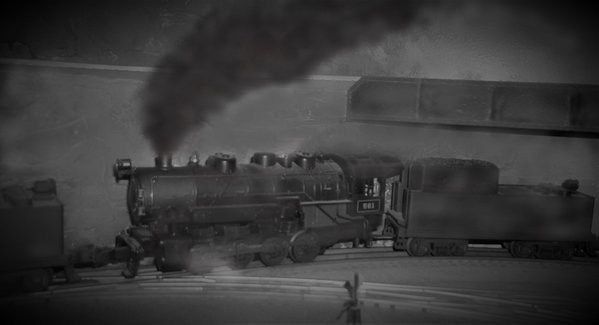
Lee, you do such a great job on your layout and pictures its just amazing! Just one question where is the campfire ot burn barrel for the night shots! LOL
Chris, Thank you Sir!
Paul, Looks good! One suggestion would be to use different colored paper behind the window till you find the color you like then take that to the store and have them match the paint to that!
Mitch, There you go again thinking outside the box! Looking good!
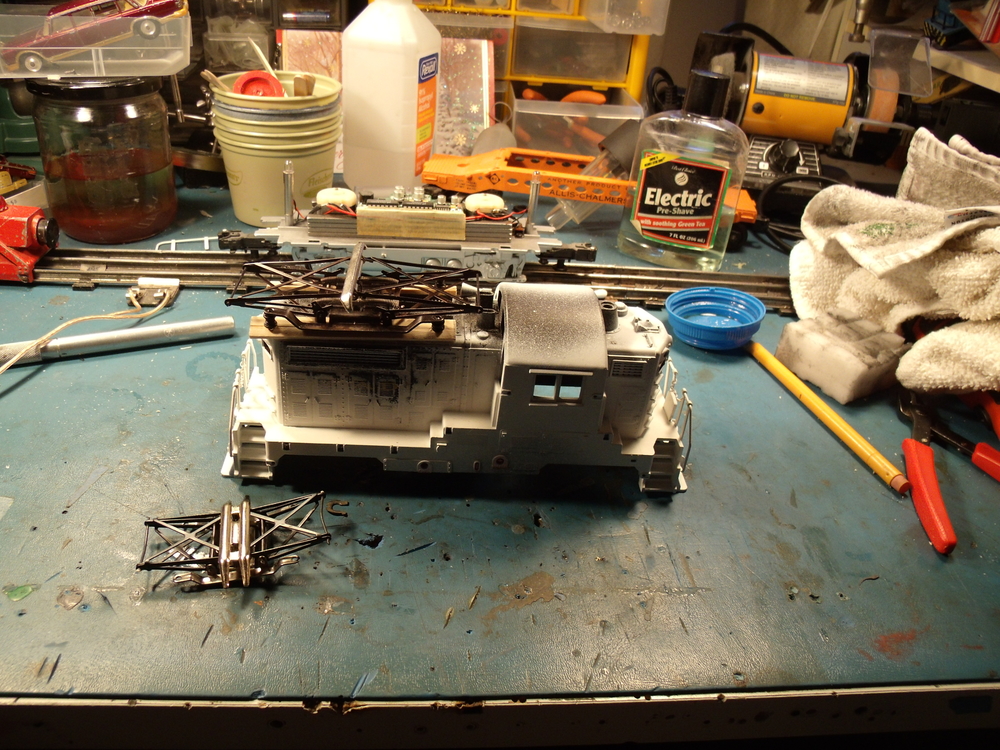
Matt, Thanks I have a lot of soldering to do as I didn't notice it when I got them but I bought a 8 or so flex track used and yesterday while putting track up I found out that all of them have one rail cut on the outside. I will just solder them back together but just one more step in my day! LOL
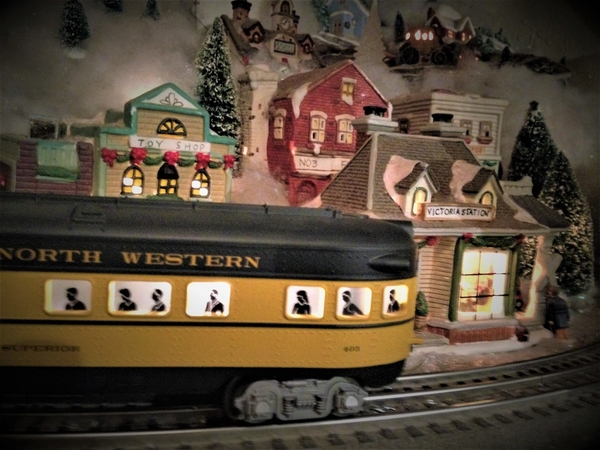
WOW Brian Great Christmas layout! Did the girlfriend and Izzy help you with this also! Just wonderful!
Well Bob, no train show, but it still sounds like you have a nice day! Plus you still had time for trains!