@laming posted:

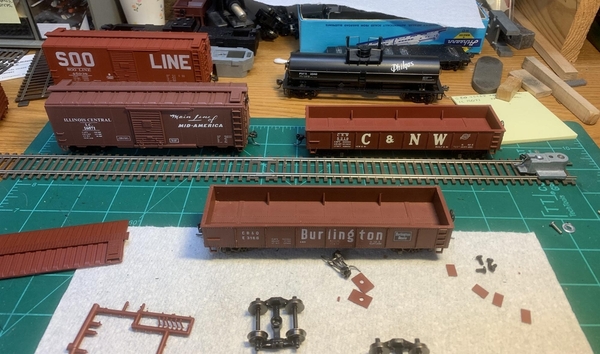
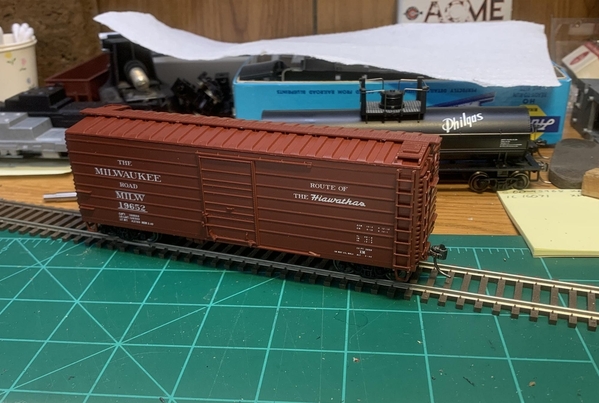
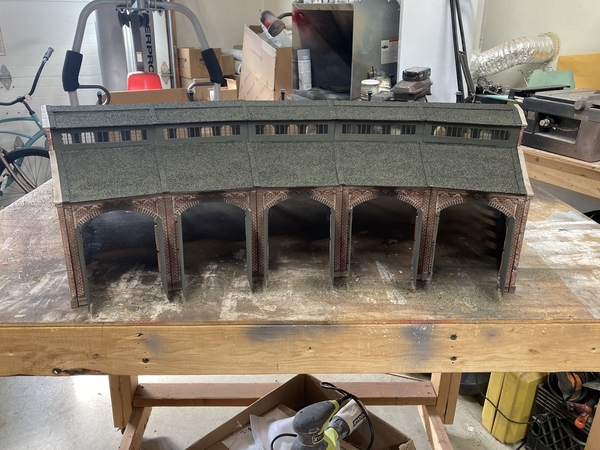
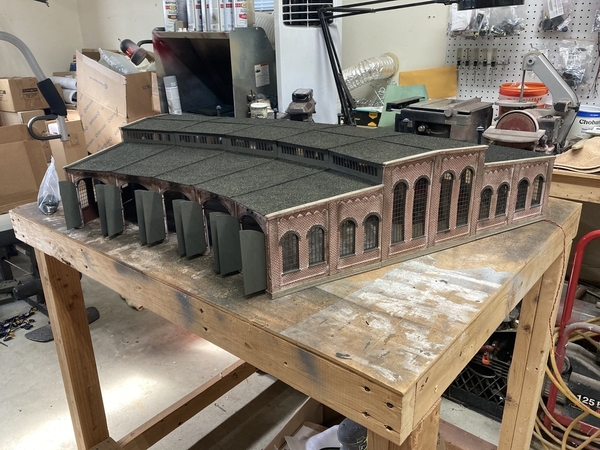
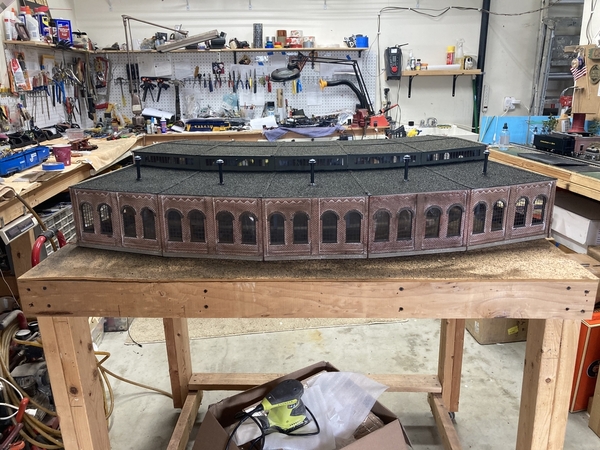
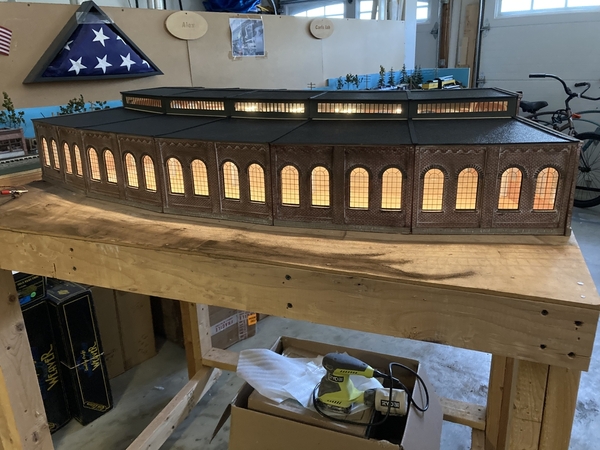
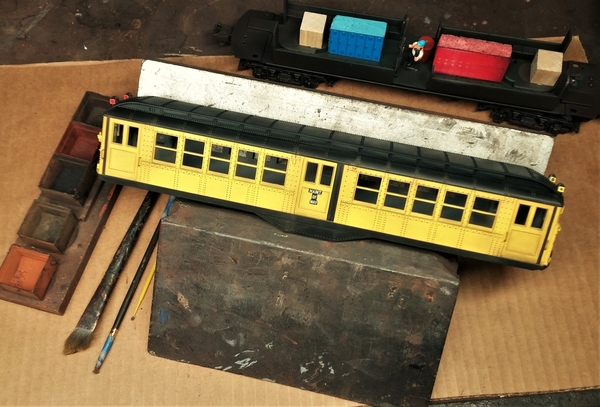
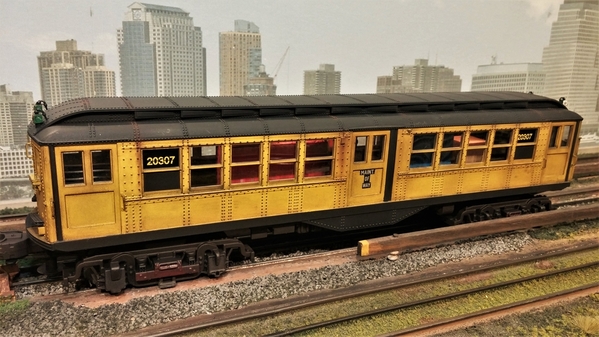
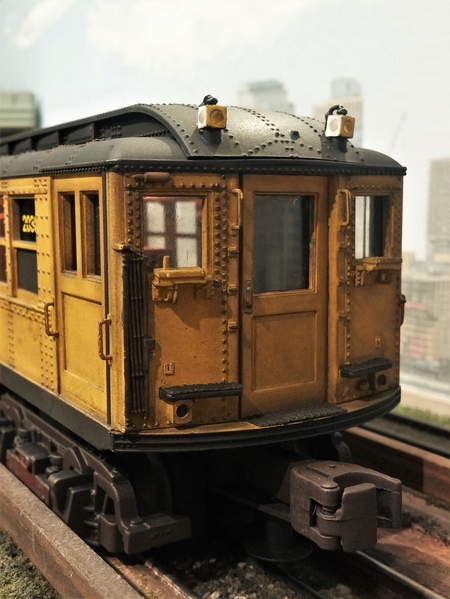
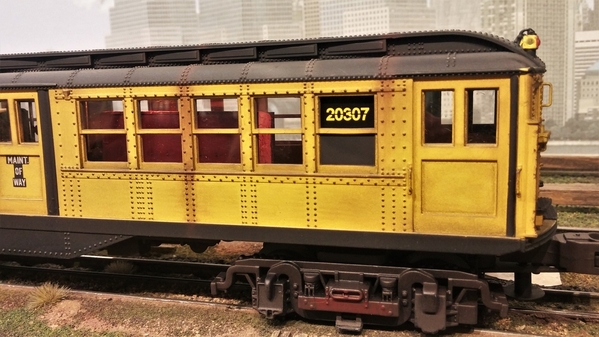
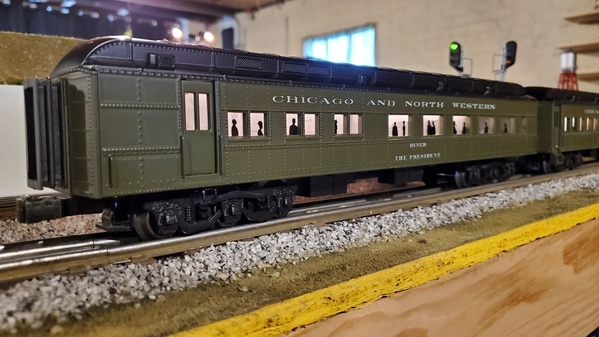
Took a short break from The Big Project, and and piddled with some cars that have arrived over the course of the past week.

Going through them and adding metal wheels, adjusting coupler heights, cutting off truck mounted couplers and installing Kadee boxes and couplers (on the gondolas), etc, etc...

070122_1

070122_2

070122_3

Today it's back to The Big Project.

Andre

Nice , ribbed side boxcar

@texgeekboy posted:

@TedW,

Thanks for the details on the soldering equipment. I tried to do some very detailed stuff on some custom pcbs yesterday, and while it went okay I knew it should have been easier. A fine tip iron and small diameter solder should do the trick.

I too thank you, Ted.  I have the fine solder and magnifier, but I need to get the fine tipped soldering iron.  I will take a look at the Hakko because I have a lot of GJR parts to rewire my passenger cars.

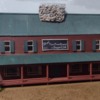
By now most of you should know where this is going.  @Mark Boyce got this correct.  I don't care for the dark brown color so its off to get a can of spray paint of a much lighter flat color.  Have not decided on roof shingle type or color. Looks fine in its intended spot on the layout. The building itself is only 2" deep but 16 " wide. 

Inn partial

Attachments

Images (1)
  • Inn partial

Going from on the workbench to off.  Still have to decide on a sign for the upper floor. Otherwise I would have installed 2 more windows. Decided to use primer red for the logs and the hunter green for the "corrugated metal" roof. Funny how the camera makes the imperfections jump out. Not too bad for a background building made of 1/4 ply, corrugated card stock, thin balsa strips and dowels. If I do this again, I might reduce the upper roof slope to be closer to the 30 degrees of the lower roof. I was concerned over the "look" of a pitched roof on a background building. Not enough roof showing would look wrong, this "looks" a little high. Maybe add green shutters to the upper windows to dress it up a bit.

IMG_2923IMG_2924

Attachments

Images (2)
  • IMG_2923
  • IMG_2924

As I keep looking at it - shutters would be the way to go - a little drab as it.  Same issue with the chimney as with the roof line.  I thought the chimney would be behind where the building would be cut, so would not show up.  Flat roofed buildings are so much easier. Now I am thinking about stone chimneys on both ends. I would just cast pea gravel in plaster and then weather. 

@Lou1985 posted:

Well not exactly. You have to make one or have someone make you one. It's basically a 11.5mm square with a 4mm hole in the middle. Everything stays in sync as the cam is secured to the axle.

Lou in reading this I figured you likely make these from brass stock, but why couldn't they be 3D printed? The design is easy and you could print them several at a time, and once cured the resin becomes hard like glass. Here's a snip of the simple design file I came up with:

4 Lobe Chuff Cam

It's basically 11.5mm to a side, 5mm thick, with a 4mm hole as you said. I also radiused the corners to 7.6mm just to make life easier for the cherry switch activation lever. This gives a net switch stroke of 1.85mm which should work fine. If the corners were left not radiused the stroke would be 2.38mm.

I think it would also work if made in 2 pieces, and CA glued to the axle shaft in place in the truck. That would be way easier than disassembling the entire truck and having to re-quarter the drivers to put it back together. What do you think? Of course you still have to remove the old 2 lobe cam somehow I guess.......!

Rod

Attachments

Images (1)
  • 4 Lobe Chuff Cam
@Rod Stewart posted:

Lou in reading this I figured you likely make these from brass stock, but why couldn't they be 3D printed? The design is easy and you could print them several at a time, and once cured the resin becomes hard like glass. Here's a snip of the simple design file I came up with:

4 Lobe Chuff Cam

It's basically 11.5mm to a side, 5mm thick, with a 4mm hole as you said. I also radiused the corners to 7.6mm just to make life easier for the cherry switch activation lever. This gives a net switch stroke of 1.85mm which should work fine. If the corners were left not radiused the stroke would be 2.38mm.

I think it would also work if made in 2 pieces, and CA glued to the axle shaft in place in the truck. That would be way easier than disassembling the entire truck and having to re-quarter the drivers to put it back together. What do you think? Of course you still have to remove the old 2 lobe cam somehow I guess.......!

Rod

What you describe is what I did. Just 3D print a cam, pop the old cam out by splitting in half with a Xacto knife, CA glue in the new cam. Done.

@Lou1985 posted:

What you describe is what I did. Just 3D print a cam, pop the old cam out by splitting in half with a Xacto knife, CA glue in the new cam. Done.

Got it Lou! I did not understand you were using 3D printed cams. I somehow thought they were metal, like brass. We are on the same page; thanks for clarifying!

How does using an Xacto knife work for splitting the old cam? Can you give us a bit more info about how that is done please?

Rod

@Rod Stewart posted:

Got it Lou! I did not understand you were using 3D printed cams. I somehow thought they were metal, like brass. We are on the same page; thanks for clarifying!

How does using an Xacto knife work for splitting the old cam? Can you give us a bit more info about how that is done please?

Rod

I just slice at the stock cam with the Xacto knife till it splits, spin it around and slice the other side. A chisel blade usually works well for that.

@ScoutingDad posted:

Going from on the workbench to off.  Still have to decide on a sign for the upper floor. Otherwise I would have installed 2 more windows. Decided to use primer red for the logs and the hunter green for the "corrugated metal" roof. Funny how the camera makes the imperfections jump out. Not too bad for a background building made of 1/4 ply, corrugated card stock, thin balsa strips and dowels. If I do this again, I might reduce the upper roof slope to be closer to the 30 degrees of the lower roof. I was concerned over the "look" of a pitched roof on a background building. Not enough roof showing would look wrong, this "looks" a little high. Maybe add green shutters to the upper windows to dress it up a bit.

IMG_2923

Jeff- The roof height suggests a usable 3rd level, not attic space. Add 2 or 3 doghouse dormers with gable roofs.

You'll thank me later......

I agree on adding shutters too.

Bob

Now ready to head to the paint department...

IMG_3926IMG_3933IMG_3935

IMG_3929

Finally snagged this old funky MOW kit in an auction.  Lots of fun in the building of it.  Multiple bags of  wood and metal parts, amazingly organized for construction with three sheets of instructions/inventory.   Have since added further details, like nbw's at the ladder rungs, additional brake rigging, centering springs for the dummy (O3R) couplers.  Accumulating possible details for those open bins...any suggestions on what would be appropriate??

Since I haven't found any prototype info for this contraption, paint and decals are wide open for consideration.

This is the sort of project that makes the hobby fun!...IMHO, of course.

KD

Attachments

Images (4)
  • IMG_3926
  • IMG_3933
  • IMG_3935
  • IMG_3929
@dkdkrd posted:

Now ready to head to the paint department...

IMG_3926IMG_3933IMG_3935

IMG_3929

Finally snagged this old funky MOW kit in an auction.  Lots of fun in the building of it.  Multiple bags of  wood and metal parts, amazingly organized for construction with three sheets of instructions/inventory.   Have since added further details, like nbw's at the ladder rungs, additional brake rigging, centering springs for the dummy (O3R) couplers.  Accumulating possible details for those open bins...any suggestions on what would be appropriate??

Since I haven't found any prototype info for this contraption, paint and decals are wide open for consideration.

This is the sort of project that makes the hobby fun!...IMHO, of course.

KD

That thing is incredible.

I finally started on some CNW heavyweights to go with my Premier CNW Hudson. CNW passenger cars are few and far between, so I decided to paint my own using east to acquire K-Line PRR heavyweights as a base. First up are a coach and diner. I've only got another coach, a baggage car, a Pullman, and an observation car to go. Decals are from Protocraft, which are made by Microscale.

20220715_15023420220715_15030320220715_150348

Attachments

Images (3)
  • 20220715_150234
  • 20220715_150303
  • 20220715_150348

Actually just came off the workbench. Installed @gunrunnerjohn 's passenger car LED lighting kits in my Williams 15" aluminum SP daylight set. No more flicker! And he was nice enough to include an adjustment on the board to control the brightness. I really appreciate that feature since I like to dim the lights in the cars that have silhouette windows.

Attachments

Videos (1)
20220719_211114

This little guy has made his way back to the work bench.  I've decorated one side, need to do the other side and figure out how to mount RMT handrails into Kusan holes.  I finished decaling this side and I don't think I can paint the step and foot board edges yellow without it looking horrible so I tried some old pactra Trim Tape I had.  I got the two front, bottom steps and front right footboard done, the third and top steps became a nightmare.  The excess Trim Tape came in contact with some of the decals while I was trying to align and affix it to the stairs, removing some of the yellow safety stripes and even the road number.  Now that I've got new decals back on I'm going to clear coat this side before working on the other side.IMG_0856IMG_1220 [1)

I've added an EMD Builder's plate and a F on the front end of the frame since I took this picture.

Attachments

Images (2)
  • IMG_0856
  • IMG_1220 (1)

Found a good deal on a set of MTH streamlined cars. Only problem was, they were NYC. They're currently undergoing renovation as stand-ins for the PRR's "Congressional" (yes, they're not made by Budd, but we're on an austerity budget). One is off in the "workshop/kitchen". Still have to add the stripe below the windows, and the name/number boards...20220719_172239

Attachments

Images (1)
  • 20220719_172239
Last edited by Magicland

Recent quickie:

LTI 4-bay that I have had for years. Kept hanging around. I like these. It had plastic trucks and a not-so-impressive SP scheme.

So-o-o-o - I put on die-cast Lionel trucks (drop-ins), "fake-patched"  the particulars, Dullcote #1, added a repaired panel,  weathered with a simple water/alcohol/craft acrylic wash, Dullcote #2, a bit of dry pigment on the trucks

I like it. Not high-end, but scale-y.

DSCN6056

Attachments

Images (1)
  • DSCN6056

On the bench or off the bench?  I've added the sign, shutters and a large field stone chimney. dabbed pastel chalk on the roofs and followed with a light spray of clearcoat. Clearly off the bench in this image.

Dicks Twin Pines Resort

@Scottie  Chimney and shutters per your suggestions. I was originally thinking side chimneys, I prefer this style.

Attachments

Images (1)
  • Dicks Twin Pines Resort
Last edited by ScoutingDad

Add Reply

Post

OGR Publishing, Inc., 1310 Eastside Centre Ct, Suite 6, Mountain Home, AR 72653
800-980-OGRR (6477)
www.ogaugerr.com

×
×
×
×
Link copied to your clipboard.
×
×