


I was looking for a K-Line 15" extruded aluminum RPO/Baggage car and found one at Trainz, I ordered it. The car had never been on the tracks, but had no box as it came from someone's collection. Unfortunately one of the lower skirt's was broken and missing when I received it. I contacted Trainz and they gave me a discount on a 15" diner car from the same collection. I'm using it as a parts donor for the RPO skirt and the trucks for another 15" CZ car in my collection. I also needed a few other pieces for repairs on other 15" cars.
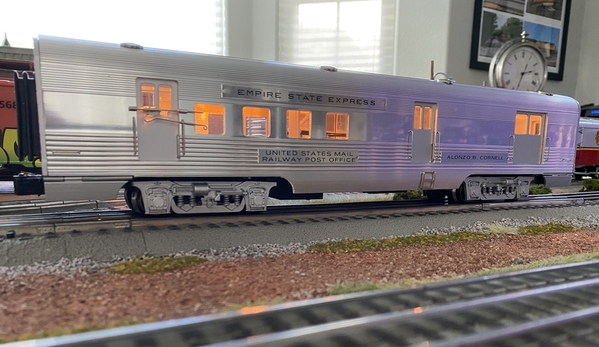
Here's the RPO/Baggage car as I received it. Note it is Empire State Express. That will be changed to California Zephyr and renamed to Silver Coyote.
Here's some photos and descriptions of the conversion and interior updates:
The beginning of the process, disassembly. All the plastic interior parts were just grey plastic, that will never due. For the floor I'm using would I had already available, so I had to use 3 pieces, 2 shown below. As you'll see later once the car is assembled you can't see the joints.
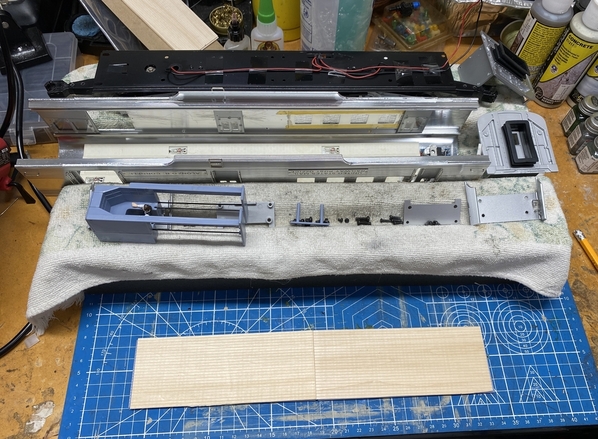
I installed one of gunrunnerjohn's anti-flicker power supplies and 12v LED strip. I have found hot glue works well for the LED strip, although it can be a bit messy. I left the incandesents because they're integrated into the ceiling part. One nice thing about this newer K-Line car is they added a on-off switch for the LED's. You can see the wiring going to the switch on the right of the steel chassis.

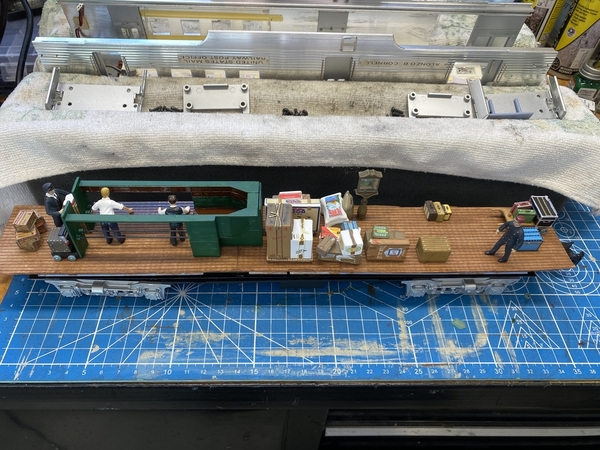
I didn't take any photos while I was painting, it should be clear in the photos. I used plain old Gorilla Super Glue to attach the wood floor to the K-Line plastic floor and weighted it down with a brick while it cured.
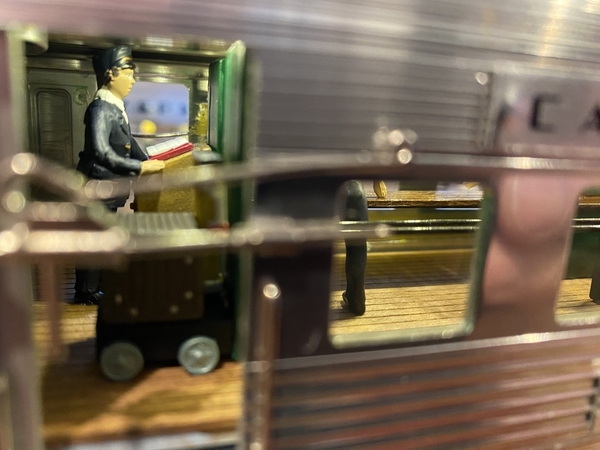
Then I used the CA glue to attach the RPO cage. I used Woodland Scenics Depot Workers and baggage, and Misc. Freight.
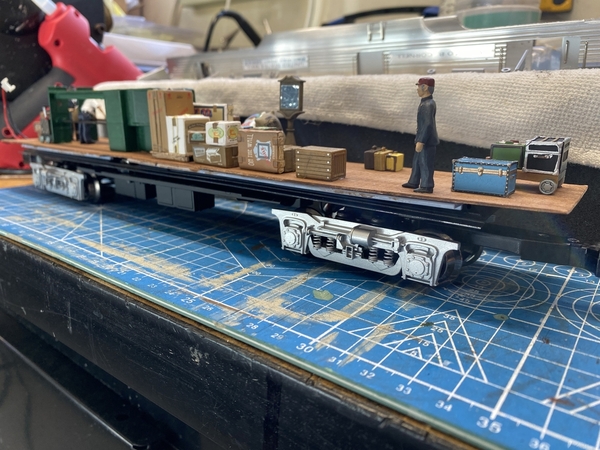
So here's some photos of the finished interior before installing it into the aluminum body.

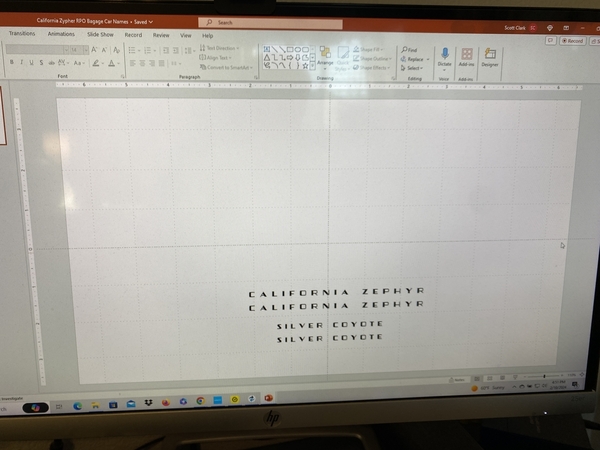
Next renaming the RPO. I used Power Point and the font is from www.railfonts.com.
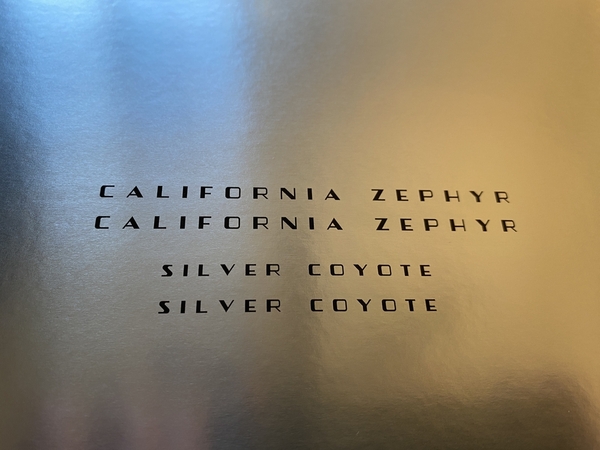
I had already renamed a couple of other K-Line 15" to California Zephyr, so I still had plenty of silver adhesive backed label stock left. I used a Canon Pixma photo printer set to photo paper and high resolution output. Then just measure the existing labels on the RPO, cut to fit, and apply over the existing name plate.

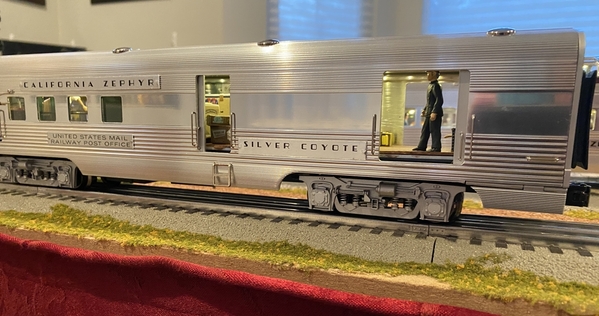
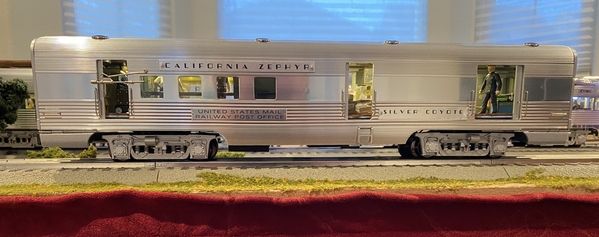
Photo's of the finished product.

Thanks for checking it out, let me know if you have any questions.


