I'm eager to see what these look like finished, they hold the promise to be something special. ![]() It's great to truly have a one-of-a-kind item like this.
It's great to truly have a one-of-a-kind item like this.


|
|
I'm eager to see what these look like finished, they hold the promise to be something special. ![]() It's great to truly have a one-of-a-kind item like this.
It's great to truly have a one-of-a-kind item like this.

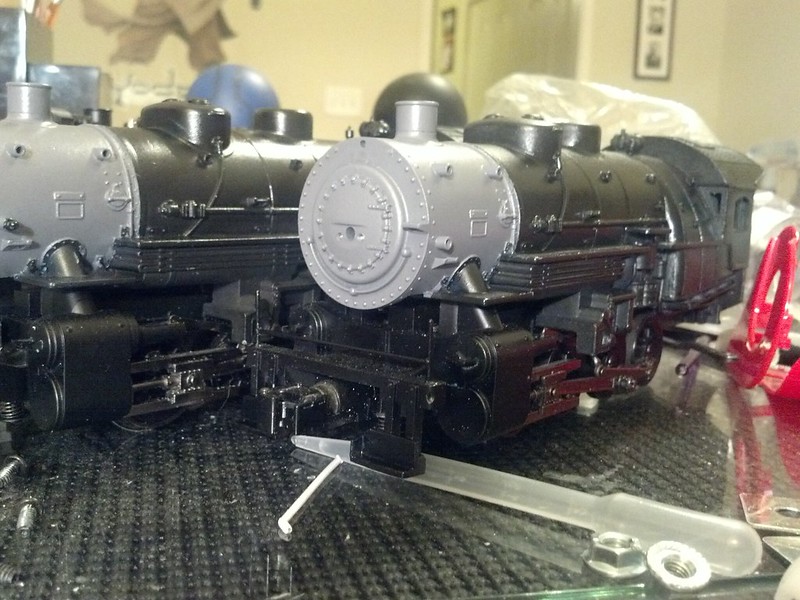
Smokebox paint applied. On my E5 I painted the smokebox Floquil grimy black. It was a little flat for my taste, so this time I used a 50/50 mix of PollyScale grimy black and Model Masters gun metal. It came out just as I hoped, with a very slight metallic glint.
I'm going to let it dry for at least a few days before I mask it off with micromask and good ole' tape. Then it's engine black. ![]()
Weather today is not favorable for painting (cold and damp) but I at least got the engines ready for paint whenever weather is favorable.
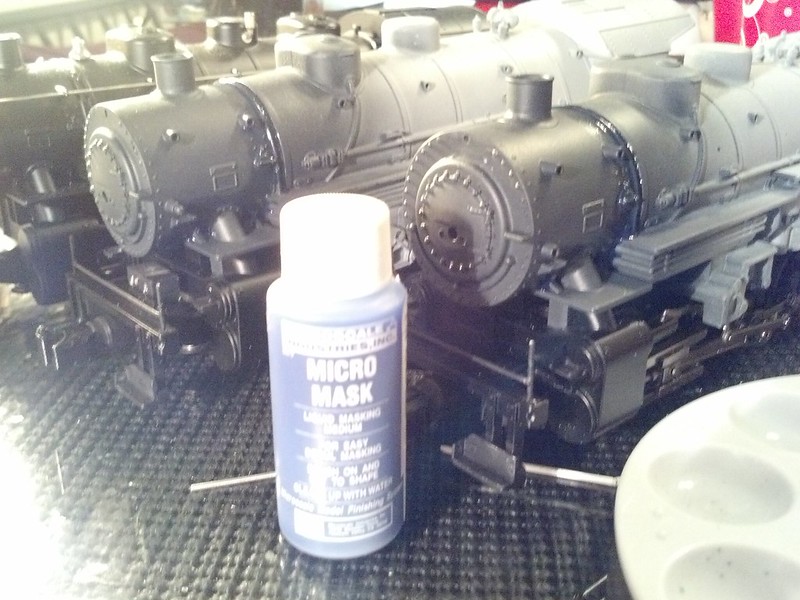
Micro-Mask to mark off the separation cleanly between graphite and black
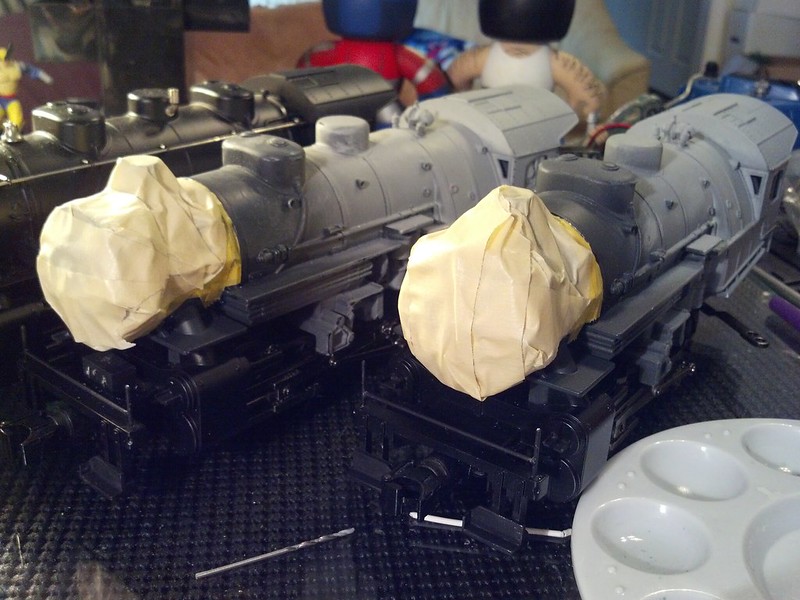
And good old fashion tape.
I'll be out of the house most of the weekend (Some friends and I are making a short film) but if weather is right, and I get a spare moment, I'll get some Engine Black on these bad boys.
Hopefully, the tape won't peal off the new paint! ![]()
Looks like you're closing in on completion. ![]()
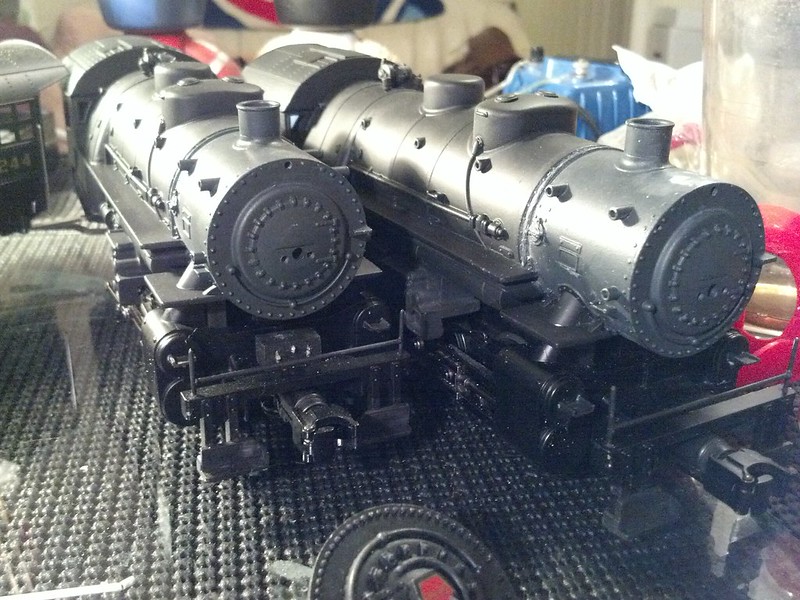
There was some peeling, but I'm not terribly bothered, because as it dried it became more and more apparent that the paint I mixed was far too blue to look right. I I re-mixed for a warmer and slightly brighter shade and will respray as soon as I can. Then I have to gloss-coat the whole thing for decals, and it just occurred to me that I'm out of gloss-coat, and my nearest "LHS" is 45miles away, so I'm not sure when I'll have time to get down there. I may just order some online... the cost of shipping may be less than the cost of gas.
Hmm... 45 miles? With my car, that would be around 4-5 gallons of premium at $4/ea. Yep, shipping will probably be cheaper. ![]()
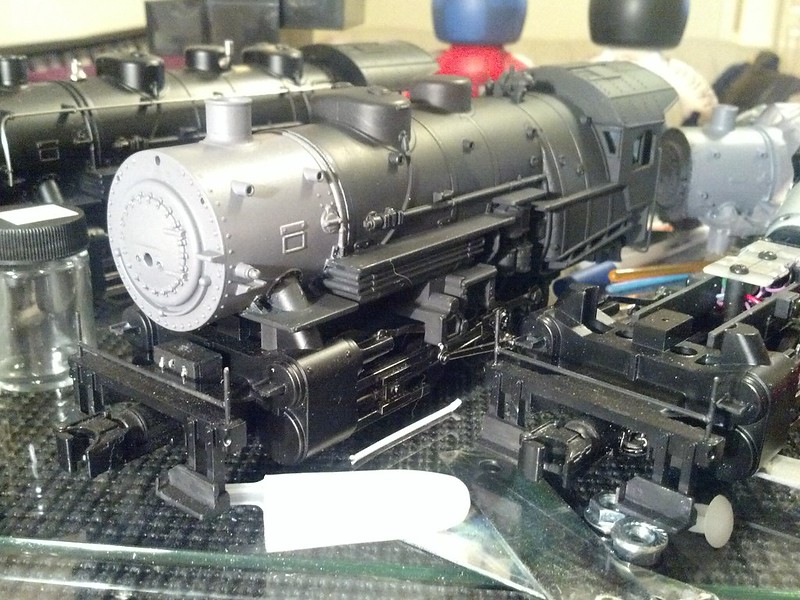
That's much better! I am concerned that PollyS locomotive black does appear a bit greyer than the black MTH uses. I'm hoping that it's a function of the satin finish of the paint, and a layer of gloss will darken it up, but if not I've got some Tamiya black acrylic that'll get me where I need to be. Also my local toy store, which doesn't have a very big selection of paints, did have Tamiya clear gloss acrylic, so that should get me to the point where I can apply decals.
That's much better. Now I just have to keep my grubby fingers off of them for a few days so I don't mess up the clearcoat while decaling. Jeez I'm really in the home-stretch here!
Lookin' good, I think it needs headlights and the like. ![]()
headlights are for suckers.
sir-I admire craftsmanship-you have it-admire beautiful work-

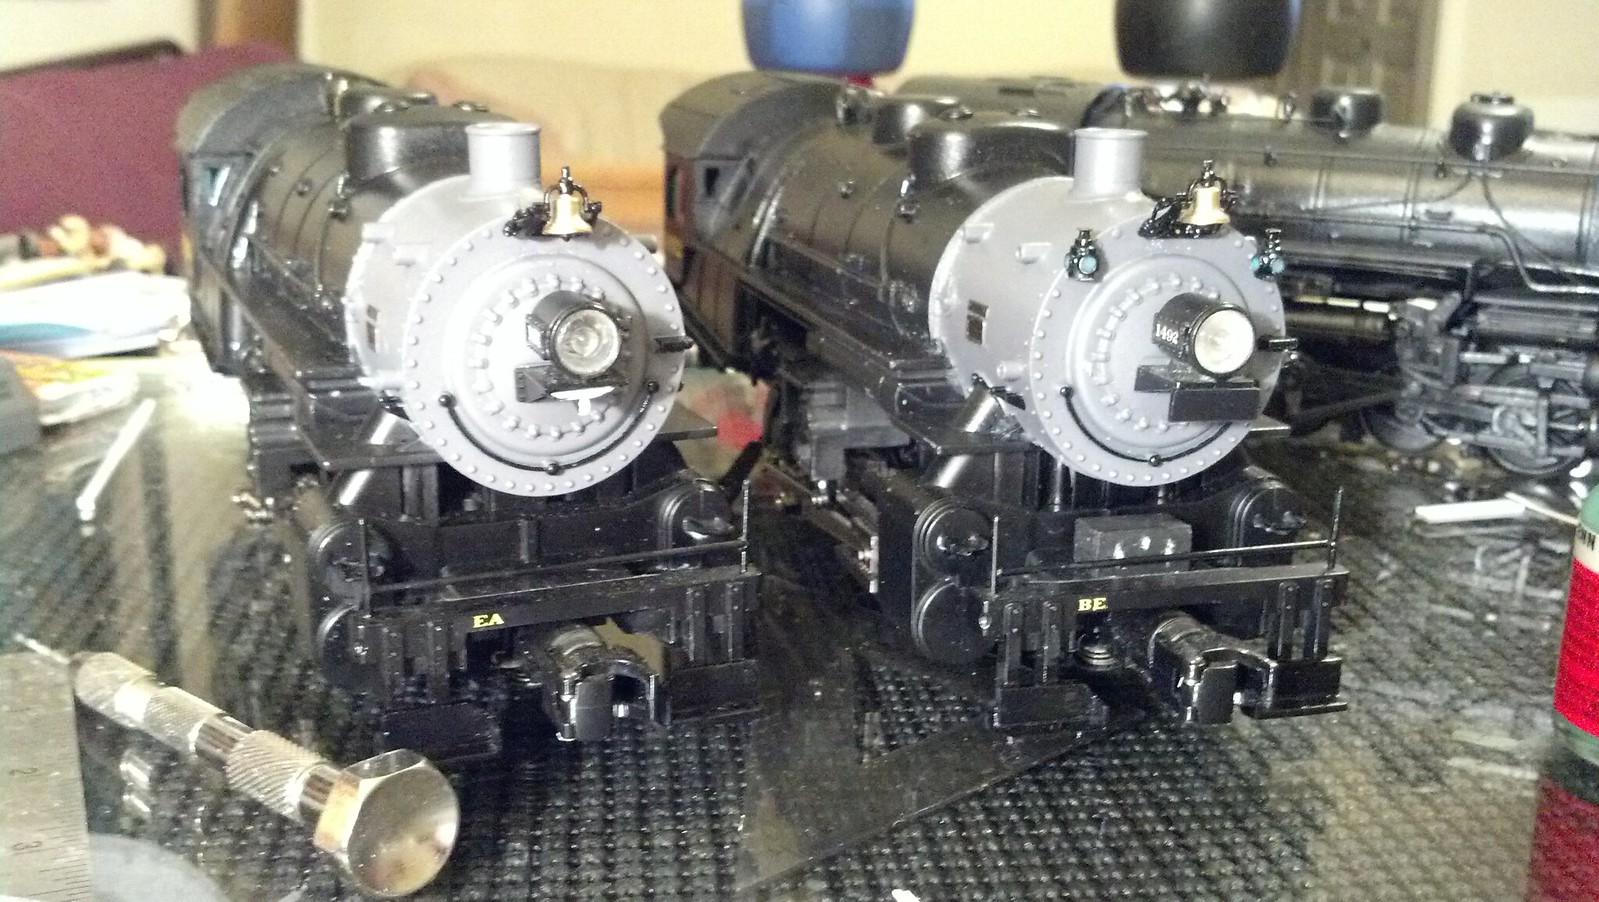
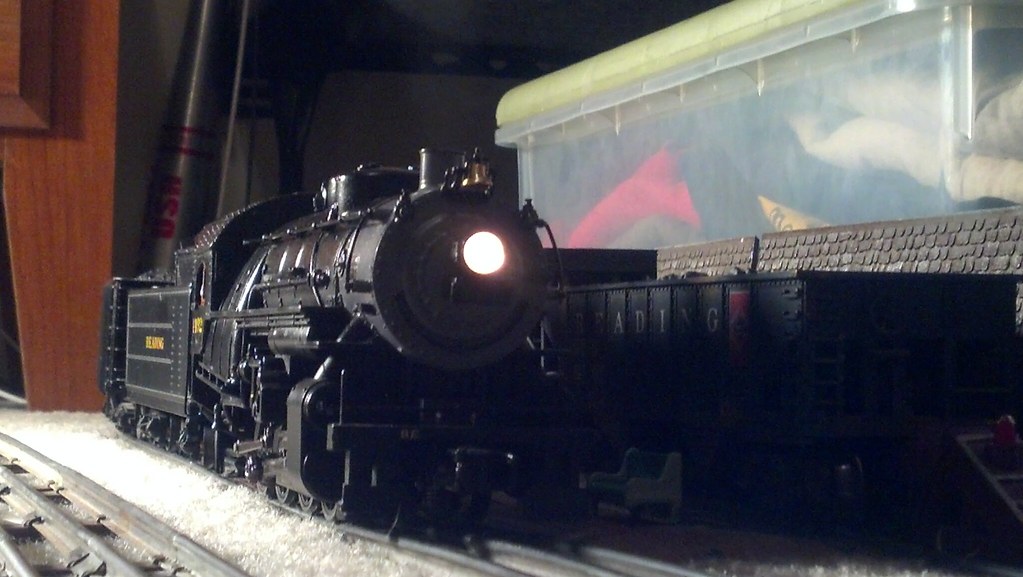
There, John, bell and headlight! (I'm just pleased one of them is keeping the original road number so I only have to renumber one headlight and tender.)
The thing about the PSC bells is they've got no clappers, so I had to make one. (Ok, I'll have to make a 2nd one, too.)
That makes all the difference. ![]()
Looking very nice, I'm sure the recipient will be very happy with these. ![]()
My E5sa came out to lend some moral support (and inform decal placement) tonight. I'm about at the point where I kinda wish the client wasn't on the forum so he could be surprised by the final result. ![]()
So close!
I did just realize tonight that I don't have enough decals to do the front numberboards, so I've got some on the way. I have Sunday off, so I'm hoping to finish most everything by then.
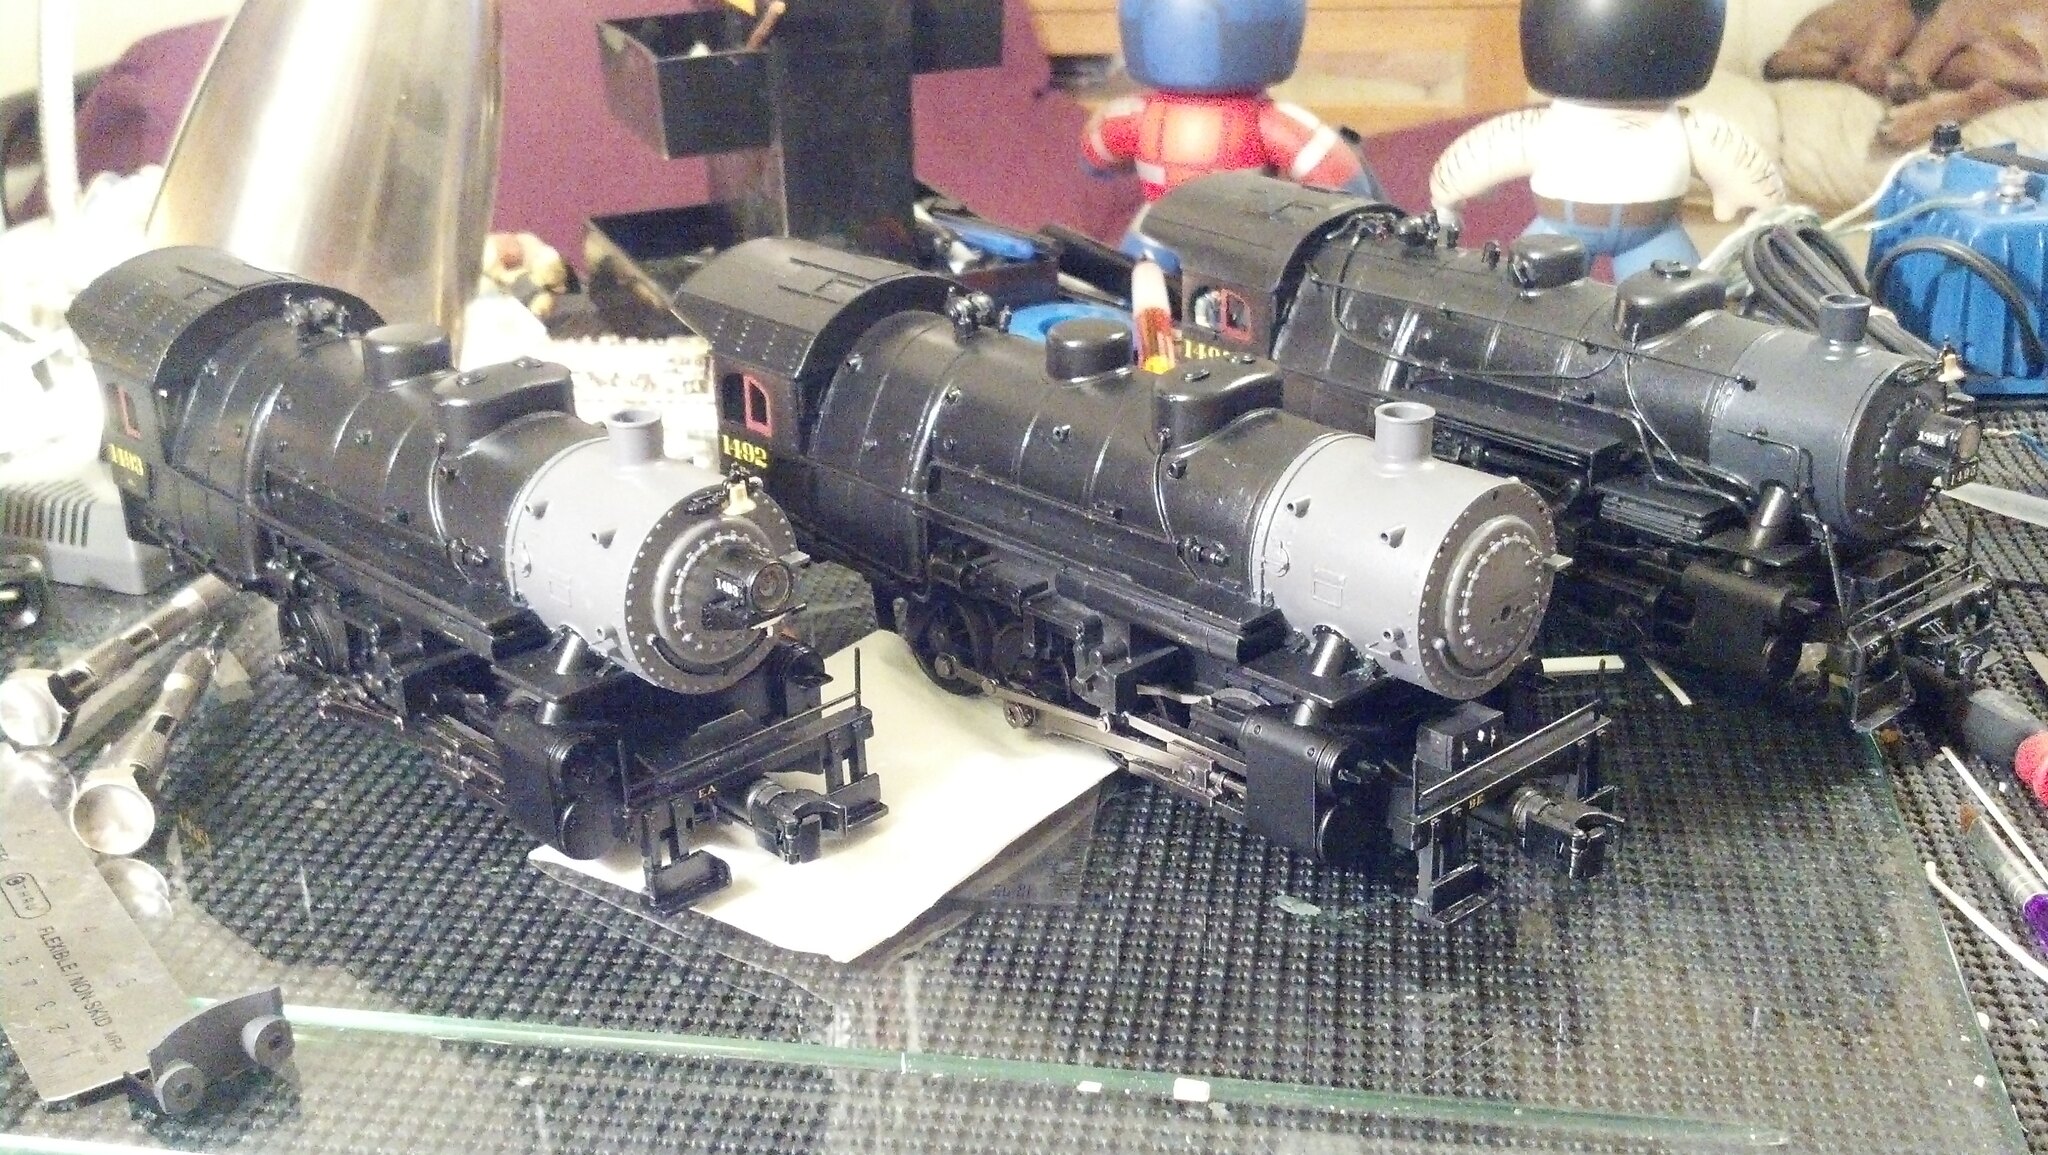
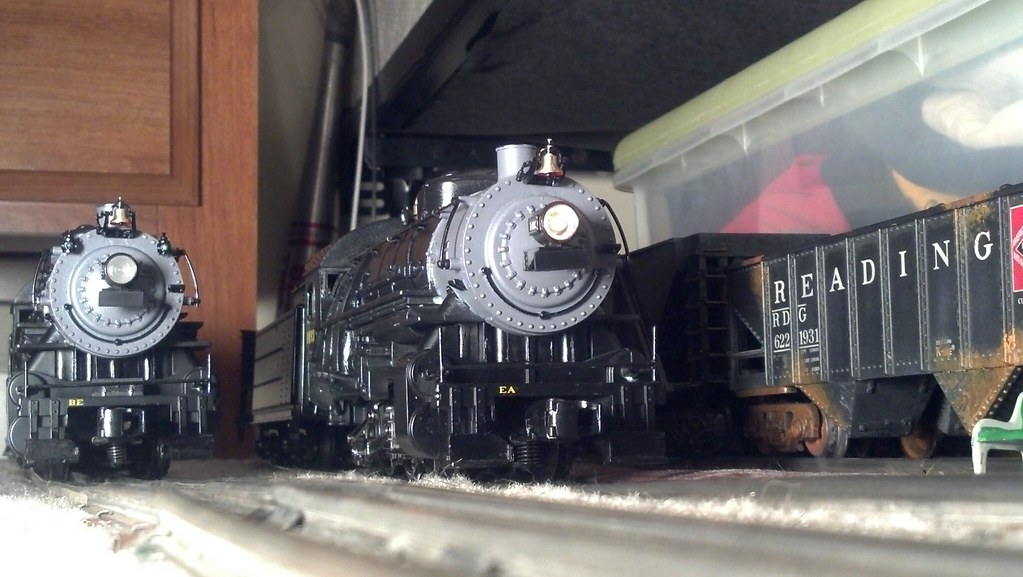
How did that extra locomotive sneak in there? ![]()
That is the definition of art!
Remember how I realized I had to break the numberboards off the headlights to get to the screws that hold them on? Ok, well I fixed that. Now the numberboard pulls straight out with a tab and pocket to allow access to the screws.

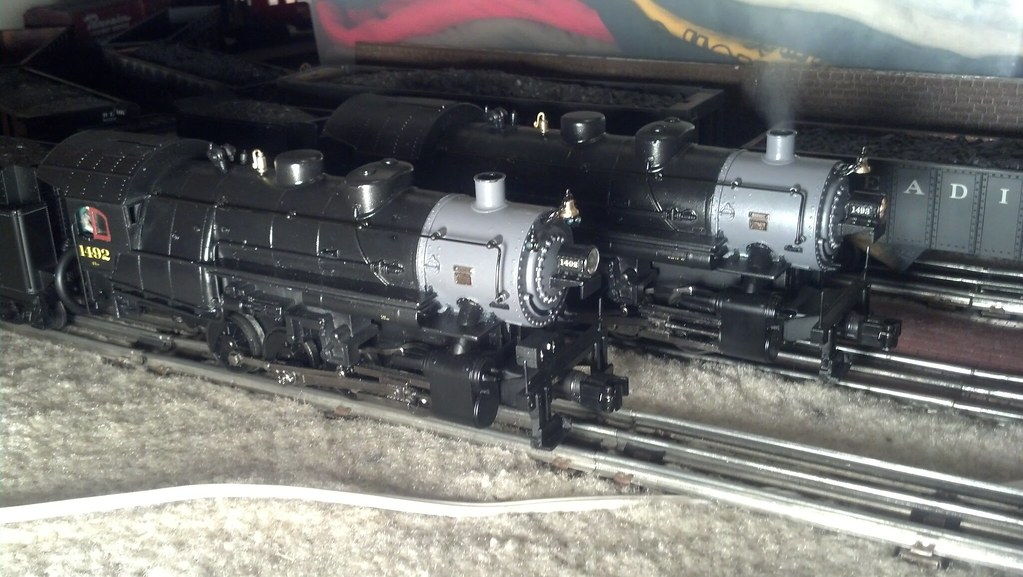
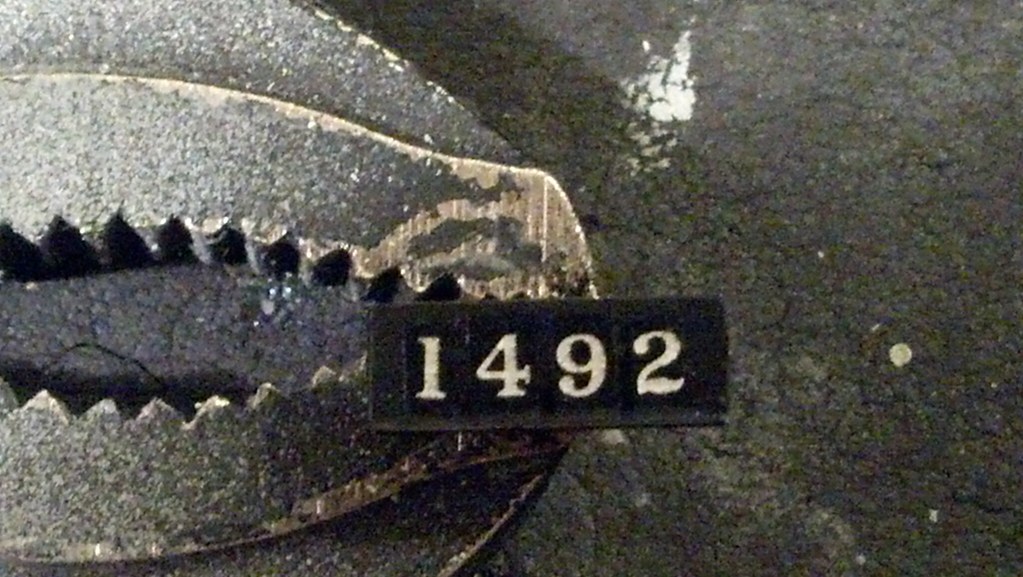
Of all the E5sa pictures I've collected for reference, the only picture I've seen of one with class lights was this picture of 1492:

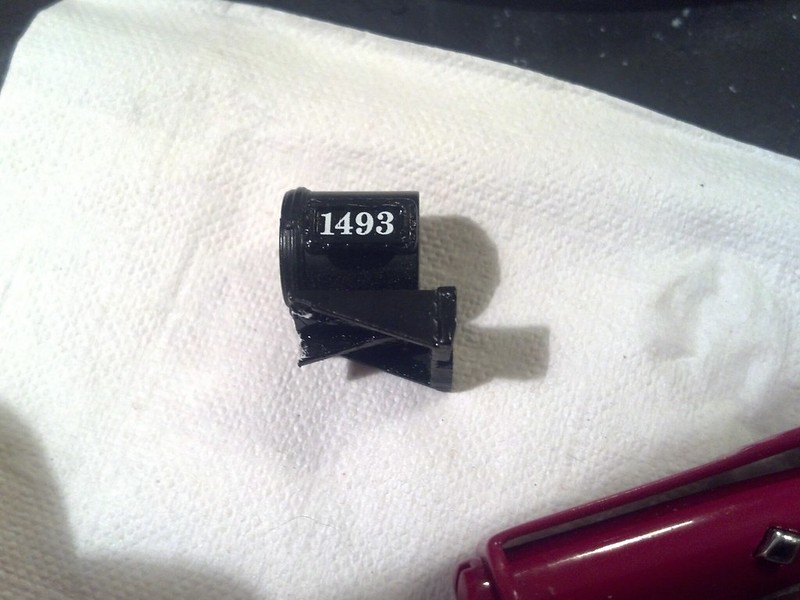
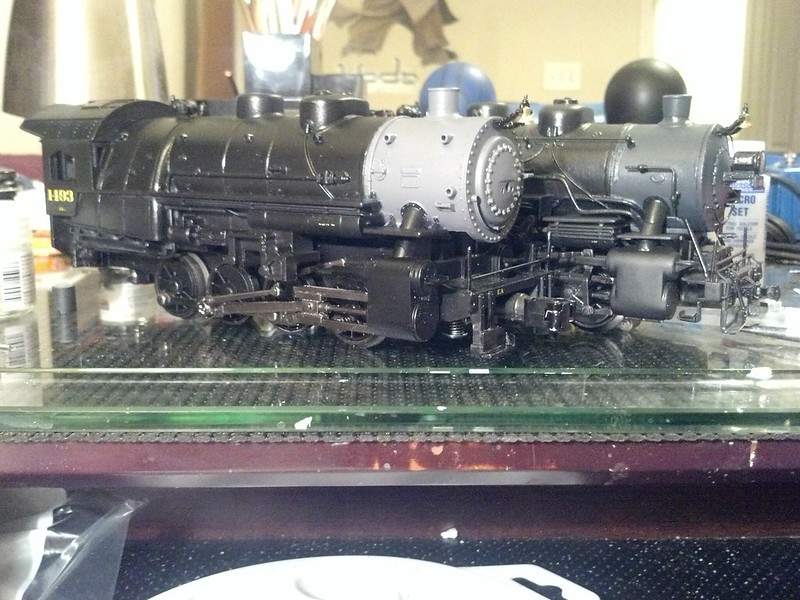
So, for a little variety, #1492 gets class lights and a pilot deck tool box, while #1493 does not. (Also I've assigned them to different terminals; Bethlehem and Erie Avenue.)
And for the class light snobs, yes, they're green (because I like a little color) but they're unlit, so no grief about the non-existent 2nd section!
My apologies for going off topic, but the class lights do give the locomotive a wonderful happy face. ![]()
It appears that's right on topic Nicole, it does have a big sunny smile. ![]()
Now that you mention it, looks like the prototype was in a good mood.
You know what I hate? A bunch of clones running locomotives.
problem solved.
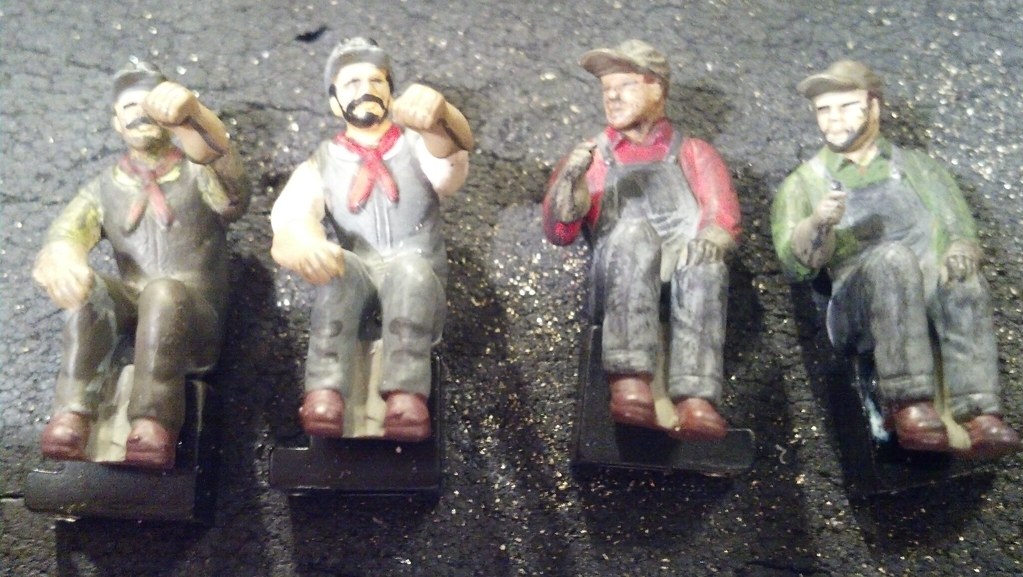
Coincidentally, the fireman with the green shirt kinda looks like me.
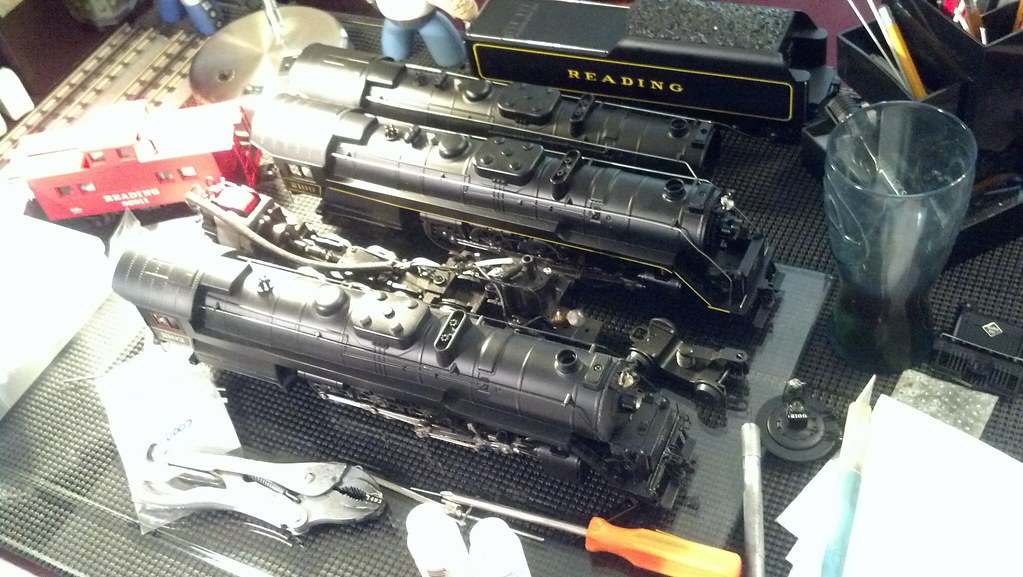
Crickey, I'm really close to finished!
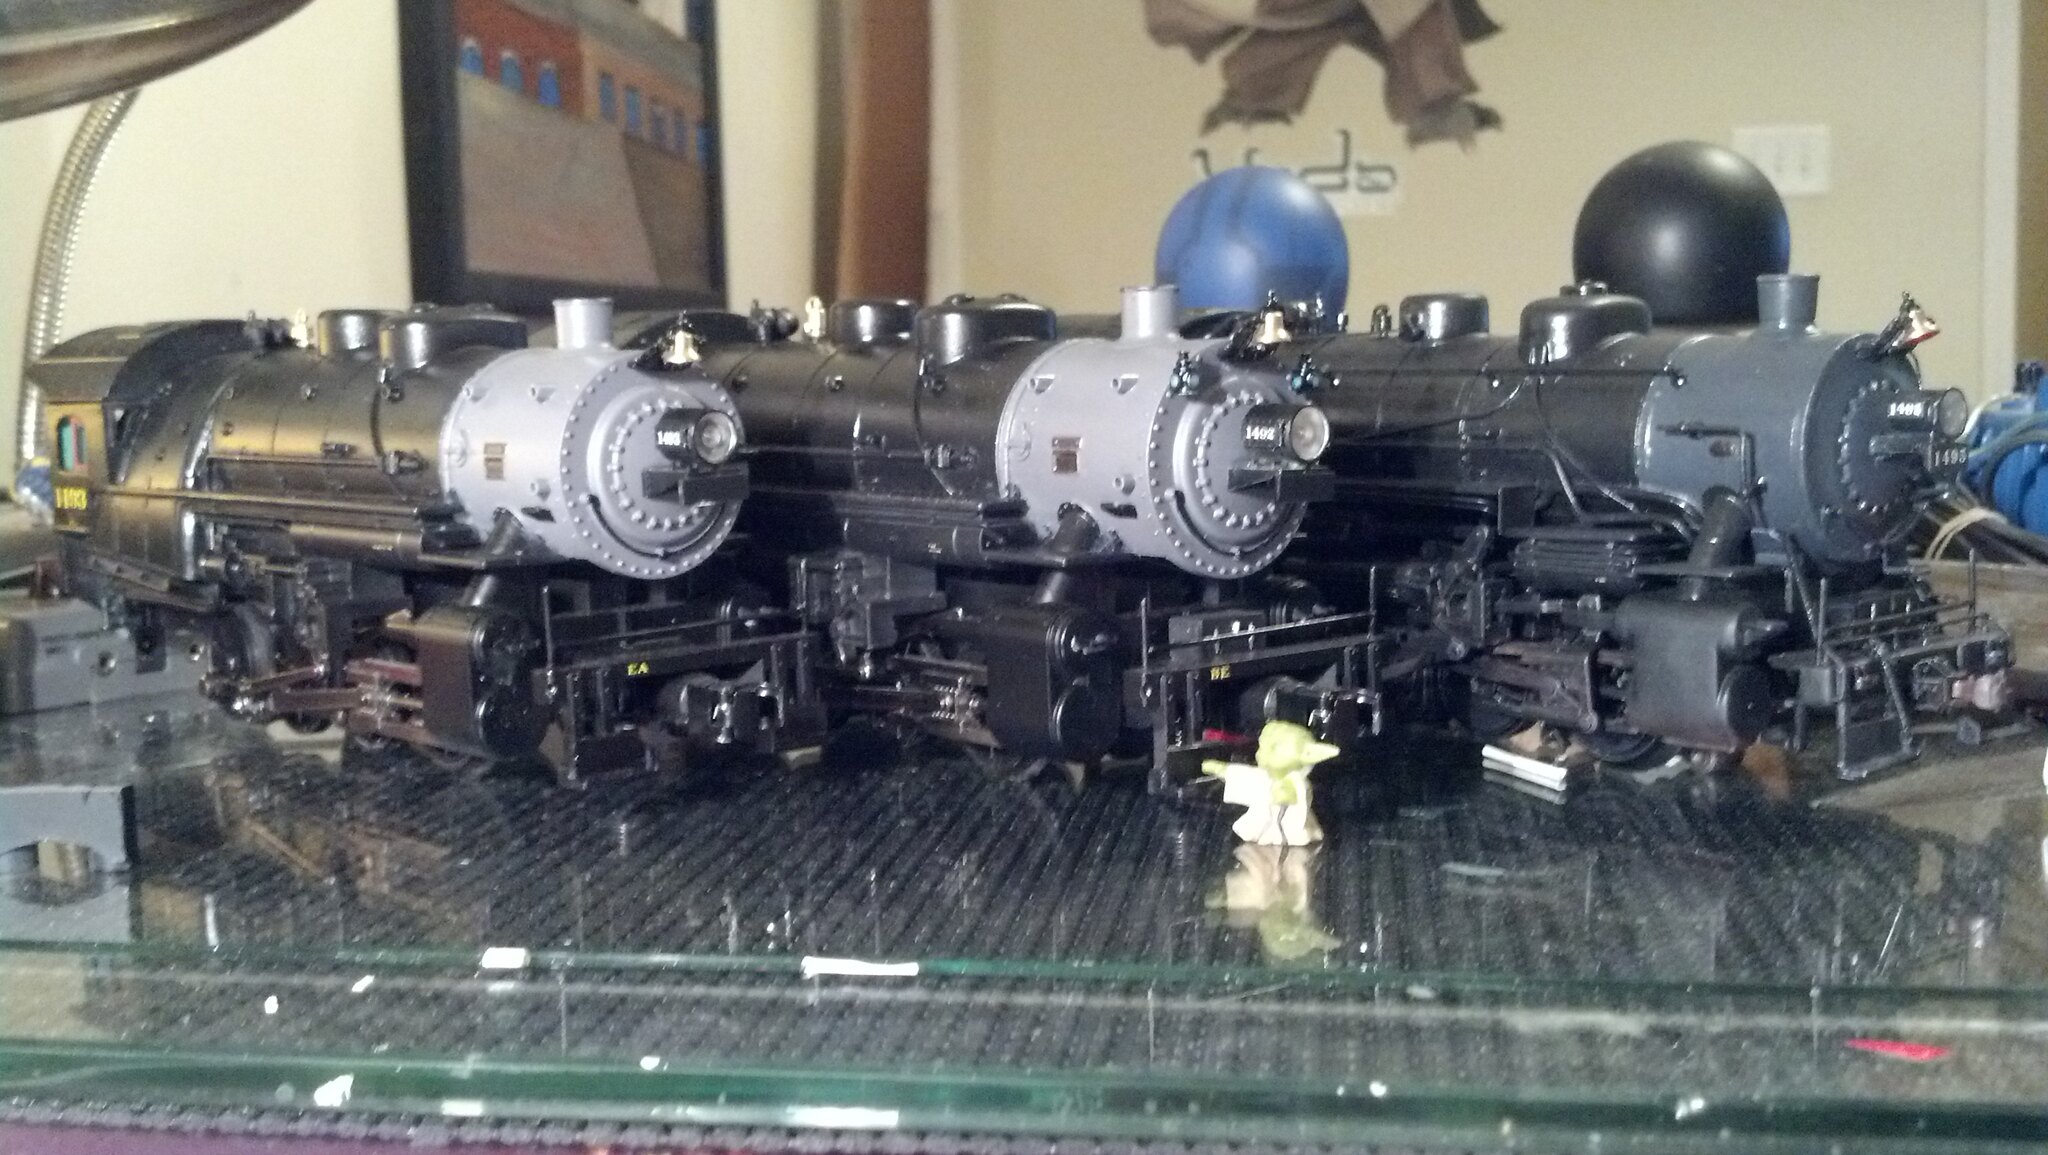
Still to be done: final coat of clear over decals, front number board, install cab windows, reinstall handrailing and crew, and re-assemble. Master Yoda approves.
I feel like maybe there were still one or two little finishing touches I wanted to add, but I think at this point I'll just leave them to be a surprise.
Wowak,
You have a wonderful talent ![]()
Alex
Wowak,
You have a wonderful talent ![]()
Alex
Thank you!
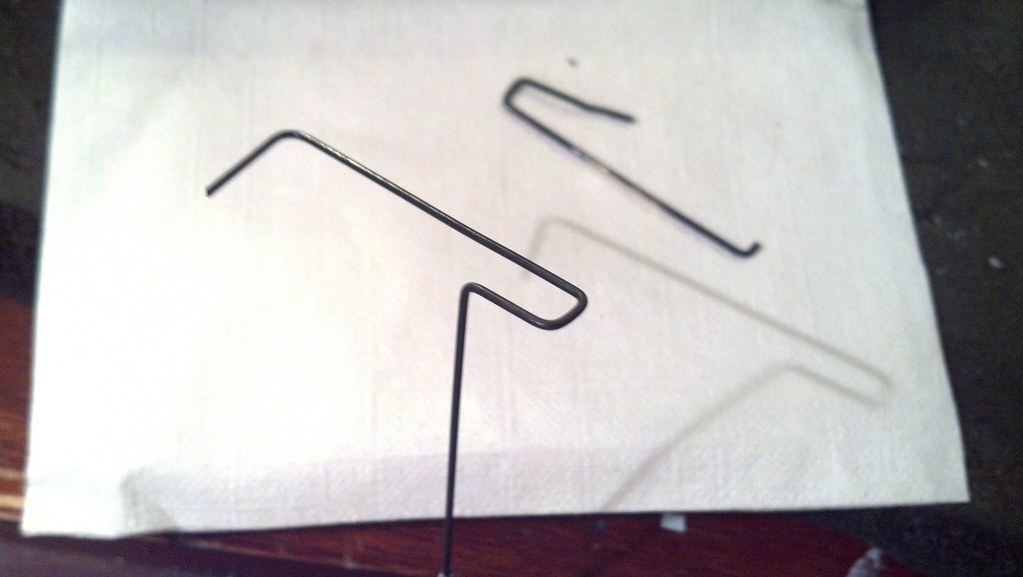
I totally forgot one of the cab handrails broke when I removed it. This is the replacement.
Can we see some more close-up pictures of the "final" product? ![]()
This post has been one of my most anticipated reads! I love to see the progress on such projects. You definitely have a talent and love for the hobby. Thanks for letting us sahre in your enjoyment of your project.
This post is the kind of material I would really enjoy in the OGR magazine, and I hope it happens. Wowak, you are the teacher. Great craftsmanship and ingenuity you have. I can't wait to see your next endeavor.
This post is the kind of material I would really enjoy in the OGR magazine, and I hope it happens. Wowak, you are the teacher. Great craftsmanship and ingenuity you have. I can't wait to see your next endeavor.
I'd probably need better pictures than my cellphone camera provides for publication, but maybe whatever the next big one is I'll document with an article in mind. ![]()

I don't wish to alarm anyone, but other than the front number boards, these locomotives are complete. (Decals for boards will be here tomorrow.)
I don't know what to do with myself now. ![]()
Well the idle sounds sound great, but I don't have a bell button, so I can't reset it to conventional to actually run it. But I assume it all works.
They look great, nice work! ![]()
Tip for better viewing, right click on the picture and select "View Image" for a larger picture.
I've really enjoyed following the progress of your conversions and you do wonderful work! Your approach, with the exception of the use of styrene, harks back to an earlier time in the 1940's and 50's when in order to improve an existing kit, it was necessary to remove pipes, domes, cabs, etc. and replace these with lead or brass castings and sheet metal. The skill to do what you have accomplished has largely been lost and it is nice to know that the tradition still exists. I too, hope to see a future article about your conversions.
Eric Hofberg
TCA, LCCA
I've really enjoyed following the progress of your conversions and you do wonderful work! Your approach, with the exception of the use of styrene, harks back to an earlier time in the 1940's and 50's when in order to improve an existing kit, it was necessary to remove pipes, domes, cabs, etc. and replace these with lead or brass castings and sheet metal. The skill to do what you have accomplished has largely been lost and it is nice to know that the tradition still exists. I too, hope to see a future article about your conversions.
Ditto!
Jay
Tip for better viewing, right click on the picture and select "View Image" for a larger picture.
Yes, excellent advice. ![]()
And if I dare skirt the rules re: advertising, my next conversion could be for you. I'm open to ideas, and also to payment at least partially in trade.
That's partially why my desk suddenly looks like the Reading shops:
So how upset would the world be if I hacked up a Lionel Y3 2-8-8-2 to make a Reading N1sd?

(Also, if anyone would like to donate a Lionel Y3, that would be acceptable. ![]() )
)
So on my last model (my personal E5sa) I lamented that I can spend hours staring at decals trying to get them perfectly straight, but as soon as I take a picture of them, I can see that they're not perfect. Well I had a eureka moment: While I was working on the decals, when I thought I had them right, I took a pic with my cellphone cam and zoomed in, and any crookedness became obvious, BEFORE the decals had set. Why didn't I think of that before?!
Access to this requires an OGR Forum Supporting Membership
