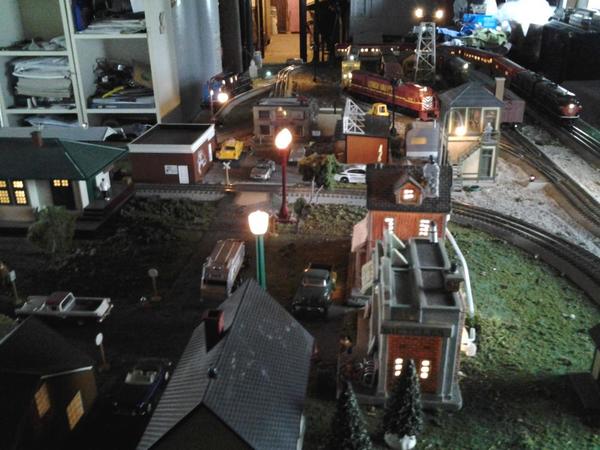
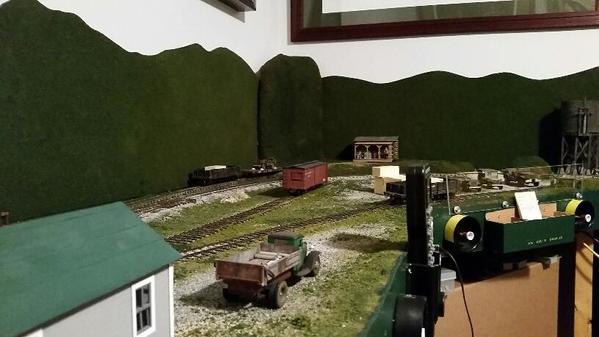
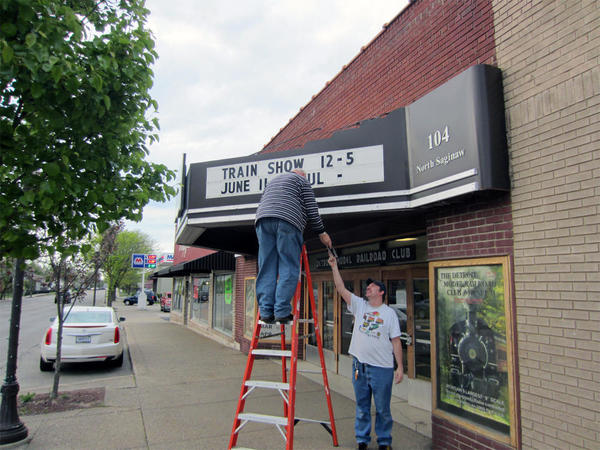
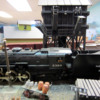
Nice going Bryan and it was not even raining.  The tables look good. I got a bit bogged down but I did finish off table four. Table five is all put together and ready to go in place. I just have to get rid of the old farmer's shelving and paint the walls and that table goes in.  Table six will go on the other side of the wall where the main tables are. That will be my stopping point. Thus will begin the track plan and placing of some of the buildings. Couple of pics.........Paul


DSCN2409DSCN2411

Attachments

Images (2)
  • DSCN2409
  • DSCN2411
suzukovich posted
 
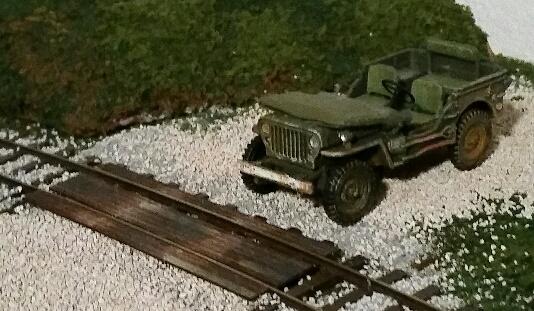
Perhaps use an eraser to rub in tire marks and slightly splinter the wood.

The eraser suggestion worked well. I gave each crossing some alternating weather colors as well.

Looks far more correct now.

20160515_160309-1_resized

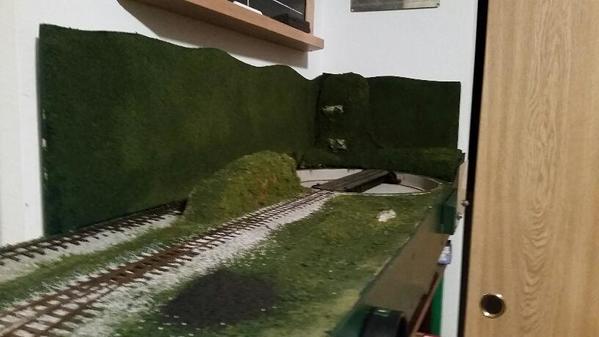
I also finished my backdrops but I must allow them to dry before installing. I did put a small corner one in place and will leave it there. The others are way too large to move around until the paint and glue is totally dry, so maybe I'll get them into place tomorrow night or so?

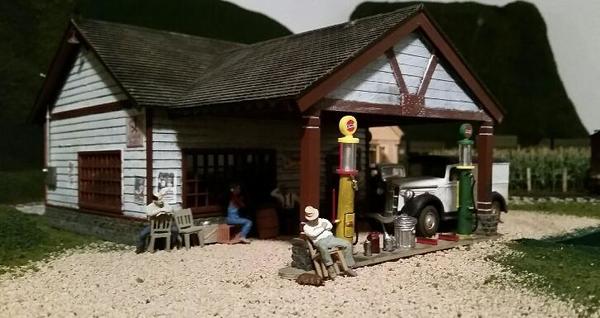
I also scattered a few figures around the layout in certain places and now I realize I will need a few more...

20160515_160902-1_resized

Attachments

Images (2)
  • 20160515_160309-1_resized
  • 20160515_160902-1_resized
Last edited by p51

Today I finished the Hart Parr tractor kit to power the mine headframe model's skip hoist.  However, as previously noted, I am thinking I will put the tractor in the logging equipt. inventory, and use a boiler and some steam engine to power the hoist.  Can't have these hard working prospectors turned miners falling down the shaft after finally striking it rich, so that is being pursued.

mike g. posted:

Looking great Lee, Whats next?

Backdrops. They're done but the paint and glue needs to dry.

Then, TREES. Lots of them.

And I have found that I have a lot less figures than I thought I had. I bought more stuff than I needed in almost every way except for glue for scenery and figures. I have bags of detail stuff for the layout itself and I'm looking for completing all that and finding places to put it all...

What I'd really like is if someone made WW2 soldiers in 1:43 scale, but I haven't found any. The 1/48 stuff just looks too darned small. More than anything, I'd love some 1:43 scale Germans (preferable Afrika Korps ones), so I could paint big "PW" letters on their backs so they could be POWs working the fields, which did happen in other areas of the south during the war.

Last edited by p51

I don't know if this is considered working on the layout but I had some time today so I decided to work on my latest bridge since i now have all the parts cutout and assembled. I only had time to do one side there are three in all, each side has about 300 screws.102_1813

sepearte parts that have been pressed together before screwing them to the main frame

102_1815

I have to buy my screws in bulk

102_1816

The fish plates at least i think thats what they are called use up a lot of screws and nuts

102_1818

One section finished only two more and about six hundred more screws and i can tie them together with the cross trusses and roadbed. I had to look at this pic twice the engines are williams F7 A&B units and a lionel boxcar not HO. The Bridge is 105 inches long by 10  1/2 inches wide, The center of the arch is 26 inches from the roadbed. It is being built the same way that I  built my 20 and 30 inch bridges.

102_1780

This is the 30 inch bridge with a williams PB resting in the middle

Attachments

Images (5)
  • 102_1813
  • 102_1815
  • 102_1816
  • 102_1818
  • 102_1780

First thanks for the nice comments, I have been a machinist/tool and die maker for the last 40 yrs and I have always loved making things with metal. That said most of the material is scrap aluminum, and I have several friends that own there own shops. Since I write programs for CNC machines I have worked out a few deals, I write a few programs for there machines and they let me have time on a waterjet to cut out the pcs. I did pay someone to cut some out with a laser for a 20 inch bridge, Using 1/16 scrap aluminum for the girders and 1/4 inch for the main beams the cost was about $150.00. All the holes are drilled and taped by hand. The girders or trusses are 3 pcs pressed together and the bridge is assembled with 4-40 screws, the bridges are actual working bridges that is the trusses and girders are actually holding up the roadbed which is made from 1/8 inch aluminum.

pcs for a bridge ready for assembly

102_1728

one assembled side

102_1731

top girders keep the top sides together

102_1736

bottom trusses support the road bed

102_1734102_1735


The finished bridge

102_1742

I was not to concerned with how much the smaller bridge could hold but the larger ones did concern me. my 30 inch and 45 inch have been tested with 75lbs and held up great the large bridge is going to be tested with 100lbs.

    I have all the drawings of the bridges and all the components if anyone would like them. However unless you know someone with either a laser capable of cutting 1/16 inch metal or a waterjet it could get very expensive. The 45 inch bridge took 6 1/2 hours to cut all the components out.

Thanks for looking

Gary

Attachments

Images (6)
  • 102_1728
  • 102_1731
  • 102_1736
  • 102_1734
  • 102_1735
  • 102_1742

Not so much what I did, but what I'm going to do. I'm going to add a 4x6 or maybe 4x5 extension where the train yard is that is currently 4x5 and at the end of that I'm going to add a 'T' section to accommodate 048 and  060 side by side half circle. Currently the half circle is 036. I'm eventually going to redo the entire layout, but for now I'm adding the extension and putting the 060 half circle there and expanding the train yard.


IMG_20160511_175739IMG_20160511_175820

Attachments

Images (2)
  • IMG_20160511_175739
  • IMG_20160511_175820
Last edited by DennyM

Today I didn't get started till late afternoon. Had to get grass cut. If only the city would let me have some cows they could graze and keep the grass down and give me more time to work on the layout and keep ahead of Bryan table building LOL. But even with a short day I was able to get the old shelve out and the wall painted. So tomorrow I can fit the next table in. Couple of pics...................Paul

 DSCN2413DSCN2414

Attachments

Images (2)
  • DSCN2413
  • DSCN2414
old_toymaker posted:

I was not to concerned with how much the smaller bridge could hold but the larger ones did concern me. my 30 inch and 45 inch have been tested with 75lbs and held up great the large bridge is going to be tested with 100lbs.

I have zero problem believing you there.

Really good work!

After building a kit Hart Parr tractor to power the shaft hoist for a mine head kit I finished, I questioned its practicality, so, today, tracked down a model of a Case steam tractor.   I have started a partially enclosed  shelter for the Case so it can power the hoist cable.  Will string the cable with skip when I get the Case in place in the finished shelter.

Today after running to the Home Depot for more screws and patching stuff for the basement walls. I went back to work. Going to finish painting the wall in that corner but wanted to patch some small holes in the blocks. While that was drying I needed to make the opening for the table a bit wider so it would fit. While doing that I found out the basement floor is higher in that corner then what I had been working with. I had to cut down the two back legs so I will be able to level the table. I also decided to paint the table frame and legs while it was up on the saw horses. Trying to get ahead of the game. So while that is drying I am going to put a second coat of drylok on the wall and then I can set the table in place. Couple of pics....................Paul

DSCN2415DSCN2416


Attachments

Images (2)
  • DSCN2415
  • DSCN2416
Mark Boyce posted:

Adriatic,

Sounds like you are training puppies!  lol

Some of that too, but them training me today . Bruno the train watching petbull, was confused about the testing happening on the little 0-19 table that I had moved into my room just prior to this. After posting, I found him in the living room on his train watching stool, ears back, and chin resting on the big layout, he let out one big whine. So I ran the Marx El Capitan and a General for him since his chin was on the GG-1s track  

  Him and a 5-stripe, that's a lot of nose whiskers on one track

I got the fifth table into the opening. Once I did I found I took the right amount off the back legs but I had to make up some blocks for under the legs. Waiting for that paint to dry.  In the meantime I measured for table six. That will be another odd ball. 16 inches wide where it will join with table 4/5 run 5 feet along the wall widening out to 24 inches. And found I am one 1x4x8 short. So in the morning a quick run to the Depot to get one. Of note I could not run the table all the way into the corner because I have a conduit pipe that carries the power out to the garage there. Pics of the table...................Paul

DSCN2417DSCN2418

Attachments

Images (2)
  • DSCN2417
  • DSCN2418

For the last few days focus shifted from model railroading to playing with blocks.  Here the staging yard lead in disappears into a tunnel and a roadway crosses over the mainline and reverse loop.   A few well placed cuts in the WS portal made it fit.  A very poor home made latex mold is providing the other dressed stone, cast from Hydrocal. 

my eyesight ain't what it used to be and the camera helps me pick out mistakes, like the tilted stack of blocks seen here.  I've since gone back and corrected it.

Bruce

mike g. posted:

Lee, Looking good, what kind of tree's are you going to be putting in?

Mike I have been using Sedum's cut and dried and then using elmers spray adhesive I sprinkle on scenic express flock and turf. It comes in all different colors. I have attached several together to make larger and more realistic, as much as i can, looking trees. Its quick and fairly cheap and you can make up a large amount in a very short time


These are some in varing shades of green

102_1773


These were done trying to get some fall colors

102_1772

I'm still experimenting with them combining lichen dosen't look too awful i don't think.

Attachments

Images (2)
  • 102_1773
  • 102_1772
brwebster posted:


"my eyesight ain't what it used to be and the camera helps me pick out mistakes,"

Bruce

Your not alone. I used to pride myself on being able to see fine detail, even as little as six years ago.  I'm happy to focus at any distance today. I think cataracts are forming if genetics are any indication. The ever unforgiving use of a camera helps.

M. Mitchell Marmel posted:
Adriatic posted:
  Him and a 5-stripe, that's a lot of nose whiskers on one track

Haw!  He and Norma Bates Kitteh should get along fine. being fellow railfans...

He stopped paying any mind to the neighbors cats after the first real hiss

 Unless your a visiting male dog with dominance on your mind, you likely haven't a worry. Very social, loves, and listens to any human "insisting", especially when away from home. Real English terrier blood, not a Detroit street bred mutt, hence a "petbull". The female Mastiff and "Puppy"(huge now) aren't smart enough to be cautious over curious, Norma may have to pull a Freddy Kruger on a muzzle first .


Ok... disciplinary talks didn't work on the finicky Marx Commador. I searched and played and tested and tweaked with little difference. I did finally notice the armature was hanging in one position only. I tightened the tabs on the loose plate, and re-cleaned the gaps. Better, but still hung up. Pressing on a brush with a toothpick it took off. Replaced it, spring was fine, but to no avail, it stopped again before a single lap. All signs pointed to a bad armature winding. Taking a cue from "cold solder joints" from circuit board repairs of my past, I decided to quickly heat the spot where each wire to armature plate solder connection was made, and reassemble it one last time before declaring "lost cause" and simply buying a new motor. I already majorly chipped the paint, and knocked the stainless roof loose again when I failed to fully catch a speedy rollover (it's the CV to a Crusader bash no huge loss just a cheap blue rattle can job I'll touch up when I'm felling it, and a dab of fresh JB Weld for the roof is done already)

  Best for last, it now runs great again. An hour, and a half at a crawl that would make a few can motors jealous  


Add Reply

Post

OGR Publishing, Inc., 1310 Eastside Centre Ct, Suite 6, Mountain Home, AR 72653
800-980-OGRR (6477)
www.ogaugerr.com

×
×
×
×
Link copied to your clipboard.
×
×