Good morning Bob, thanks for kind words.
I think I'll leave the roofs removable so that at some point in the future I can think about an interior, especially on the larger 2 story right hand side with the large factory Grandt Line/Tichy windows.
I have quite a bit of external piping work to do, and am waiting on a bunch of valves and elbows to be delivered. I have a bunch of piping stock that I have accumulated so fabricating and installing piping and valves will be something new.
A good many of these kit bashes are the result of me buying a bunch, like 35 - 40 Ameritowne Wall sections off of eBay maybe 5 years ago as well as 3 IHC Engine house kits, and picking up about 4 of the Lionel Factory kits. Couldn't resist the fire sale prices I paid for them, and figured at some point, I'd come up with the "imagination" to kit bash them into something unique.
My son started calling me "Bargain Man"... Not sure that's a compliment
The other thing I also discovered some time ago, was that I could purchase a bunch of HO scale tanks at local train shows for short money and use then to detail roof tops etc.....
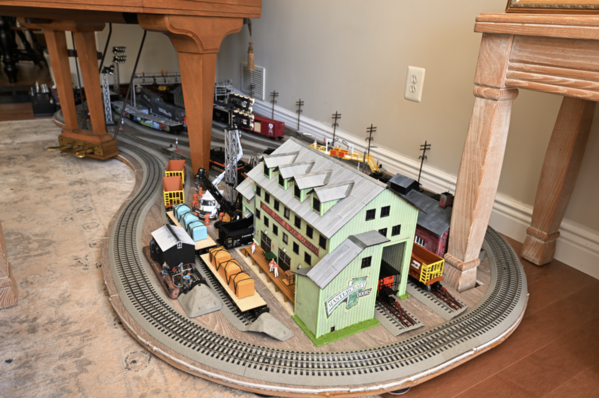
Here's a few photos of the other "kit bashes" that have been made out of these large "bargain man" purchases over the years.....
")
")


")
")


")
")


