
I was reflecting on railroad-guy's photos and the lengths he has taken to make his railroad a reality within the confines of his basement. You gotta love that kind of dedication to the hobby.

What "determined" things have you done to make your layout a reality?  I spent about $700 having all of our hot water pipes re-routed to allow for a bridge over our furnace. The heating guy thought I was totally crazy and tried to talk me out of it.

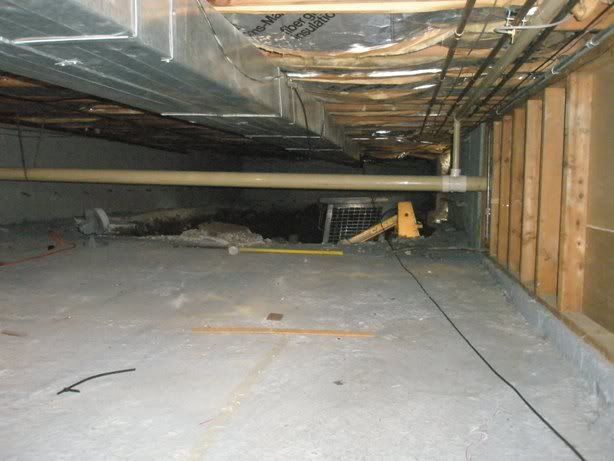
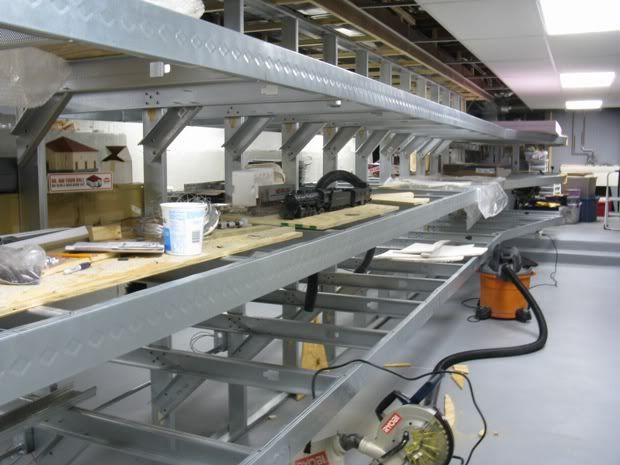
Here he is getting started...I had to disconnect and move a 9ft section of the layout to even give him access to the furnace.


1


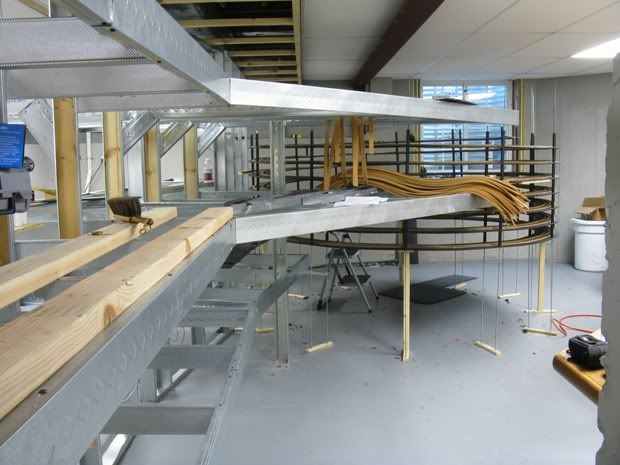
And here is the bridge over the furnace when nearly completed. I had to eventually wrap it in a tin like covering to protect it from the heat of the furnace (which never runs now that we have a pellet stove). The switch is operated remotely.


2


This was worth it because it allows for continous running and much more interesting operational posibilities.

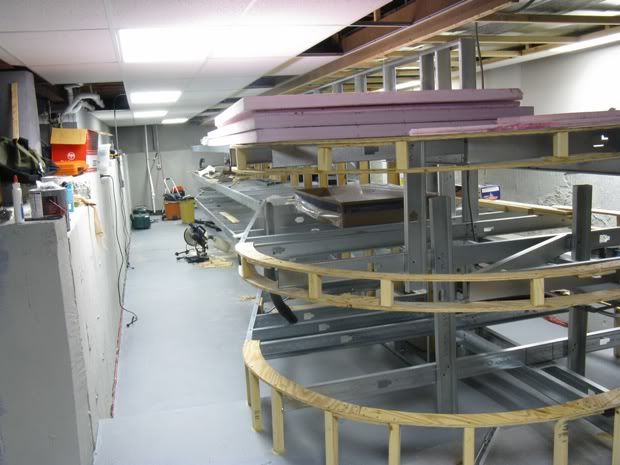
Here is the view from the other side back in Nov. The furnace line is closest to the window: 


013

Attachments

Images (3)
  • 1
  • 2
  • 013
Original Post

Replies sorted oldest to newest

This area houses my HO railroad, but still fits the bill of crazy things I have done to have a better railroad.


We did a house renovation in the summer / fall of 2009 that added about 300 sq ft. to our family room, created an upstairs mud room, new kitchen, redid two bathrooms etc.  Part of the renovation was to put in a basement under the extension of the family room area.  In the pic below, the new basement is to the right of the iron colored I beam. 


In order to get to that new basement, we had to dig out the existing crawl space. 


Here is a photo of the dig.  The Bobcat is sitting in an area appx. right in front of the helix where they punched through the foundation to get the Bobcat in.  Notice the plastic PVC sewer line, it was re-routed above the ducts.  We also relocated the water meter to an area of the extreme right of this photo. 


Here was the outside of the house during this dig.


This photo is the other side of the "island". 


This shot is looking back from the area where the orange super sucker is at.  I've got an O scale mikado and caboose sitting out that I just finished weathering a couple of days earlier.  I believe the shelf concept would have worked well in O too, but I would have been too constrained by the radius at the end of the island, and I want to run large articulated steam.  So, HO is still is.


Once I'm done, I believe the mainline run will be appx. 8 scale miles from staging yard to staging yard. 


Oh, and here is the extension from the outside.  The area under the extension is my crew lounge, dispatcher station, and houses the helix. 


Regards,

GNNPNUT

IMG_1732

Attachments

Images (1)
  • IMG_1732
Last edited by gnnpnut

Well coincidently enough I am currently traversing my wifes washer/dryer with a double track wide shelf along the back edge so the lid of the washer will still open enough for her to use without banging into any rolling stock which may be there. This took negociation and some artful carpentry, but the project also opens up a continuous run capability for me which after much thought I realized I wanted.


Bob

We had to cut out an old sagging poorly built truss above the garage. Add a temporary support for the garage ceiling.

Install an engineered glu-lam beam, 2 windows and break through the upstairs spare room. Also add A/C, electrical, surround sound wiring X 2 and decor.

Train Room [12)


Train Room


Train Room [1)


Train Room [2)


Train Room [3)


Train Room [4)


Train Room [5)


Train Room [6)


Train Room [7)


Train Room [8)


Train Room [9)


Train Room [10)


Train Room [11)

Attachments

Images (13)
  • Train Room (12)
  • Train Room
  • Train Room (1)
  • Train Room (2)
  • Train Room (3)
  • Train Room (4)
  • Train Room (5)
  • Train Room (6)
  • Train Room (7)
  • Train Room (8)
  • Train Room (9)
  • Train Room (10)
  • Train Room (11)

We are a a little nuts.


Up and over the washer, paint booth and potty, no problem.

stuff_01


Back behind the furnace, easy.

stuff_02


Moving the hot water heater and softener, not so hard. Yes, there is a removable piece back here.


stuff_03


The big problem was this wall in the basement then held up the other three stories of the house. That had to go without bringing the house down.


stuff_04


And it's gone....  That was the very first thing we did before the layout started can cost, well, you don't want to know.


stuff_05

Attachments

Images (5)
  • stuff_01
  • stuff_02
  • stuff_03
  • stuff_04
  • stuff_05
Originally Posted by christopher N&W:

Moved the water heater.


Raised the air conditioning unit one foot on the outside because a pipe from it came inside exactly where the train tracks were to run. 


My trains run over the washer and dryer and under the steps also.

Left out the bamboo forest that the trains were running through and removal of that stray Burmese python...

Originally Posted by christopher N&W:

Removing the bamboo was the sensible thing to do.


I think Dan's photo with with the toilet takes the cake.


There was a local layout where we had to follow the trains running through the bathroom.

Likely you kept the python to control incursions by the neighbors....

Wow I just stumbled across this while searching whether anyone had ever moved their furnace to fit a layout.    Tom Tee did my benchwork but I cannot use it where originally placed and I considered digging out the crawlspace (20k+) or moving the furnace (still looking... I only really need two feet!).    You guys are my heroes! 

Post

OGR Publishing, Inc., 1310 Eastside Centre Ct, Suite 6, Mountain Home, AR 72653
800-980-OGRR (6477)
www.ogaugerr.com

×
×
×
×
Link copied to your clipboard.
×
×