


Morning everyone, once again some wonderful work!
Vincent, looking good, be careful in space! LOL
Lee, The Texaco turned out Amazing!
SIRT, Nice weathering job!
Bill, you have been quite busy. Looking good!
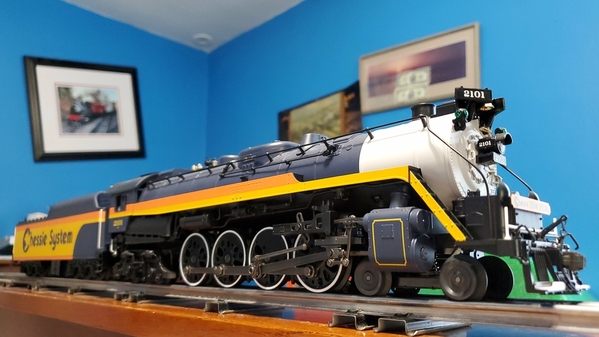
Bruce, Full Steam ahead! Looks like your ready for a lot of fun!
Well guy since I was up at 3 this morning I went out to the train room and got my first coat of Polyurethane on and now have to wait 3 hours for it to dry before the second coat. While I was out there I also added night lighting to the room and work lighting for under the layout. Here are a couple photos, I did not take one of the under layout lighting as I didn't think anyone would care to see that and my messy wiring! LOL


I hope everyone has a great Hump day and finds time for there layout and trains! But most of all that you all have fun!


")
")
")
")
")
")
")
")
")
")
")
")


")
")
")
")
")
")
")
")
")
")


