Evening guys, 

Lee, Great photos! I think they both look great! But whats important is that you know!

Bob, Looks like a nice project!

Vincent, Very cool! Also good luck with your new washer

Ross, Nice video of your train, layout and Washer! LOL

SIRT, Nice! I take it your trains and cars are going to be sharing the same space!

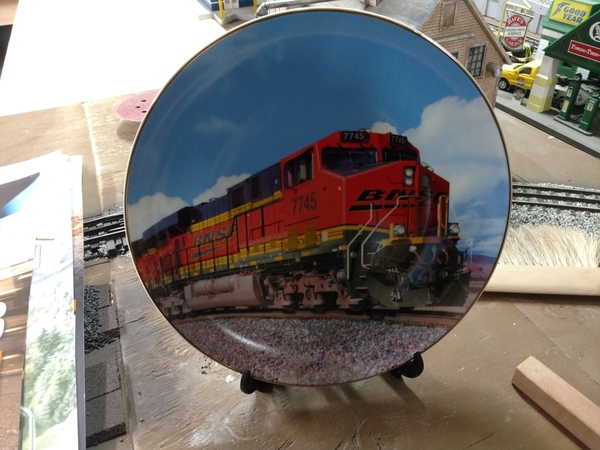
Well guys I was able to get pout and install some Toggle switches in my n ew facia! I also p[icked up some BNSF stuff and that leads to my question for you all, Do I cut the top off the top of the calander or do I just hang them the way they are! Also picked up a safety plate and a switch key! Photos below!IMG_20200613_145326981IMG_20200613_145332165IMG_20200613_145544612IMG_20200613_145445447IMG_20200613_145539770IMG_20200613_163541895IMG_20200613_163523674


Attachments

Images (7)
  • IMG_20200613_145326981
  • IMG_20200613_145332165
  • IMG_20200613_145544612
  • IMG_20200613_145445447
  • IMG_20200613_145539770
  • IMG_20200613_163541895
  • IMG_20200613_163523674

@p51

Lee:

Your repainting of the military figure is GREAT detail work. Even though the figure will be in your layout and not be as visible as close-up, I believe that all of the detail you can add will subliminally make the figure stand out in your spectators' minds. The detailing on your Texaco sign is great, too.

Also, did you see my post responding to your question about the tents i used in my Boy Scout camp diorama?

The second Alaska 21" Coach #204 is finished. Many of the young adults have gathered in the front of the second coach as parents talk in the rear of coach #200.  An adult sits with the children to give the adults time to talk.  The family reunion train trip on the Alaska Railroad is providing a relaxing scenic vacation.

Have a good weekend. 

Sincerely, John Rowlen

IMG_2172

Attachments

Images (8)
  • IMG_2172
  • IMG_2165
  • IMG_2166
  • IMG_2167
  • IMG_2168
  • IMG_2169
  • IMG_2170
  • IMG_2172

@p51

Lee:

Your repainting of the military figure is GREAT detail work. Even though the figure will be in your layout and not be as visible as close-up, I believe that all of the detail you can add will subliminally make the figure stand out in your spectators' minds. The detailing on your Texaco sign is great, too.

Also, did you see my post responding to your question about the tents i used in my Boy Scout camp diorama?

Thanks, Randy! I did see that tent post and have found some on eBay. I'm still not sure if there the right size for O scale people, though...

@p51 posted:

Thanks, Randy! I did see that tent post and have found some on eBay. I'm still not sure if there the right size for O scale people, though...

@p51

Lee:

They are not 1:48 scale. The figures that came with the play set were larger. So, if you are looking for true O scale "pup" tents, the Marx tents are not it. But, for the Boy Scout camp diorama, I imagined them to be double occupancy tents. I liked the ones made of olive-colored rubber. The set came with both plastic and rubber tents. I don't know why? The plastic ones need a coat of flat paint to make look like fabric.

SIRT, Nice Toll station! I remember a couple of them when I was back east!

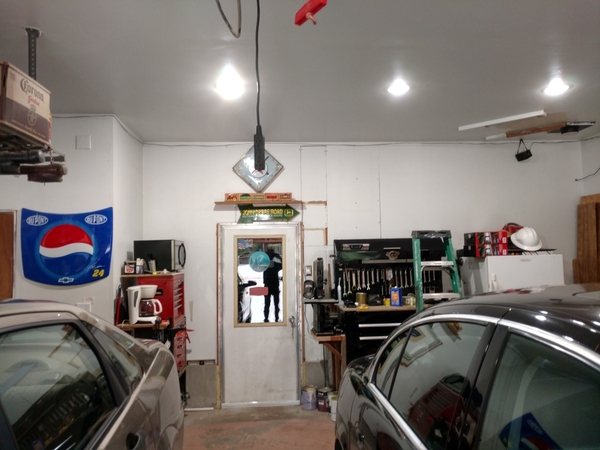
I didn't do much today, just finished installing the last of the toggle switches in my new facia. Then I cleared the garage wall between the garage and train room as I am thinking about hanging all the cool BNSF calendars I got yesterday there! I think it would make a nice entrance to the train room! But then again I am open to ideas!

I hope everyone had a great weekend and was able to find time to have fun with there layout and trains!IMG_20200614_160652542_HDR     

Attachments

Images (1)
  • IMG_20200614_160652542_HDR
@ScoutingDad posted:

Bruce - you talk about a potential  Falhauber motor swap. Aren't those DC motors and your power supply AC? Is track power converted into DC on board the engine?  THX  Jeff

Yes to all your questions, Jeff.  You have just described pretty much anything produced these days in 3 rail O.   Even the old William's E6 is factory equipped with a Pittman dc motor utilizing an electronic reverse board with bridge rectifier.

I have experimented with a few Falhauber conversions.  The 24V motors I have on hand where surplus warehouse bargains.   I find them fully capable replacements for AC  Pulmor motors found in large Lionel steamers from 20-30 years ago.

Bruce

I just finished the final editing of the photograph I'm going to submit to the calendar contest for the nmra. The CD is now in a box, inside an envelope, ready to be mailed. Why we can't upload them to a website, I will never know. I'm not an MMR, so I doubt they'll run any of my shots, same as they weren't interested in my cartoons (then ran the most sporadic and unfunny stuff I've ever seen) in their magazine. This is probably the last time I'll try to submit anything in print to the NMRA.

Then, I redid my switch lists, to include the new wood Hopper cars, and to allow for the movement of a former steam engine tender which is now a water car. Then, I took a set of HO scale 25 pound coal sacks that I bought at a hobby shop on Friday, and painted them two different colors of tan. In O scale, they make great sandbags.

il_794xN.1800850177_lgtd0614201932a

Then, I ran my Bachmann 2-6-2T trench locomotive, doing some switching, just for the heck of it.

Attachments

Images (2)
  • il_794xN.1800850177_lgtd
  • 0614201932a
Videos (1)
0614202057(1)
Last edited by p51

Morning guys, Looks like some real fun here!

Lee, I hope they take the time and print your photo. Wonderful job on the sand bags, they look great! I think your little trench engine looks very cool!

Kwisor, Neat setup with the Auto's running and some nice looking trains! It really looks like its going to be a wonderful layout!

Not sure what I am going to do today, but I am sure I will figure out something! Its pouring rain here so its a great day to be in the train room!

I hope you all have a wonderful Monday and find time for your trains and layout! Most of all have fun!


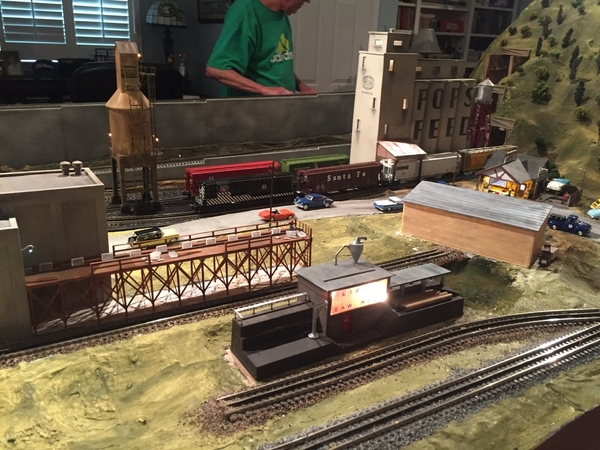
A solid weekend of work. Ballast down for sections of track, weathered a Lionel calling tower, added lights to the ice house, and a real solution to running power for buildings. The town is lit . . . with electricity! The sawmill is working for the first time in 15 years which is fun to see. This section is ready for some ground covering. Also need to paint the inside of the cornerstone lumberyard so lights don't bleed through.

IMG_0185IMG_0184

Attachments

Images (2)
  • IMG_0185
  • IMG_0184
@p51 posted:

I shot this video last night, my third attempt. It was all in one take, so when my phone booted me off the very end of it, I didn't bother shooting it yet again:
https://youtu.be/CRj4z_RbD3U

@p51:

Lee:

I loved your video and layout. Your scenery is GREAT! I do have one question. Where did you get the pedestal for your canon monument? I have a use for it in a future scene.

Thank you.

@p51:

Lee:

I loved your video and layout. Your scenery is GREAT! I do have one question. Where did you get the pedestal for your canon monument? I have a use for it in a future scene.

Thank you.

I don't remember where I got the pedestal from, but it was a highly modified dollhouse miniature. I think it was a large-scale thing to put a vase on...

G'Evening all,

The weather here has been dry and cool, perfect for taking care of a few painting projects held over until conditions were ideal.  Otherwise,in the attic a couple of minor glitches were remedied while exercising trains and listening to 901's.....actually 301's, Bob 😉

Looks as if another heat wave is on the way later this week.  That means less work upstairs and more at the bench.   Time to assemble those newly painted pieces.

Keep on Trainin'!

Bruce

Last edited by brwebster

Installing MENARDS LED Tape Lights

1 Before Photo MENARDS Lights

The before photo, this project took several evenings in the Train Room.

2 After MENARDS LED Lights

After Photo, here is the finished project. Notice how bright the blue in the skies appear , along with the structures.

3 Paint

The Procedures

The first step was to paint the white LED strip with black paint. This helps to hide the tape lights.

4 Strip Lights Balsa

I used Patriot LED Tape Lights, sold at MENARDS at their Bloomfield Hills, Michigan store.  They come with a 12 volt transformer & are 16 feet long.  The balsa wood was used to built a LED Light Valance to hide the tape lights behind the valance.

5 Valance

A close up look at the LED Light Valance.

6 MENARDS urn

When I was at MENARDS to get the LED tape lights. I brought home 3 MENARDS, Casper White 18” Grecian Flower Urns for the front yard.  SKU #2781823. My wife likes when I get train stuff at MENARDS, I always try to find something for her.

Gary

Attachments

Images (6)
  • 1 Before Photo MENARDS Lights
  • 2 After MENARDS LED Lights
  • 3 Paint
  • 4 Strip Lights Balsa
  • 5 Valance
  • 6 MENARDS urn

SuperChief, Your building lighting looks great! Just wondering what your real solution for running power was?

Lee, Great video of a wonderful layout! You sure put in a lot of work to install such amazing detail!

Scott, The Esskay Meat Packing plant looks great! Nice work!

Ray, looking good! I see you still have to install the I beam! 

Gary wonderful job on the LED tape lighting! Sure makes a big difference! I wish there was a Menards here in Washington State!

Well guy I was able to get to the train room yesterday and made labels for all my Toggle switches. Now I think I am going to turn my attention to the mountain area so I can work my way out of the corner! We will see how that goes.

I hope you all have a great day and fun with your layout and trains!

Wonderful work everyone!

Good morning everyone! Looks like everyone is doing well and y'all's projects are turning out great! Well, it is a new week and to start it off I started to do some ballast work and finished my latest product review. I will get photos of the track work latter but in the meantime here is the video. I hope you enjoy it and happy railroading! 

@mike g. posted:


Ray, looking good! I see you still have to install the I beam! 


Thanks Mike, that is what I'm working on today, going to use the channel full length of 2nd floor and use it to hang lighting as my trusses are part of the removable roof. I'll attach pictures later. I should just edit my previous ones to make it easier to follow.

Last edited by sidehack

Started detailing the Lionel Norfolk Southern Great Dome "Delaware" Station Sounds 21" passenger car.  The lower level has been painted and needs four Preiser 65602 seated figures installed in the clinic area.

I finished painting the interiors of the two Norfolk Southern Coaches in the two-pack.  I did not add people yet because I may use them in a storage yard if I ad the four-pack of coaches.

The next task is painting the upper Great Dome seats and tables and adding Preiser figures I painted.

UPDATE: The Upper Great Dome interior has been painted with three coats of paint.  It is now ready for final inspection and the placement of Preiser 65602 Seated People that I painted.

UPDATE 2:  I added several seated people to the Great Dome.  I still have a few more to place in the car.  It's almost finished.

Wishing you the best.

Sincerely, John Rowlen

IMG_2184

IMG_2187

Attachments

Images (17)
  • IMG_2184
  • IMG_2185
  • IMG_2186
  • IMG_2182
  • IMG_2183
  • IMG_2179
  • IMG_2184
  • IMG_2187
  • IMG_2187
  • IMG_2192
  • IMG_2191
  • IMG_2198
  • IMG_2197
  • IMG_2196
  • IMG_2195
  • IMG_2194
  • IMG_2193
Last edited by John Rowlen
@mike g. posted:

SuperChief, Your building lighting looks great! Just wondering what your real solution for running power was?


Thanks, Mike! The real solution was getting under the board and running and organizing the wires. When putting the buildings in place we had pigtailed wires running (and hanging down) to an old transformer placed on top of train boxes, which was plugged in with an extension cord running across the floor when we wanted lights. Not the most robust and scalable solution. We finally took the time to solder wires from each building and connect into a wire strip without wire hanging down from everywhere. No more worry about moving boxes around. 

Add Reply

Post

OGR Publishing, Inc., 1310 Eastside Centre Ct, Suite 6, Mountain Home, AR 72653
800-980-OGRR (6477)
www.ogaugerr.com

×
×
×
×
Link copied to your clipboard.
×
×