@Mark Boyce posted:

Dave and Bob, I have occasionally pondered whether all of us would get more done if we weren't on the Forum as much.    Blasphemy, I know!    I finally decided that my initial statement isn't true.  If I am like others, which I suspect I am, I gain new insight, motivation, learn better techniques, lean about better tools for the job at, hand, you get the idea.  Bob's suggestion for a fine soldering tip and lit magnifier is just one case in point.

Idea-thinker, that's great you have a lot of operating accessories to add to the layout.

Mike, As you and I talked elsewhere, it is good to see you commenting here again after your cross half country move.  I'm praying you find the right train room soon and the CEO approves!

Bill, working on the cattle loader is a good task for a rainy day.  We had dry but cloudy skies the last couple days, but the weatherman predicts it will start raining again tonight.

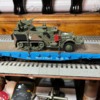
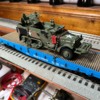
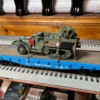
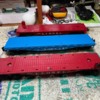
I took advantage of the dry weather to spray paint two parts I forgot about when I was spray painting parts for my Brennan's Sanky Wanky Coffee Co.  I have described the process ad nauseum on my layout build thread, but here are a couple so you can see the project.

20240406_185718487_iOS

20240406_185812268_iOS

Mark,   Great job on the Sanky Wanky Coffee Co.   I'll need to go to your layout thread and read the details. 

I managed to run into the deal of the decade and picked up quite a bit of dimensional select pine lumber used, 1x4's, 1x6's, 1x10's, all 8 foot long, as well as quite few 4+ foot cut-ffs (1x4) select pine.   Same individual had two sheets of 1/4 inch luan underlayment plywood...  So now I have everything I need for the West End Industrial District.

Made significant progress on "brick weathering"...  Decided to kit bash the Brook Hill Farm Dairy building together with the Lionel Municipal building that I picked up at a local train show...  The Lionel building was glued together, but now I have managed to get it "properly" weathered.   

Got one sheet of the plywood cut on a 46 inch radius, so I could start getting serious about laying out the warehouses, factories and keep exploring possible track arrangements.   

I plan on doing some operating in this area, so these two sidings in the photos below should have 4 to 5 locations to drop and pick up cars from.


DSC02119DSC02120DSC02121DSC02122DSC02123DSC02124DSC02125

Attachments

Images (7)
  • DSC02119
  • DSC02120
  • DSC02121
  • DSC02122
  • DSC02123
  • DSC02124
  • DSC02125

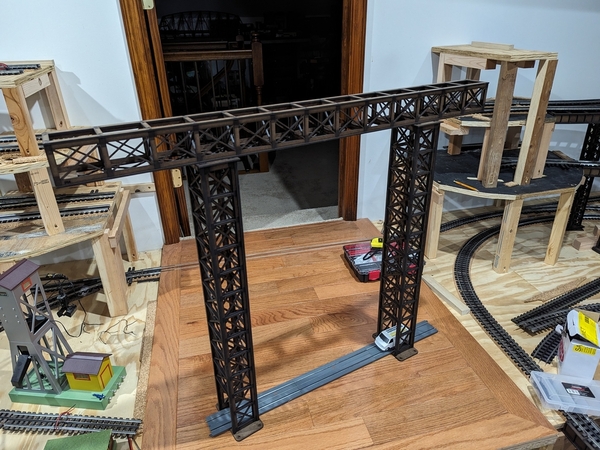
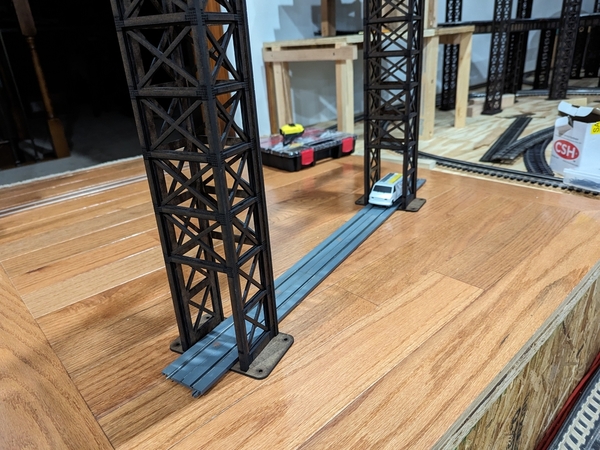
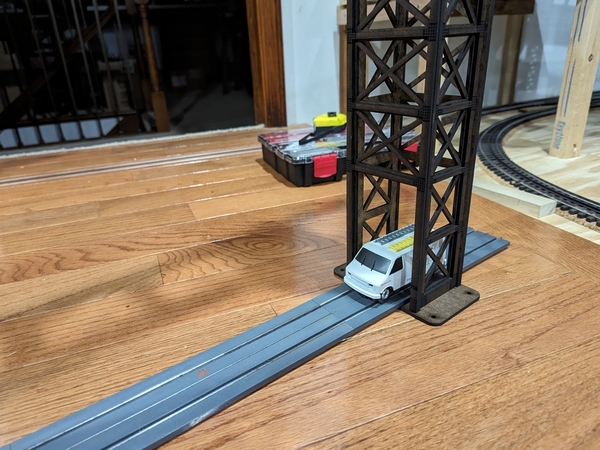
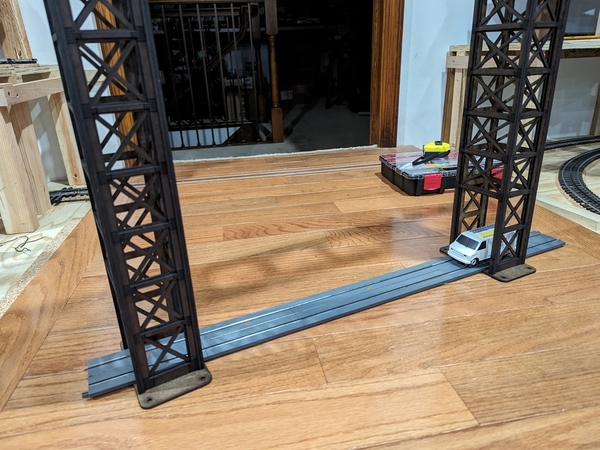
Just finished a new style of bridge pier. This pier will support an overhead truss bridge as seen in the photos but space was tight where I was planning on putting a run of Super Streets in so I created a pier that has a passthrough at the bottom of it. I do not know how practical it would be in real life but in my world this pier makes it possible for me to keep my Super Street track in the same space. These images were setup just for the photos. This setup goes elsewhere on the layout which I will take photos of when it is in place.


PXL_20240413_001138063PXL_20240413_001147399PXL_20240413_001156733PXL_20240413_001202336

idea-thinker

Attachments

Images (4)
  • PXL_20240413_001138063
  • PXL_20240413_001147399
  • PXL_20240413_001156733
  • PXL_20240413_001202336

5 steps forward 6 steps back - or so it seems.

Made good progress wiring in new MP4 switch motors and Tortoise motors controlled by Touch Toggles. Only thing that remains is the engine yard, which I am rethinking. Power appears to be good on all sections, waiting for the gremlin to pop up to prove otherwise.

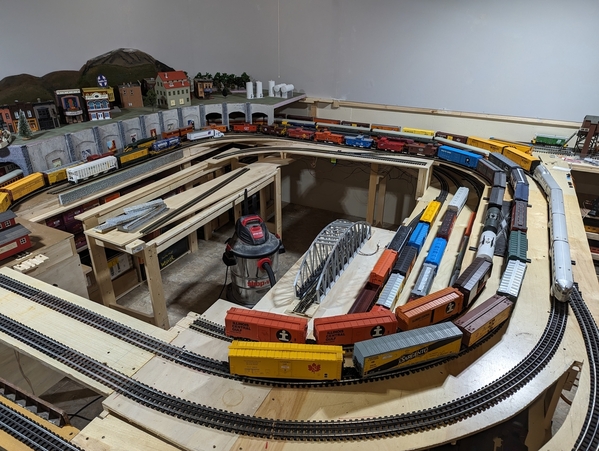
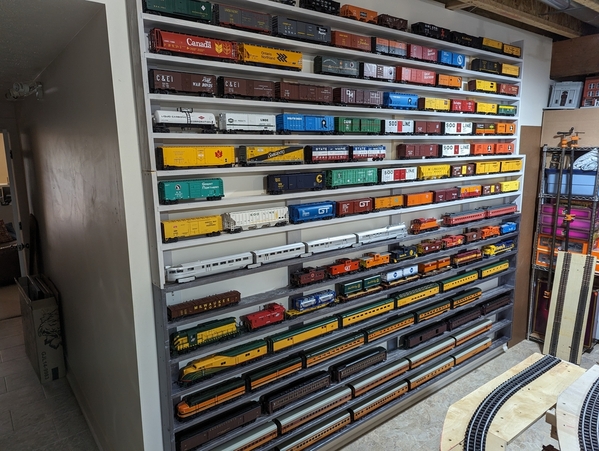
Meanwhile, the CEO and I decided to co-locate all 170 feet of rolling stock shelving onto a single wall. That task is done, but all that rolling stock is now on my layout. YIKES.   Question - since I appear to have track space for more cars and engines does that mean I need to buy more goodies???

TPRR2 rolling stock

As I mentioned earlier, the water feature on the left is removable. It had to slide out to provide access to run additional power and switch motor wiring.

Attachments

Images (1)
  • TPRR2 rolling stock
@ScoutingDad posted:

5 steps forward 6 steps back - or so it seems.

Made good progress wiring in new MP4 switch motors and Tortoise motors controlled by Touch Toggles. Only thing that remains is the engine yard, which I am rethinking. Power appears to be good on all sections, waiting for the gremlin to pop up to prove otherwise.

Meanwhile, the CEO and I decided to co-locate all 170 feet of rolling stock shelving onto a single wall. That task is done, but all that rolling stock is now on my layout. YIKES.   Question - since I appear to have track space for more cars and engines does that mean I need to buy more goodies???

TPRR2 rolling stock

As I mentioned earlier, the water feature on the left is removable. It had to slide out to provide access to run additional power and switch motor wiring.

Wait! I'm confused.......Is this a trick question???????

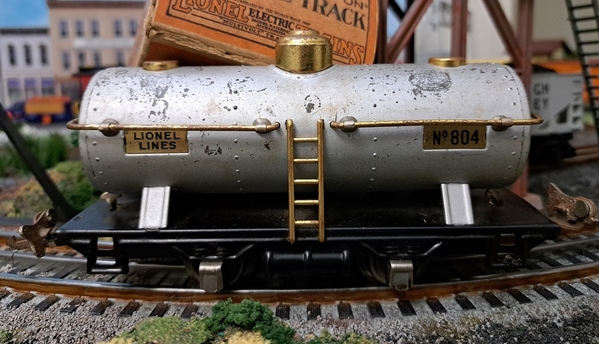
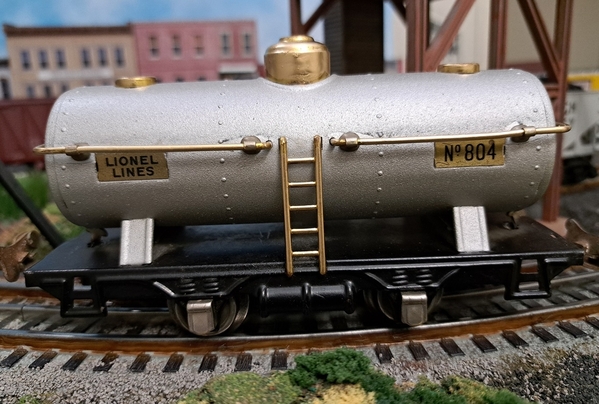
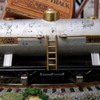
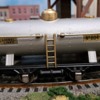
I decided to improve the look of one of my only three pieces of prewar Lionel. I didn't see a quick way of removing the stanchions(?) for the grab rails, so I taped them off and spray painted the tank. Not the best, but I wasn't trying to restore it, just make it look a little better to run once I get a locomotive. Then I used a chisel tipped "Deco-color" gold leaf paint marker from Walmart to paint over the grab rails. That marker is excellent for the brass color grab rails, although on the domes the paint pooled a little in spots. For a splapdash ham-handed effort I think the car came out pretty good. Before and after:

804 before

804 touchup

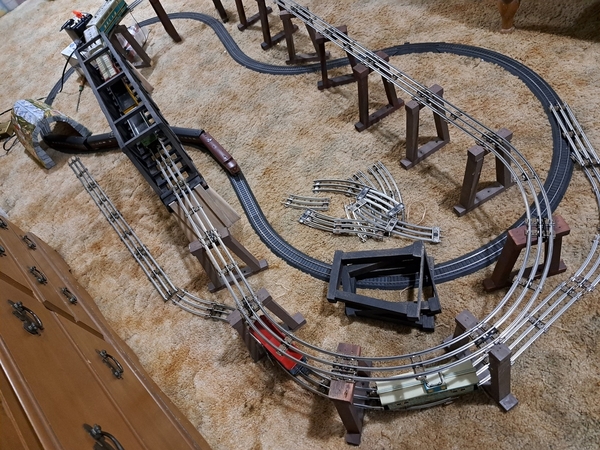
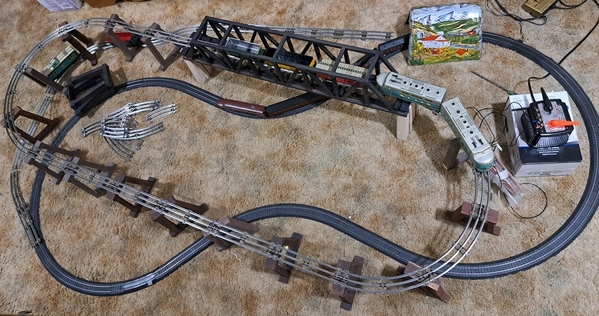
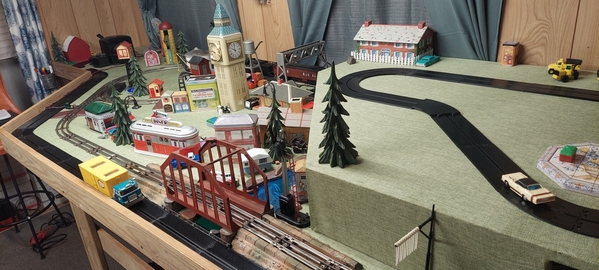
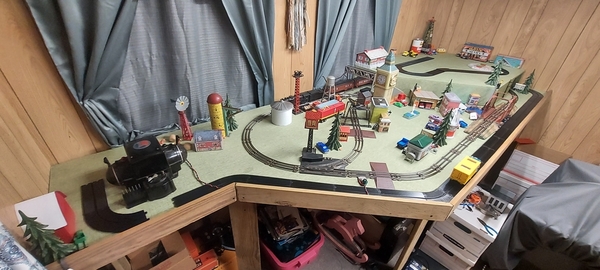
I also used sections of track to start mocking up what I want to do with a future 0-27 toy train layout. Where the H0 track is now will be the approximate location of the lower level 0-27 loop. The existing H0 track passes under the upper level 4 times, which I find visually interesting and plan to retain when I change it to 0-27. I'm thinking it will have a crossover in the middle to change direction at least once. I don't want an X crossing in the middle, so I might add a turnaround somewhere else so trains can change directions both ways without backing up. It will probably have one siding outside each side of the lower level. For visual interest, the siding will duck inside three of the trestles before rejoining the main line as in the photo below. I rebuilt three of the trestles wider so the trestle may be turned at an angle to allow the track to enter and exit without S-curves.

20240414_202313

20240414_202426

Attachments

Images (4)
  • 804 before
  • 804 touchup
  • 20240414_202313
  • 20240414_202426

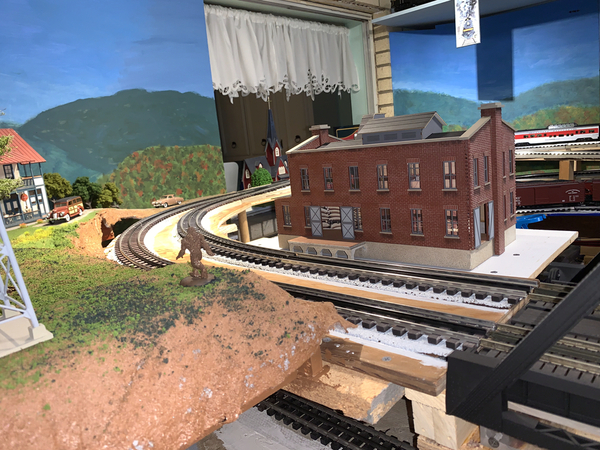
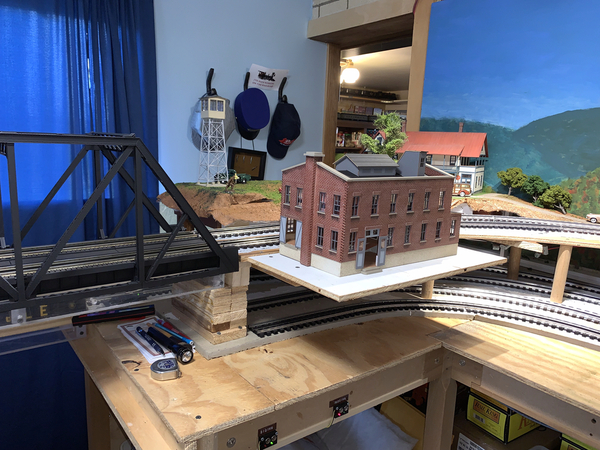
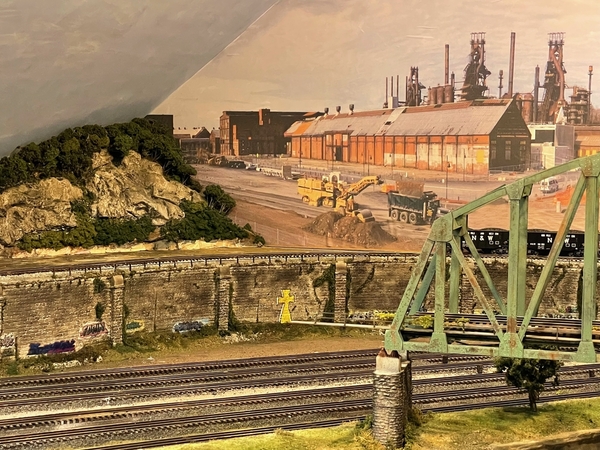
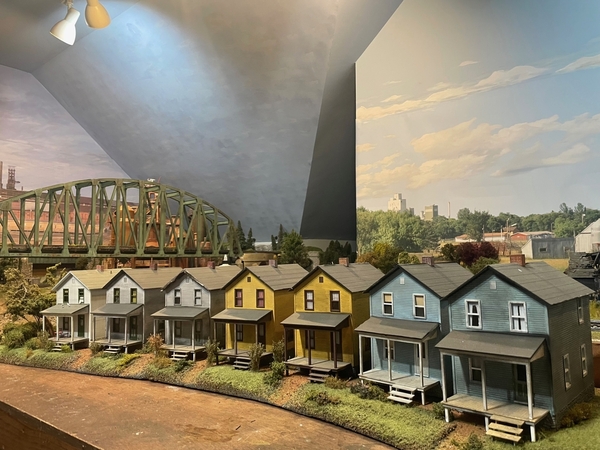
Preparing to do some work on the row house diorama. This was built to be removable because it sets in the back of the layout. The truss bridge has to be disassembled to get access to the area. Once that is done it's just a matter of pulling the diorama out and placing it on the workbench. While I am back there, I probably will work on other things in the area so that I don't have to get back there for a while. That means no train running on the upper level until work is completed. Photos show bridge partially disassembled, space where diorama goes, and diorama on the workbench.

Dave

IMG_7119IMG_7118IMG_7117

Attachments

Images (3)
  • bridge disassembled to work on row house diorama
  • lot for row house diorama
  • row house diorama on workbench

Preparing to do some work on the row house diorama. This was built to be removable because it sets in the back of the layout. The truss bridge has to be disassembled to get access to the area. Once that is done it's just a matter of pulling the diorama out and placing it on the workbench. While I am back there, I probably will work on other things in the area so that I don't have to get back there for a while. That means no train running on the upper level until work is completed. Photos show bridge partially disassembled, space where diorama goes, and diorama on the workbench.

Dave

You do amazing work, Dave. It's beyond museum quality.

John

@PRR8976 posted:

John, The car came out very good. Thanks for sharing your procedures. What did you use for the silver, if I can ask?

Tom

Thank you, Tom. I used Krylon. (At work now but I think it was Satin finish.)  It came out with a bit of a sandy texture. The original paint was kind of sandy, too, and I just lightly sanded it, so that surface probably got accentuated. But I'm not disappointed considering the time expenditure.

John

@Signalwoman posted:

More road work, nearing the end. It's been rather satisfying running the truck up and down the front stretch today.20240415_21492820240415_214809

Looking good.

Are you still planning some kind of mountain village for the upper level ?

It's not fair that YOU ONLY should find it satisfying to see the truck running " up and down the front stretch ".............. can you do a short video ?  🤔

Good morning guys and gals! I hope your all having a good week so far! I had to go back a little to see all the amazing work!

@chris a, what a great deal on the wood and man your going to busy putting all those buildings together! I know for one thing I will be watching your progress and trying to take notes for down the road!

@Richie C. Nice work on the new flat car! I will have to check out Menards!

@idea-thinker Now that is planning! It would be so neat to run trains and cars at the same time on a layout!

@ScoutingDad Jeff, its nice that the CEO was able to help you make more room for rolling stock! I hope you didn't ask her the same question! I know if it was me and my CEO helped me make more room I would take that as a go ahead for more stuff! LOL

@John's Trains John the tanker car really turned out perfect! and the layout you are putting together really looks fun!

@luvindemtrains Dave, it is so cool that your able to take the row houses off the layout to work on them and put them back! You do such AMAZING work and I often check out your YouTube page just to make sure I am not missing something!

@Signalwoman The roadway looks good, its a good addition to your layout!

As for me it's the same old thing right now. Still looking for that right house with a train room. We think we found one but waiting to see what the seller is going to be asking! We talked to them and found out it will be going on the market soon!

Here is a funny thing, When I was a young kid we lived near RR Tracks and I always thought it was great when a train went by, and that is what really got me into trains and building layouts, Now that were living in Missouri we are right near the RR tracks and they run trains all night long, kind of a drag! LOL

I hope you all are doing well and finding time to have fun with your trains and your layouts!

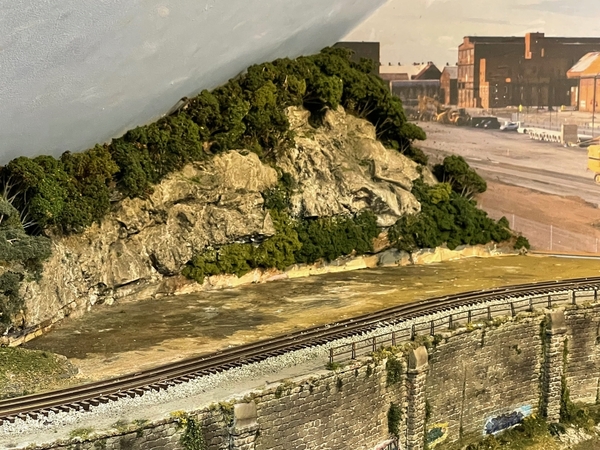
Mike, it was more an issue of taking up wall-space the CEO wanted to use. I ended up removing all my shelves from two walls and reinstalling on a single wall, but this time the shelves went nearly  floor to ceiling.  The shelves were cut for a specific placement so they so not quite fit seamlessly.

Shelf wall 

I could use another 4 or 5 shelves to get everything on display. As is, I think I can get nearly all "still boxed" gear out on the layout, especially if I leave 2 passenger consists on the layout at any one time. 

Attachments

Images (1)
  • Shelf wall

The shelves look great, Jeff!  What a Colorful display!  😉

Mike, we look be about the same distance from railroad tracks as I did growing up, about a quarter mile.  Both cases the tracks are down in the hollow about 300 feet in elevation.  Close enough to be heard, but not so close as to keep you up at night.  Tell those folks what you want pay, and when they know you are building a model railroad they will be glad to take it. 😄

Last edited by Mark Boyce

New to me 253 from the NYC office: 

GEDC3003

Goes great with these green prewar Pullmans: 

GEDC3007

For the Tail End Tuesday crowd: 

GEDC3008

Enter Her Nibs, Norma Bates Kitteh, Road Supervisor:

Norma is, of course, her usual helpful self. 

GEDC3011GEDC3015

The 253 is missing its pantograph, so I subtituted a prewar fixed Pittman trolley pole.

GEDC3017

The pole can be swung around for storage: 

GEDC3018

All in all, a good match for the 253 and its train! 

GEDC3019

Mitch

Attachments

Images (8)
  • GEDC3003
  • GEDC3007
  • GEDC3008
  • GEDC3011
  • GEDC3015
  • GEDC3017
  • GEDC3018
  • GEDC3019
Videos (1)
GEDC3010

Looking good.

Are you still planning some kind of mountain village for the upper level ?

It's not fair that YOU ONLY should find it satisfying to see the truck running " up and down the front stretch ".............. can you do a short video ?  🤔

It's turning into more of a small city, as soon as I get the loops completed I'll post a video, it's to hard to chase the truck and work the camera with the room as cluttered as it is right now. It's a great effect though, the little front wheels turn through the corners and all.

I plan to have one car peaking in and out of the buildings in a city on the top, and another vehicle running on the bottom out in the open. Once I get the road system working I suppose I'll have to invest in a few more vehicles....

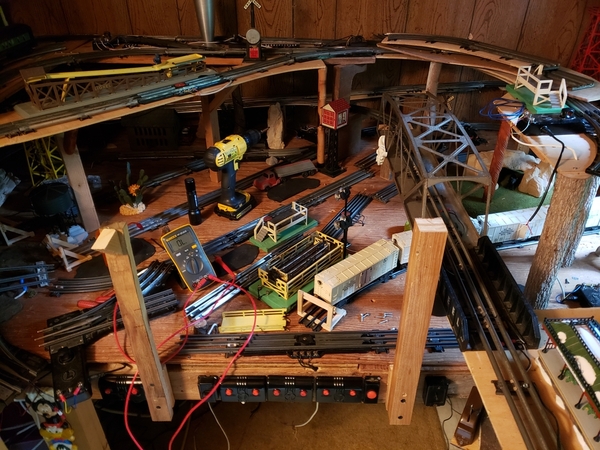
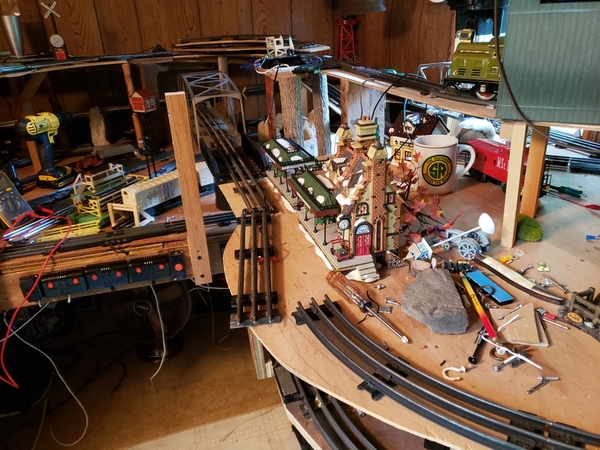
I took up more than 15 feet of track while searching for a short on the main line.  The short cleared.  Now I'll put small sections back down and look for the cause.  The short appeared after I removed a switch and spur to make room for another cool Lionel accessory.  A work day on the layout is still quality train time.

Apr 20-2Apr 20-3

Bill

Attachments

Images (2)
  • Apr 20-2
  • Apr 20-3

Add Reply

Post

OGR Publishing, Inc., 1310 Eastside Centre Ct, Suite 6, Mountain Home, AR 72653
800-980-OGRR (6477)
www.ogaugerr.com

×
×
×
×
Link copied to your clipboard.
×
×