Ah, Ok. I figured you had a CAB2 so I thought there was some reason you specifically said they worked with CAB1 haha
Updated 2/8/2021:
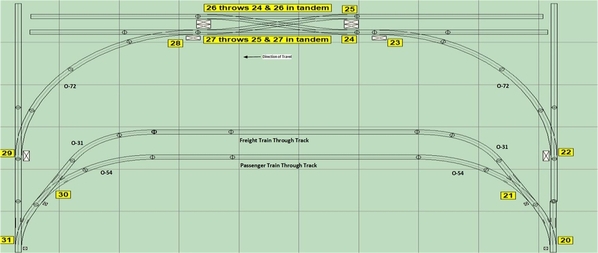
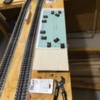
Having installed all the switches in the Staging Area, powered, connected them to the DZ-2001 Data Wire Driver, and tested them, I have now turned my attention to a small control panel. This will be used by the Staging Area Operator in lieu of a CAB-1.
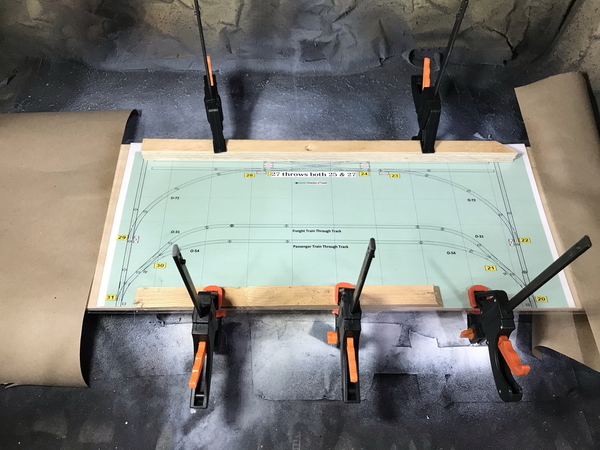
The panel will sit on a slightly raised podium 24" wide. The drawing is 16" wide, leaving room for a CAB-1 and a small notepad. I used RR-Track to make the track diagram, exported it to a Bitmap format, and imported it into Paint 3-D. There it was elongated a bit and then printed onto an 11"x17" piece of paper using my Brother printer.
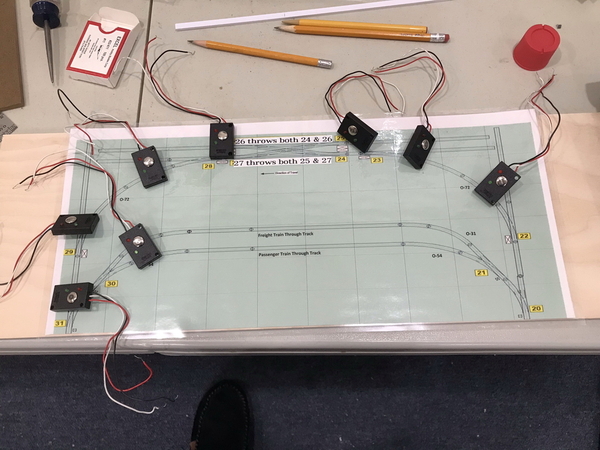
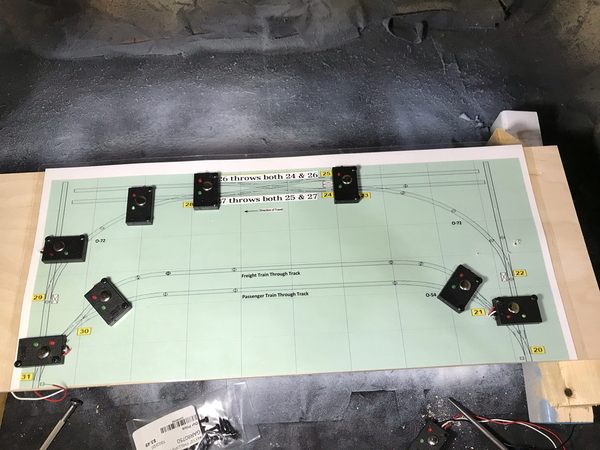
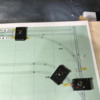
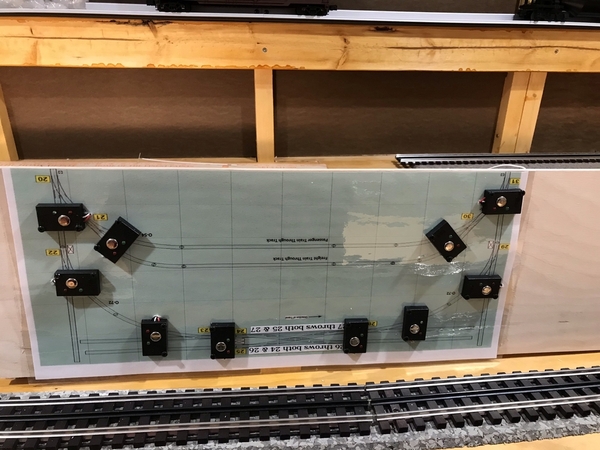
I had it laminated at Staples. I ended up applying some labeling tape to 2 spots and test-fitting DZ-2502P push-buttons.
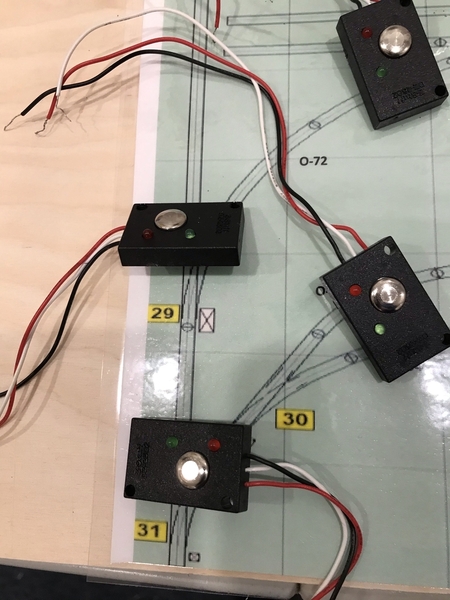
Here's a closer look at the left (exit) side of the Staging Area. The indicator lights of the push-buttons will be strategically placed over the tracks, showing the active path.
I used spray adhesive to glue the laminated plastic to the craft plywood underneath. Tomorrow I will try to drill holes for the push-button's wires.
More when I know it. 
George
Attachments
Updated 2/9/2021:
I made some more progress on the Staging Area Operator's mini-console.
First, I glued the laminated track plan to the piece of craft plywood.
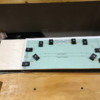
Then I drilled two screw holes and a hole for wires for the DZ-2502P push-button and installed them. The indicator lights are positioned over the drawings of the tracks.
Almost all of them are installed in the next photo.
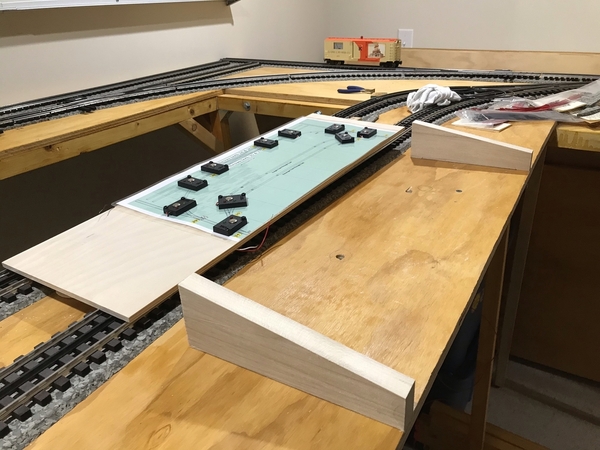
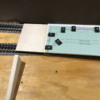
Then I cut some slightly sloping boards to create a "podium".
Here's a slightly better look. Note the holes in the bench work for wiring.
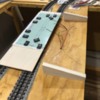
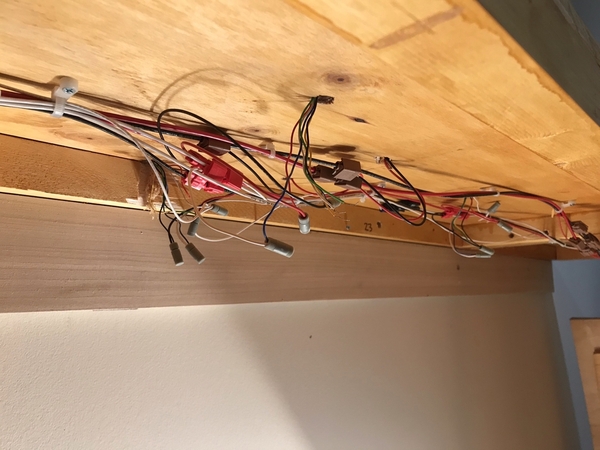
This is what it looks like from below. I've got power from the Switch Bus. None of the wires for the push-buttons have been run yet. They will also come up through the 2 holes - 5 / side.
This is a little better look at the panel before I pull all the wires for the DZ-2502P's. They will be white.
More when I know it. 
George
Attachments
George,
I like the looks of your track diagram, nice and clean and clear.
Tom
@PRR8976 posted:George,
I like the looks of your track diagram, nice and clean and clear.
Tom
Thanks Tom. I did it with RR-Track.
George
Updated 2/10/2021:
Seems like you never get enough done. Today I managed to get the right side of the Staging Operator's Panel wired (6 switches, including part of the double cross-over).
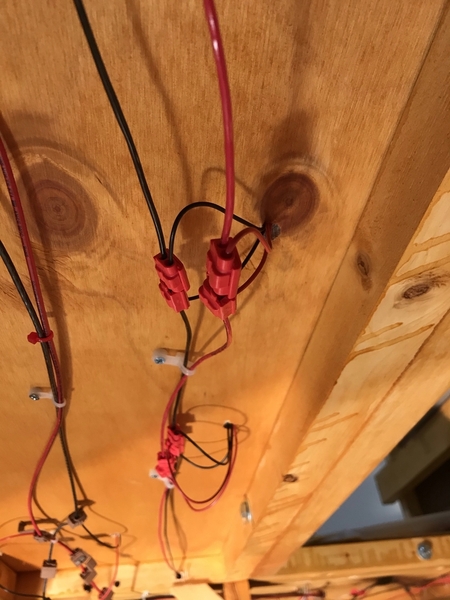
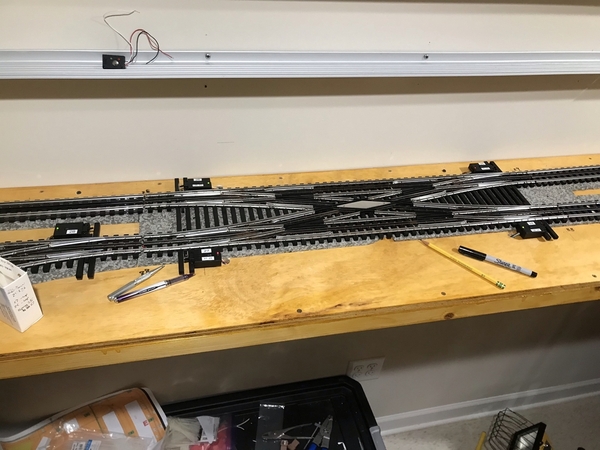
Here's the underside of the double cross-over. You can see track power (brown Scotchlok 567 connectors) buses as well as the switch bus (red Scotchlok 558 connectors). I used Posi-Lock connectors for all the other wiring connections.
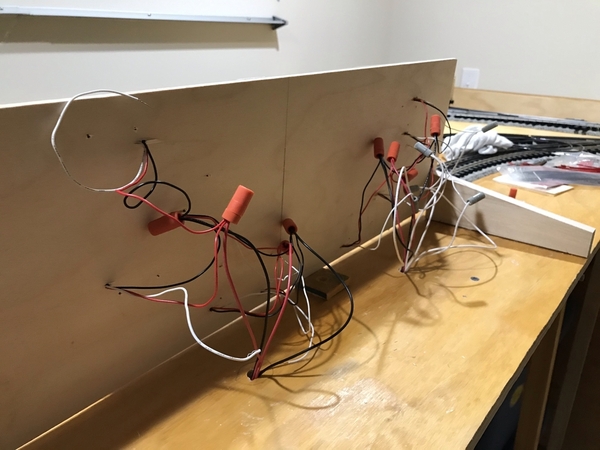
Here's the panel flipped upside down for wiring.
And here's the other (back) side of the panel. The left side has AC power to the push-buttons. The right side has everything connected.
Here's my double cross-over with 1 leg (2 opposing switches) thrown. Note the red lights on the DZ-2500s.
Here's the panel I used to throw them. The push-buttons closed to the camera have both lights lit because no wire to the switch machines has been installed.
We'll try to finish this up tomorrow.
More when I know it. 
George
Attachments
Looks good! Do those Robogrips help at all for closing those connectors?
@BillYo414 posted:Looks good! Do those Robogrips help at all for closing those connectors?
No. They just happen to be in the picture (a cameo appearance ![]() ). The Posi-Locks are essentially wire nuts done right! They twist into position and hold firmly. I love them.
). The Posi-Locks are essentially wire nuts done right! They twist into position and hold firmly. I love them.
George
Wow George, I just looked back at page 1, a beautiful clean shiny floor, beautiful room for this remarkable train layout. You’ve come a long way and your story is a good read for anyone beginning a new layout. You and Gunrunner John have very nice layouts under construction and both are fantastic. I’m sure somewhere along the way you have said what your minimum/maximum curve diameters are, and if your using ASC’S and BPC’S for command control? Your work is fantastic and I like the twin tracks on the bridge, your layouts coming to life and looking so nice. 26 pages of learning for us fellow forum members. Thank you very much for letting us see your progress. Happy Railroading Everyone
@leapinlarry posted:Wow George, I just looked back at page 1, a beautiful clean shiny floor, beautiful room for this remarkable train layout. You’ve come a long way and your story is a good read for anyone beginning a new layout. You and Gunrunner John have very nice layouts under construction and both are fantastic. I’m sure somewhere along the way you have said what your minimum/maximum curve diameters are, and if your using ASC’S and BPC’S for command control? Your work is fantastic and I like the twin tracks on the bridge, your layouts coming to life and looking so nice. 26 pages of learning for us fellow forum members. Thank you very much for letting us see your progress. Happy Railroading Everyone
Thank you for your very kind words, Larry. Glad you were able slog through all of that. ![]()
To answer your questions:
- Mainline curves: O72 is standard although we have a couple of very wide (O144) hand bent curves just east of the Stone Arch bridge
- Minimum curves: O31 (inside yards and mills)
- I am not using ASCs (Accessory Switch Controllers). Instead I have gone with 42 Z-Stuff DZ-2500 switch machines (individually TMCC addressable) controlled by 3 DZ-2001 Data Wire Drivers.
- I also abandoned the Block Power Controllers (BPCs) and Track Power Controllers (TPCs). The TPCs had some sort of problem and failed, forcing me to go with the new Legacy PowerMasters. One of them has also given me some trouble. They are currently still on the power distribution panel but are not hooked up. Jury's still out on their ultimate fate.
- I do have an ARC (Action Recorder Controller) that I hope to use to create routes.
- I also have 2 AMC (Accessory Motor Controllers) that I hope to use to control some still to be determined items.
By the way, I went back to the 1st page of the thread and corrected / updated some of the information there.
Thanks again,
George
@leapinlarry posted:Your work is fantastic and I like the twin tracks on the bridge, your layouts coming to life and looking so nice. 26 pages of learning for us fellow forum members. Thank you very much for letting us see your progress. Happy Railroading Everyone
Those pages of various layouts are a major reason I joined the forum. It really helped me get some perspective on my layout. I'm glad people have these layout posts like this!
@G3750 posted:No. They just happen to be in the picture (a cameo appearance
).
They were the first tool I thought of for the suitcase connectors but I wasn't sure if Robogrips were around anymore. My dad had a pair and I used them a lot as a kit.
Updated 2/11/2021:
Well, I was on track to finish wiring the panel but ran out of 20 AWG stranded wire (in white). Casting about locally for some got me the phone equivalent of the SDL (Standard Dumb Look) - "Whatya want that for?" None of the usual sources carried anything that small. I ended up ordering it from a trusted supplier (Waytek Wire), but it's at least 3 days out. ![]()
I did manage to get 4 of the 6 switch activating push-buttons on the left hand side of the panel connected.
George
It's always something! That reminds me, I need to order some wire as well.
@Mark Boyce posted:It's always something! That reminds me, I need to order some wire as well.
Mark, do you have a local supplier for some of the smaller gauge stuff?
George, No I do not have a local source for "specialized" wire that we ca use for the Z-stuff controls. I am going to look online for myself.
Updated 2/16/2021:
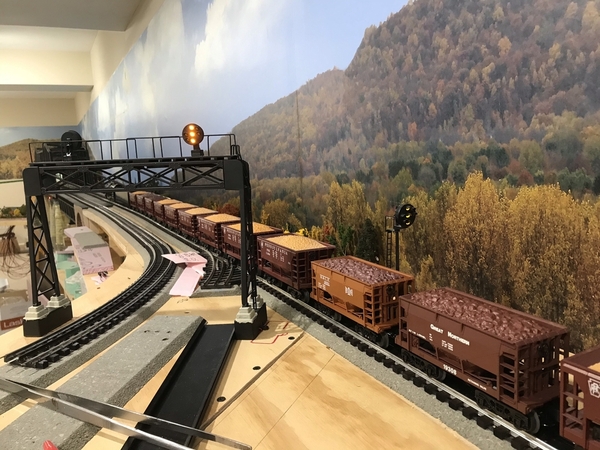
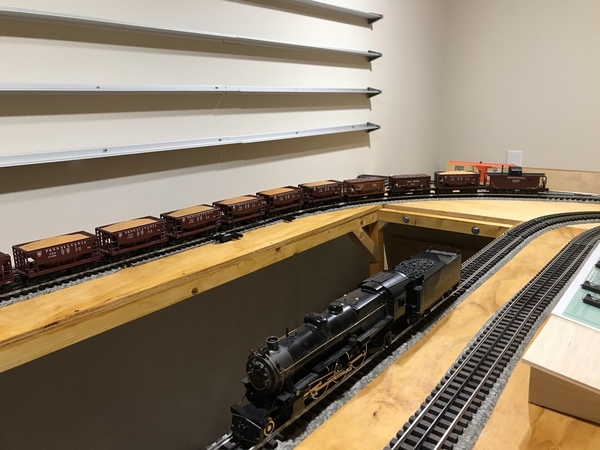
Working on the East End Interlocking (where the exit track from Weirton Steel meets the westbound mainline).
Yep. So far both signals are incorrect. ![]()
The DZ-1060 on the right should be indicating STOP for the train (if any) following. The MTH signal should be indicating STOP because the switch in front of it has been thrown against the mainline.
Tomorrow's another day. ![]()
But dang! That's a good looking ore train. ![]()
George
Attachments
I counted 12 cars there! How many are there total?
It is a good looking trains and the signal looks good too!
@BillYo414 posted:I counted 12 cars there! How many are there total?
I think you are correct. The cabin car is attached to the last one on the right, out of camera view. I'm kinda ashamed to tell you there are at least that many sitting on a shelf in the staging area. ![]()
![]()
George
@Mark Boyce posted:It is a good looking trains and the signal looks good too!
Thank you! It will look much better when they are both functioning correctly. Right now, it's a Gomez Addams event waiting to happen. ![]()
George
😆
Updated 2/17/2021:
Today's activities were a bit conceptual and a bit of running.
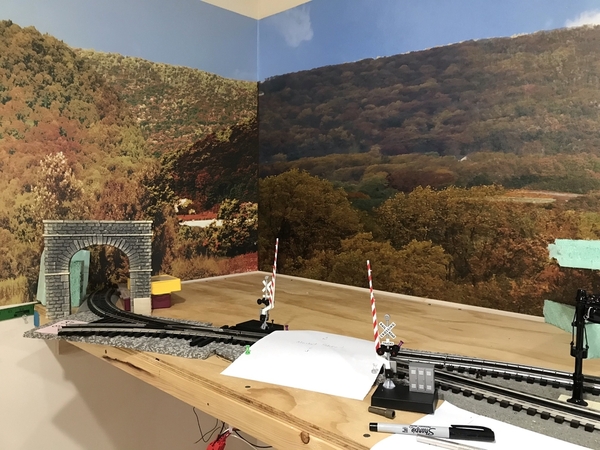
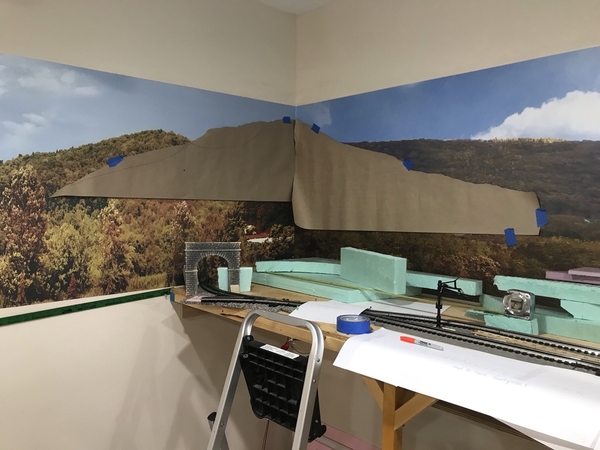
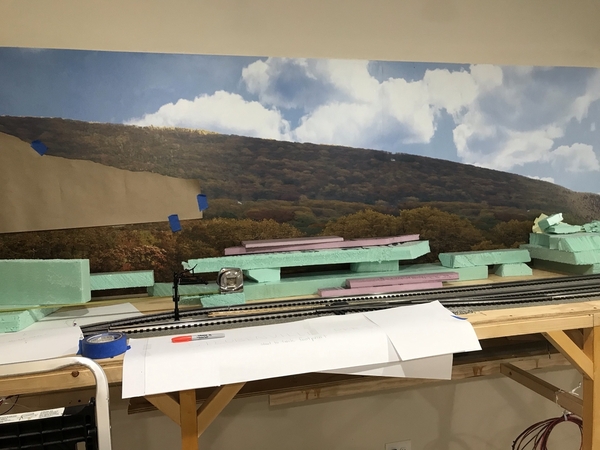
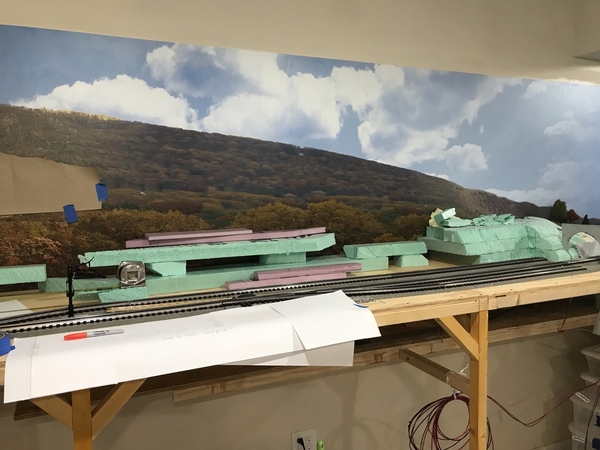
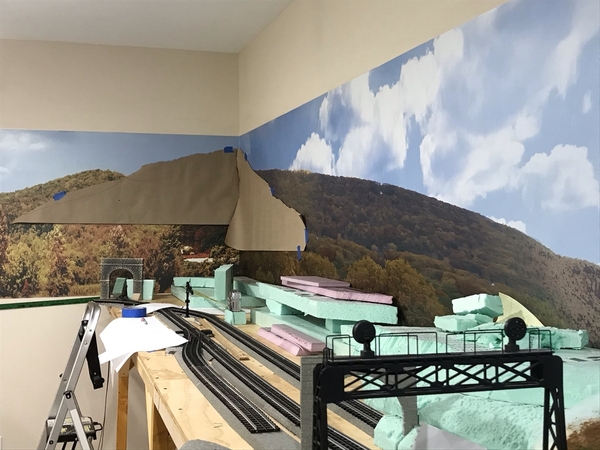
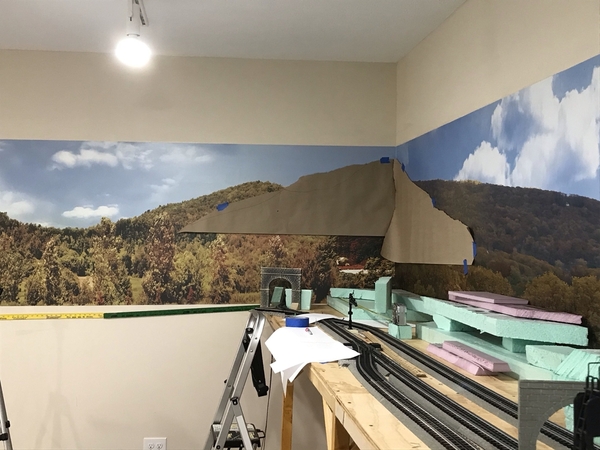
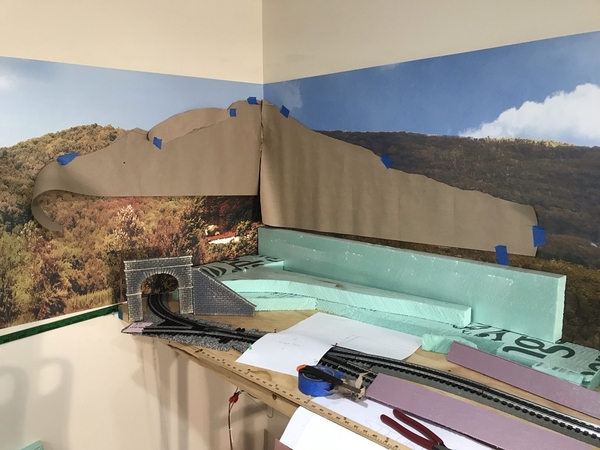
First, I started looking at the area behind and west of the Steubenville train station. The Panhandle will curve off into a Wile E. Coyote style tunnel. That's a fake painted on tunnel that only the RoadRunner can get through. ![]()
The area to the right of the tunnel portal will become hillside.
I thought it best to remove the crossing gates (after marking their positions) before they got damaged. The 2" thick green styrofoam is a placeholder for the hillside (final dimensions TBD).
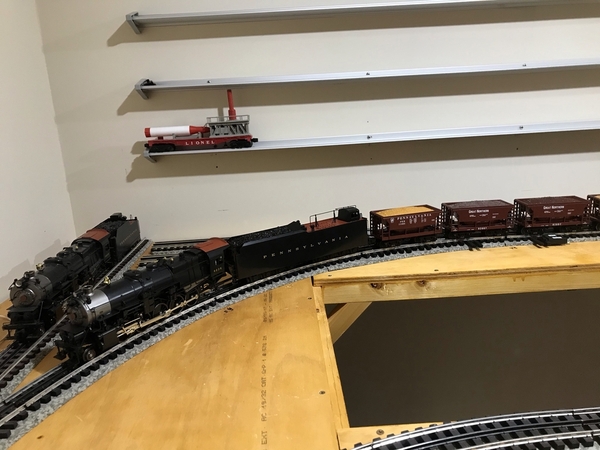
Also, just for grins, I backed the ore train all the way into the Staging Area. This was done to test the track work. In the process, the train crossed 5 switches and a double cross-over without incident - in reverse! I'm pretty pleased with that.
More when I know it. 
George
Attachments
Great progress, George......
Peter
The scenery on the narrow shelf looks great- not easy to pull off! Nice progress. JohnA
@Putnam Division posted:Great progress, George......
Peter
Thanks Peter!
Of course, now that you're retired we expect great progress from you! (no pressure ![]() ).
).
George
@John A posted:The scenery on the narrow shelf looks great- not easy to pull off! Nice progress. JohnA
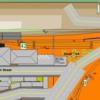
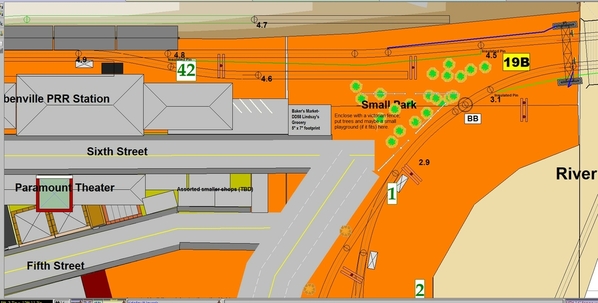
Thank you, but actually all the scenery on the narrow shelf is in the backdrop. It's an optical illusion; there's no 3D scenery there at all. Eventually, we will be covering a lot of that empty bench work with a real 3D hill at the right of the tunnel portal. All the top of the layout in that area (see plan below) will be hillside. Market Street (near the "41") climbs up into the hill and turns right, disguising its termination.
George
Attachments
Updated 2/20/2021:
I've started planning the mountain just west of and behind the Steubenville station. Mockups and spacing are the first steps.
The area directly behind the station will (hopefully) look a lot like this:
George
Attachments
So there will be a hill before the backdrop?
@BillYo414 posted:So there will be a hill before the backdrop?
Oh yeah! I will merge the hill into the backdrop, providing a nice, smooth flow.
George
Updated 2/23/2021:
- I added a track feeder pair to the track in the fake ("Wile E. Coyote"-style) tunnel at the extreme western end of the Panhandle. This will allow me to park a lighted cabin car in the tunnel as if it is departing for points west (Indianapolis or St. Louis).
- I drilled a hole in the styrofoam and bench work for electrical lighting bus wires. These will power the HO-sized houses along the back wall of the layout behind the station.
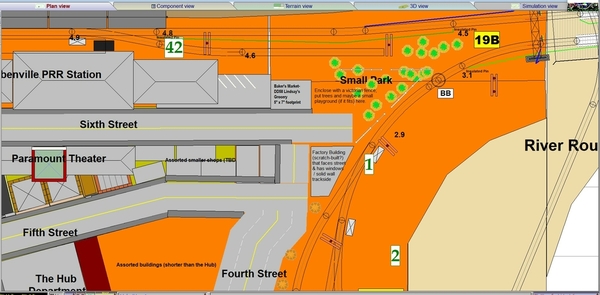
- Came to a decision regarding the area just east of the station. Originally, I wanted to fit a highway overpass across the tracks. The reality is there just isn't room for it. Cramming it in there would create the look I really am trying to avoid in this layout - jammed. Here's the original plan:
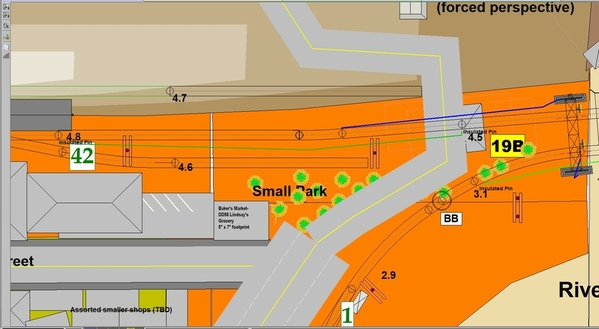
Here's the new thinking (the drawing isn't perfect):
More when I know it. 
George
Attachments
👍🏻👍🏻
Updated 2/24/2021:
The more I look at that misshapen intersection, the more I'm going to have to rework it in some way. Maybe make it a 90 degree intersection or otherwise adjust it. This is my current thinking on the area:
- Move the intersection a bit west and make it 90 degrees.
- Fill the triangular area created with an odd-shaped factory building whose back looks onto the tracks (not unheard of).
- End 6th Street at just beyond the intersection with a park / playground entrance using Victorian style fencing
- 4th Street (where it joins 6th) will narrow to 2 lanes (I can't represent that in RR-Track)
That's the current thinking. More when I know it. 
George
Attachments
That idea makes sense, George!!
"An odd-shaped factory build whose back looks onto the tracks" is a perfect description for so many buildings in the region haha I attached one from New Castle, PA that came to mind when I read that.
Attachments
@Mark Boyce posted:That idea makes sense, George!!
Yeah, well don't tell anybody.
I've got a reputation to maintain. ![]()
George
Hey George,
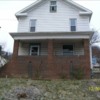
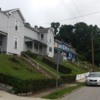
Here is my contribution to your hillside project. This is a close up picture of my grandmother's house before it was painted blue. I am checking to see if I have any other pictures that include other sides of the house as well as other homes to the left of hers. Additionally, the second set of pictures are the homes on the other side of Superior Avenue which is the road to the right of her home. Her house is on the corner of Superior Avenue and Highland Avenue, which is the road the picture was taken from.
Dave
Attachments
Dave,
You saved me a trip! Thank you so much. And your timing is excellent as well. ![]()
George
Updated 2/26/2021:
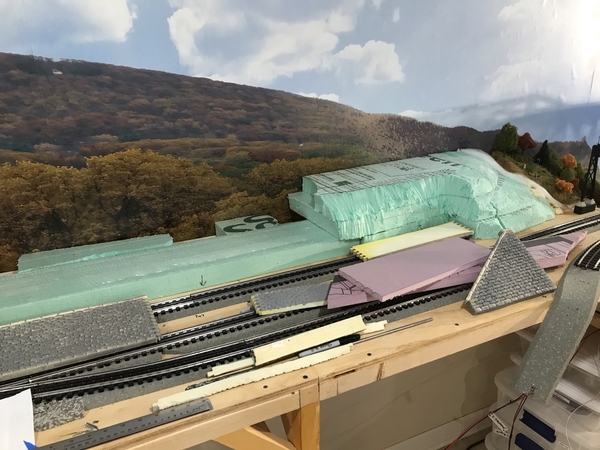
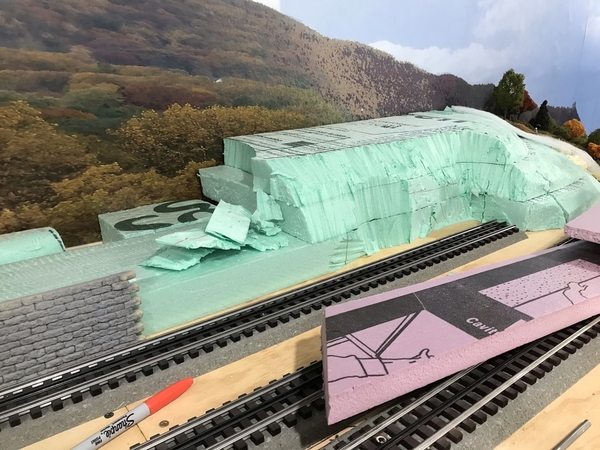
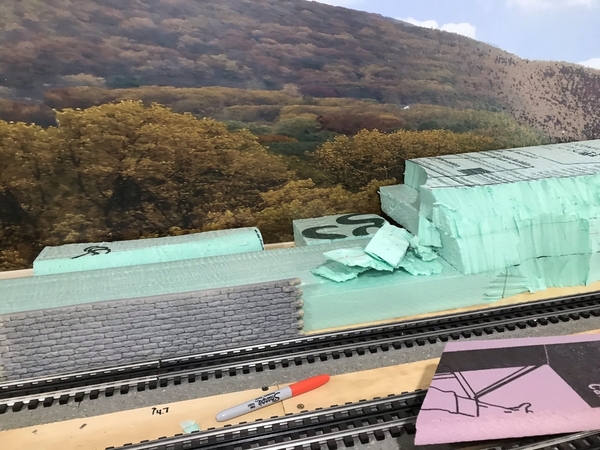
Today I worked on the hill behind the Steubenville PRR station. I had a few minutes and focused on how the underlying Styrofoam might be stacked to construct the hill. Nothing fixed has emerged from this "thought experiment". So this is a peek into a disordered mind. ![]()
I will stack more tomorrow (events permitting).
George
Attachments
Updated 2/27/2021:
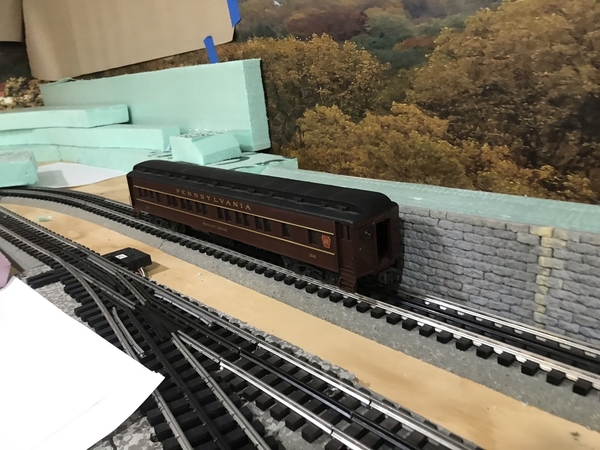
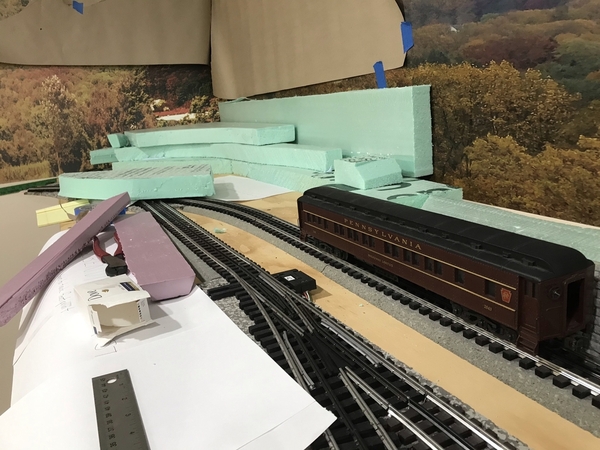
More thinking and some cutting and gluing of 2" thick styrofoam sections. I also tested the clearance of the retaining wall with passenger car.
The Foam Factory wire was used below to cut down the hillside a bit at the end of the spur.
I'm on the hunt for a different stone that can be used to line Market Street's ascent into the backdrop. Not sure what I will use yet, but I'm looking at a bunch of options.
More when I know it. 
George
Attachments
I really like the Wile E. Coyote track. I feel like that adds so much depth to a layout. I think I might see if I can find a spot to sneak one of those in on my layout.


