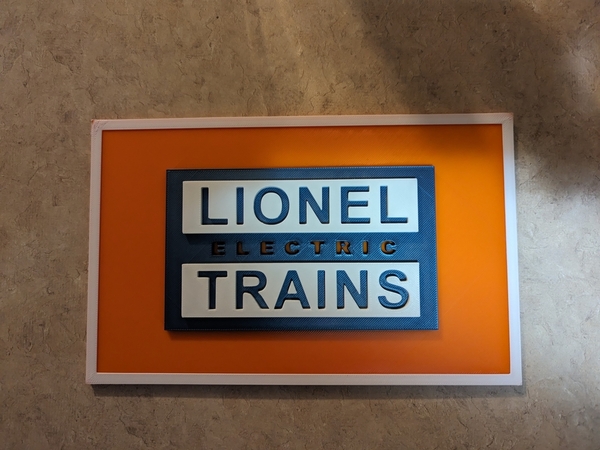
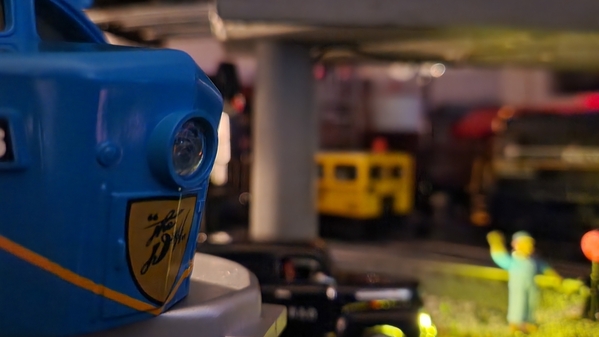
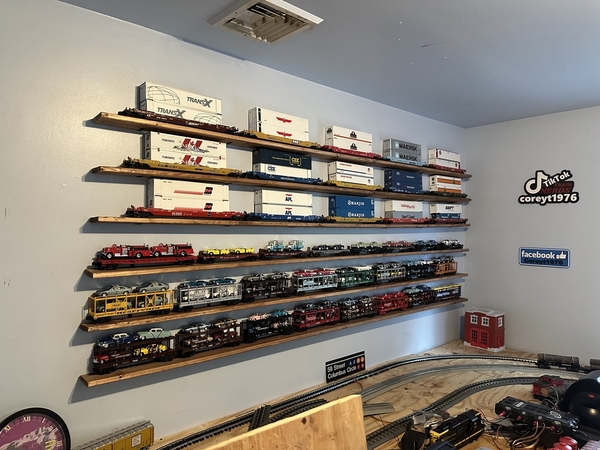
I have some exposed 2x6 lumber on my display cases and wanted to put a covering on it so I thought a group of coverings in the form of Lionel boxes would look interesting. I need to make more of them at which time I will post some photos of all of them installed. This is my sample box front. I 3D printed it and I slightly raised the blue and white sections in the middle of the box and inset the orange letters. It makes it have a little more of a 3D affect. This one is about 6x9 inches. I am going to place 5 or 6 of these in a row to cover the exposed wood. I am also going to apply various numbers to each box such as 6457, 2426X, 6464-500, 2400 etc. These number will also be raised numbers and will be in black.


PXL_20240609_012222695

idea-thinker

Now that is unique. Looking forward to seeing the finished display cases with the 3D-printed boxes.

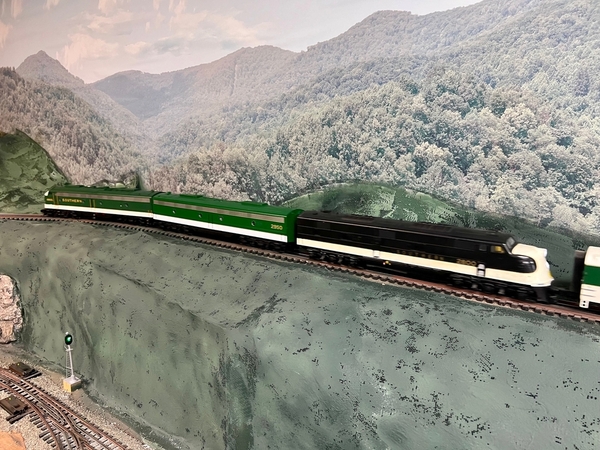
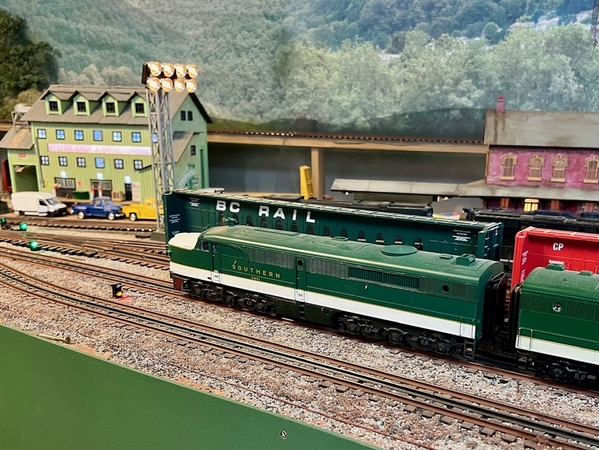
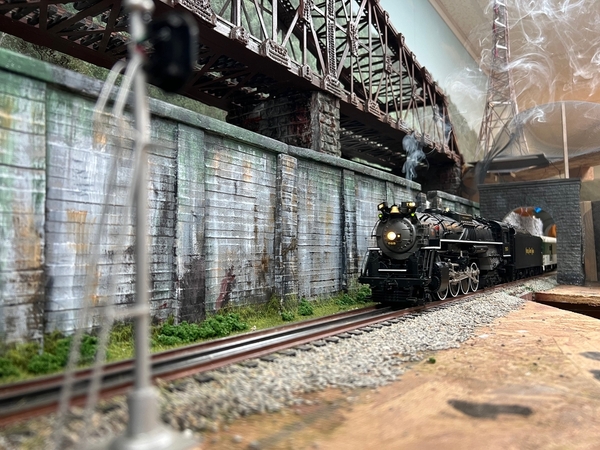
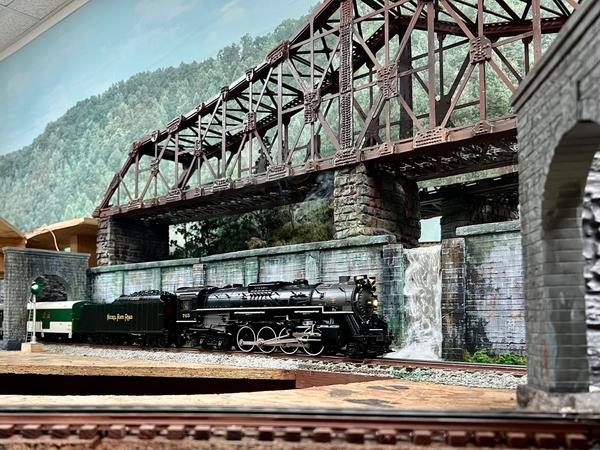
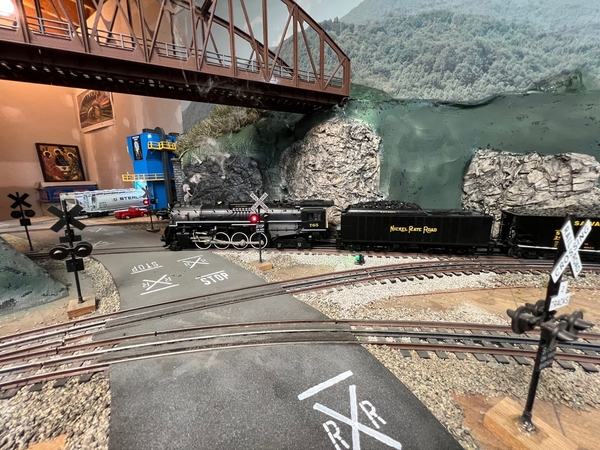
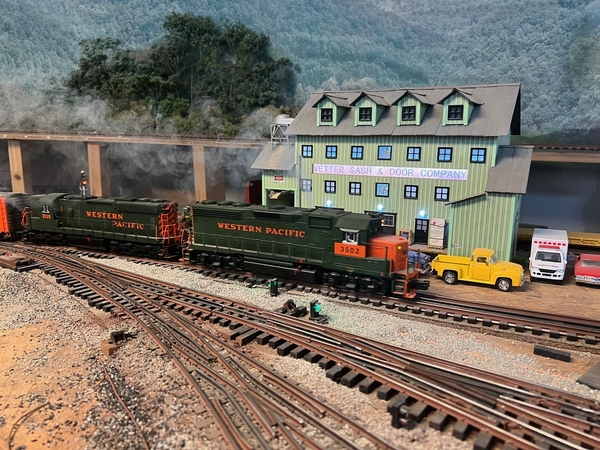
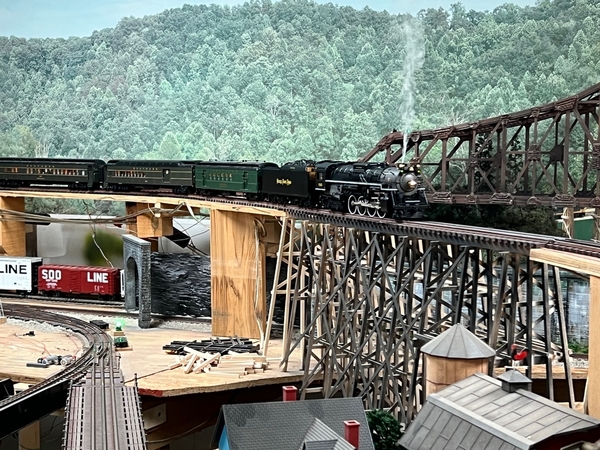
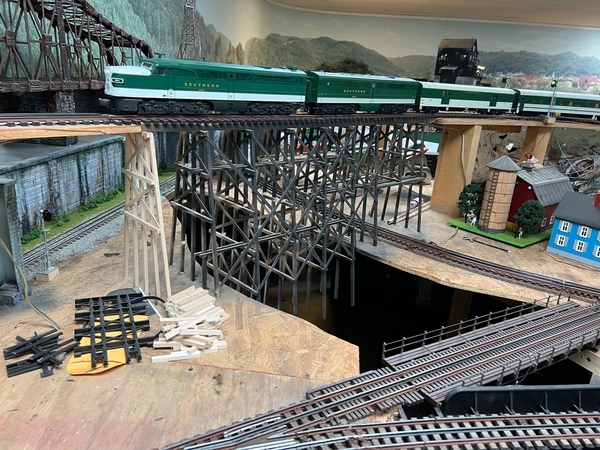
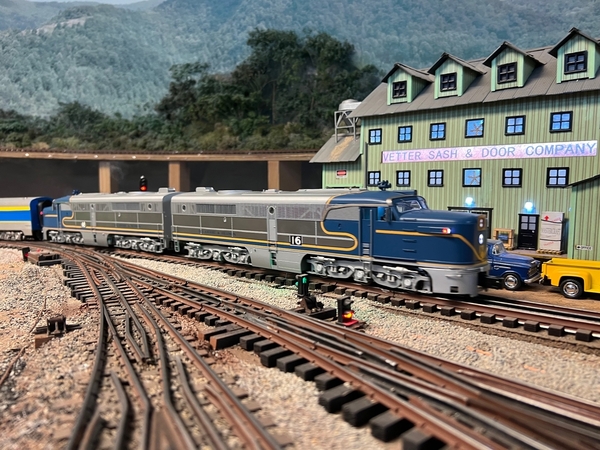
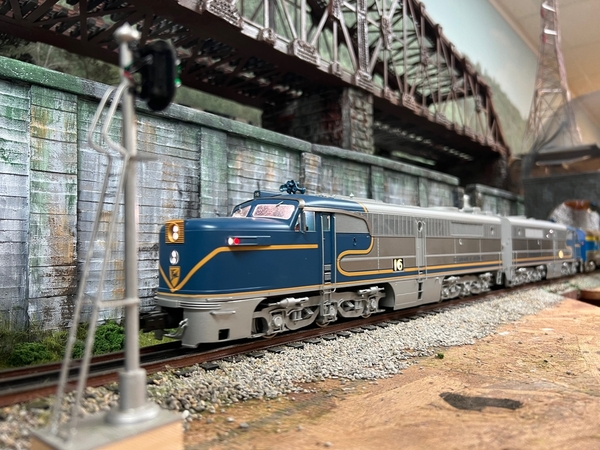
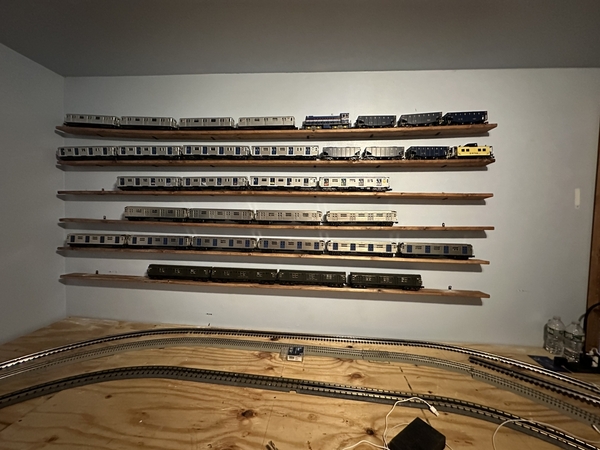
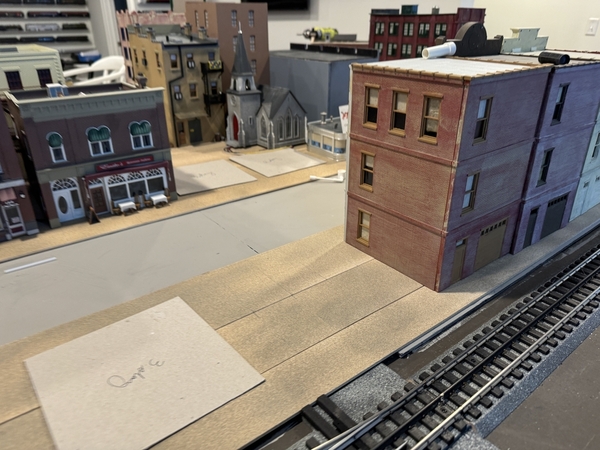
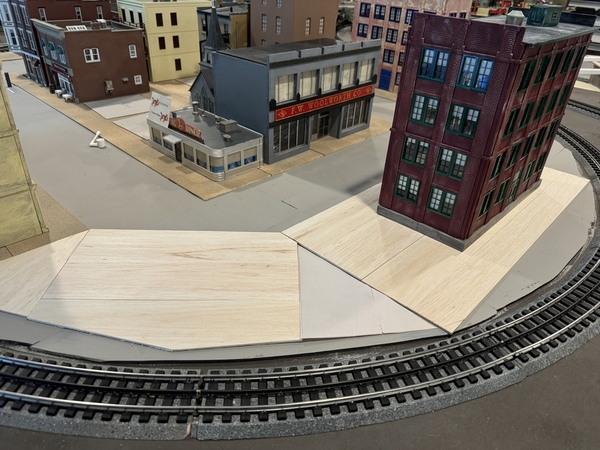
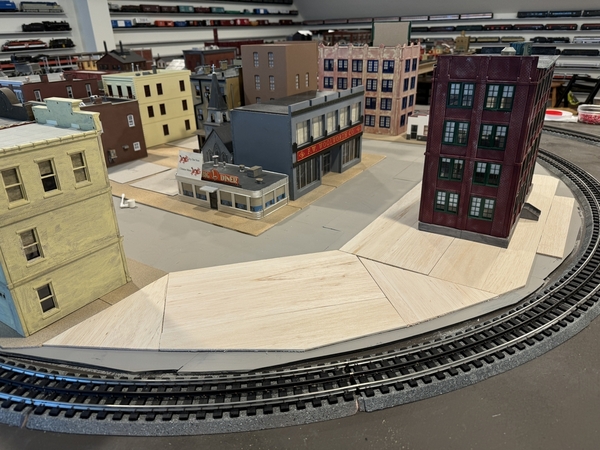
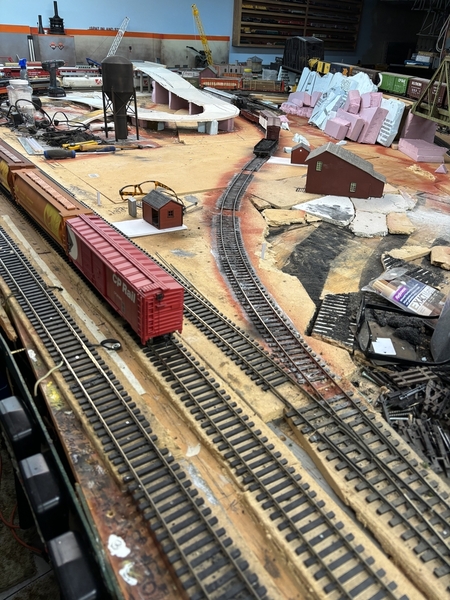
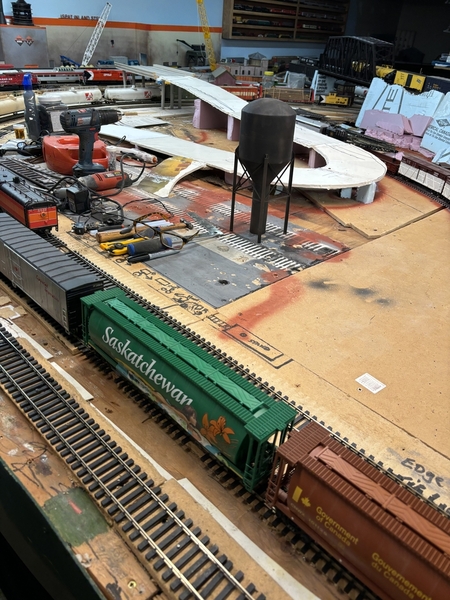
Friend Bob has been working solo on this nice and quite large basement layout for about 10 years now. I'm hopefully inspiring him and offering to assist in getting more scenery done. He plans to work on some this week. It has terrific potential with much really good work already in place.

IMG_6458IMG_6483IMG_6553IMG_6566IMG_6611IMG_6625IMG_6645IMG_5829IMG_5161IMG_5241IMG_5260IMG_4898

Attachments

Images (12)
  • IMG_6458
  • IMG_6483
  • IMG_6553
  • IMG_6566
  • IMG_6611
  • IMG_6625
  • IMG_6645
  • IMG_5829
  • IMG_5161
  • IMG_5241
  • IMG_5260
  • IMG_4898
@c.sam posted:

Friend Bob has been working solo on this nice and quite large basement layout for about 10 years now. I'm hopefully inspiring him and offering to assist in getting more scenery done. He plans to work on some this week. It has terrific potential with much really good work already in place.

Please do your best to entice your friend Bob to do a full layout feature for the magazine. Looks like it would be a winner, with lots of excellent material to inspire readers (present and future).

@RV Junke posted:

Placed last scene of my welder and Torch guy (lower left) Now other than a border to hide the white foam, this 1st layout of mine is done!  I now can say I love this hobby and all of you have inspired me with ides, so its officially time to plan a proper layout in a room, NOT on the floor under a Piano...somehow I did squeeze 180' of wires under this beast.  :-)

Congratulations on completing the layout @RV Junke. It seems like not long ago that you made your first post about this. I must ask: Did you actually have to work under the piano, or does the layout slide under the piano after you finish work?

Congratulations on completing the layout @RV Junke. It seems like not long ago that you made your first post about this. I must ask: Did you actually have to work under the piano, or does the layout slide under the piano after you finish work?

Thanks John...No sadly had to work under piano, due to the leg locations.  Could not for the life of me develop a slide under approach, man did I try!.  Needless to say it was a BEAR.  Here are a few shots of the construction and whatever pre-wiring I could do, the rest was brute force hands and knees...59yrs old, was not easy.  LOL!  NOTHING like layouts many here do, but for my 1st encounter with the hobby, fairly pleased, and I do like the hobby for sure, and this will be one of many layouts I am sure.

Attachments

Images (8)
  • 20240402_180347
  • 20240404_160126
  • 20240417_093330
  • 20240418_074710
  • 20240419_184752
  • DSC_0899_465
  • DSC_0901_466
  • DSC_0916_472
@RV Junke posted:

Thanks John...No sadly had to work under piano, due to the leg locations.  Could not for the life of me develop a slide under approach, man did I try!.  Needless to say it was a BEAR.  Here are a few shots of the construction and whatever pre-wiring I could do, the rest was brute force hands and knees...59yrs old, was not easy.  LOL!  NOTHING like layouts many here do, but for my 1st encounter with the hobby, fairly pleased, and I do like the hobby for sure, and this will be one of many layouts I am sure.

Your wife just called - she wants to move the table that's near the piano - just a few inches. 
@RV Junke posted:

Thanks John...No sadly had to work under piano, due to the leg locations.  Could not for the life of me develop a slide under approach, man did I try!.  Needless to say it was a BEAR.  Here are a few shots of the construction and whatever pre-wiring I could do, the rest was brute force hands and knees...59yrs old, was not easy.  LOL!  NOTHING like layouts many here do, but for my 1st encounter with the hobby, fairly pleased, and I do like the hobby for sure, and this will be one of many layouts I am sure.

That's a lot of wiring! I imagine that working under those constraints was similar to running with leg weights. When you eventually build a layout table, it will be like running without the weights. Just my opinion, but I think your piano build would make an interesting article, focusing on small-space O Gauge. "So you think you don't have space for a layout?"

I'd like to see videos of trains running on this. Maybe you've already posted videos and I missed them.

John

Believe it or not over 180' of wire in the end.  here is a video I did last night Lionel_O-Guage-Under-Piano-Night-Time-Run (youtube.com) I am a Photographer who is trying to learn video now... That would be crazy if I ever got in an article!

@RV Junke that is a very well thought out, designed, and built layout.  You did a great job wiring not only track and switches, but lights and other things as well!  The layout is ready made to pull out, put a frame and lags on it, and operate when you have the room.  Of course I’m sure you will want to design and build a new layout in the new space when the time comes.

I can appreciate the difficulties getting under the piano at 59.  My wife has liked to stash Christmas presents under her piano, and when I was 59, I could help.  Last Christmas at 67, it was most difficult!  😮😃

Fabulous looking factory you’ve created Chris.  It’ll look great in your warehouse district.  
C. Sam and Bob, the layouts looking fantastic.   Bridges are always a focal point especially the high ones.  Nice to see lots of “ PA’s and E-8’” locos still roaming the rails.
You guys are all doing super jobs on your layouts and projects.  
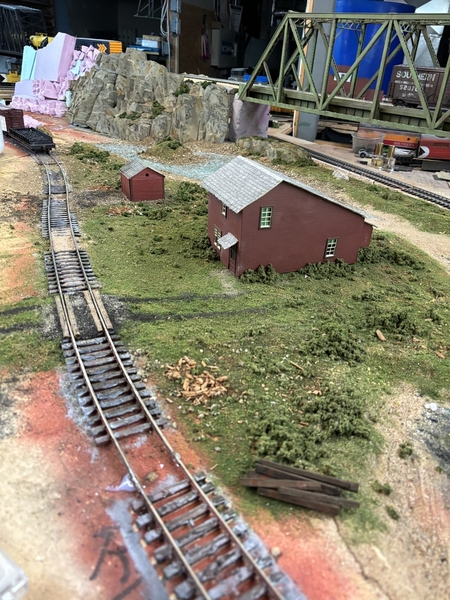
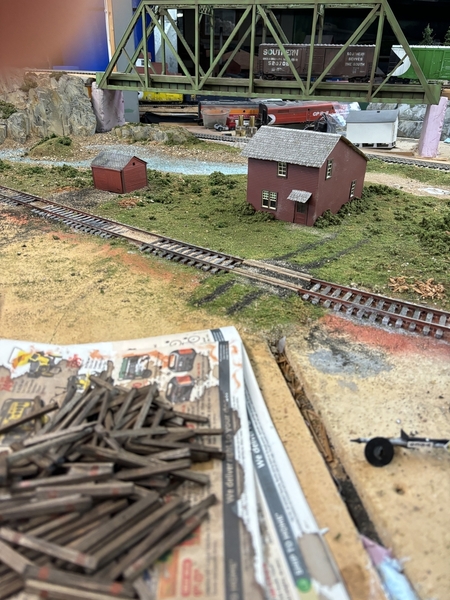
I promised I’d keep a photo log of the new scenery I’m working on, so here’s a look at the work so far.  Originally this was an unsettled area so I decided to tare out what was originally there and recreate something more scenic.   This location will consist of the main, a signalled siding and a holding track.   The ”back track” swinging off to right in the first picture , follows the river around behind the road grade that leads to an overpass.  The section house and tool shed will be in a grassy area with pine trees encompassing them.  The styrofoam in the back will be carved and painted a rock color.  Lots of trees will be needed to fill the areas.  A gravel turnoff will lead down to a “Monashee Laser Engineering CPR station “ currently under construction now.  The steel water tank will be set back in the trees as well.   I usually try to build trees in batches of 25.   They disappear quickly !  IMG_3337IMG_3345

Attachments

Images (2)
  • IMG_3337
  • IMG_3345

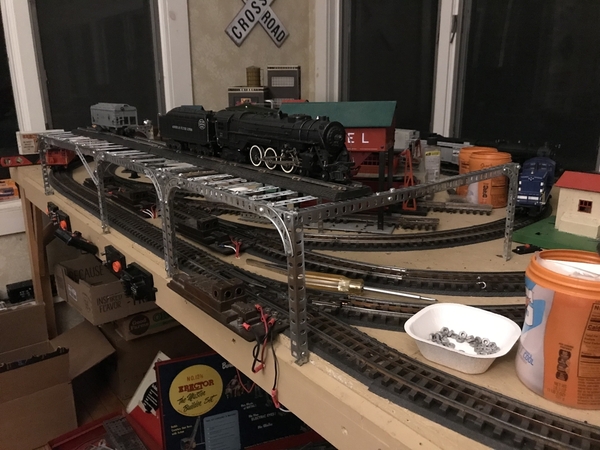
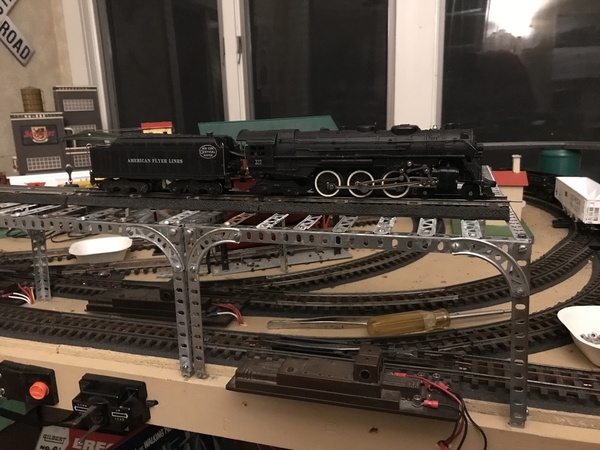
I’ve been working lately on adding an upper level for my American Flyer collection to run on. I was going to cut out sub roadbed out of plywood but then I was reading in an old Toy Trains magazine from the 50s about using Erector sets to build elevated sections. The front is finished but now I need to make a curve for the end connecting to the back section which will include two bridges, making construction some what easier. Hope to have a loop up by the end of the month. 449354D1-E695-43A7-9EFA-C7F92FBB3170A7262C65-799E-4538-AA18-CC0BEFD3483E

Attachments

Images (2)
  • 449354D1-E695-43A7-9EFA-C7F92FBB3170
  • A7262C65-799E-4538-AA18-CC0BEFD3483E

Chris,

Did you build the concrete arches on the foundation of this building or is it a part of a kit? I've seen this design on a few layouts and have an area of my layout where I want to have this type of structure over the tracks.

Dave

Dave sorry for the delay.   I built the foundation from scratch and the arches are cut out of 1/4" MDF, the legs are pine, 3/4" square I think.....  I like that type of arch and in this case the same style arch is in the Ameritowne Wall sections, so it worked out really well.

I added some photos, it was part of a large re-model and hide a corner project.   I added a second arrival/departure track and just didn't want it visible so it disappears under Atlantic Ice and Cold storage then come out through the arches


DSC03410DSC03413 [2)


DSC03378DSC03371DSC03381DSC03392DSC03370   

Attachments

Images (7)
  • DSC03378
  • DSC03371
  • DSC03381
  • DSC03392
  • DSC03370
  • DSC03410
  • DSC03413 (2)

Well time flies by.... It's been 10 days since the last post on this Chemical Industry Kitbash....   Been weathering brick (for what seems like eternity!), painting windows, final glueing wall sections together, weathered the roof top wood water tanks.   Just about ready now to fabricate the base for this entire complex roughly 11 x 36 so I can start working on the piping / valves and finer details

DSC02209DSC02210DSC02211DSC02212DSC02213DSC02214DSC02215DSC02216

Attachments

Images (8)
  • DSC02209
  • DSC02210
  • DSC02211
  • DSC02212
  • DSC02213
  • DSC02214
  • DSC02215
  • DSC02216

WOW Chris, that factory is turning out great.   I especially like the way you elevated it over the rail lines.  That really gives it a big city feeling and blends in your added arrival and departure tracks.   Very creative.  
   Here’s a couple views of the progress on the section I’m redoing.    Working from the back to the front, I’m ready to lay in more small rock to level out my scene representing the ‘Bow River’.   Then once the glue dries, I can pour the clear resin.   I’ll add a few more bushes here and there then start planting fir trees .   The trees will really make a difference.   Then I’ll begin working on the area with the overpass, slowly moving towards the Station scene.  I also made up a bunch of ties that I’ll distress more to represent rotted ties.  IMG_3942IMG_3943

Attachments

Images (2)
  • IMG_3942
  • IMG_3943

Chris I think the chemical facility is looking AMAZING! But that is nothing new coming from you, as it seems to me that everything you do turns out to be outstanding!

Peter, things are looking good over in your neighborhood, nice to see some sidewalks getting done!

Myles, you layout is so nice and fun to look at and read about, It is also mind blowing how realistic you are able to make it look!

I know there are a lot of other folks I left out but I had to go back a page cause there is so much being done and I am not on here every day.

I hope you all are doing well and remember please have fun with your layouts and trains!

2B33A34A-609F-42FB-81D1-501FB7156AF024899DFF-9F67-44DE-BBB2-162509ADF239Well building a layout is a humbling experience. I thought I had planned out my overhead lighting sufficiently but as I lay painted track on black-painted Homasote I found myself in a dark corner. 😕.  My solution was to tap into an adjacent outlet & run conduit up to a short piece of trak lighting over the dark area. The before & after looks better in person than in pics, so moving on !

Rich - working on the RR, finally.

Attachments

Images (2)
  • 2B33A34A-609F-42FB-81D1-501FB7156AF0
  • 24899DFF-9F67-44DE-BBB2-162509ADF239

Actually turned the power on today...... Spent a few hours in the basement today, much cooler than the 90+ temps here in the northeast this week.

I learned a new trick today.....said the old dog.

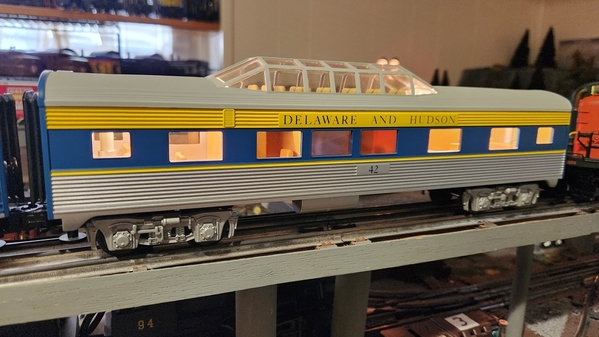
Had to replace a burned out lamp in a Railking streamlined passenger car. Remove two screws.....how hard could that be???????

Well it turns out there's a trick to removing the roof and this Forum has once again supplied the answer. Had to twist the body of the car slightly to get it to POP! off.....literally flew across my bench!

Once open I found that the lamp had simply fallen out of the socket. These will get LED's and passengers one day.


2024-06-21 15.14.032024-06-21 15.13.34

2024-06-21 15.16.46

Started work on my Morris Park Switcher- final assembly time. I'll post on my build thread when appropriate.

Bob

Attachments

Images (3)
  • 2024-06-21 15.14.03
  • 2024-06-21 15.13.34
  • 2024-06-21 15.16.46
Last edited by RSJB18
@RSJB18 posted:

Actually turned the power on today...... Spent a few hours in the basement today, much cooler than the 90+ temps here in the northeast this week.

I learned a new trick today.....said the old dog.

Had to replace a burned out lamp in a Railking streamlined passenger car. Remove to screws.....how hard could that be???????

Well it turns out there's a trick to removing the roof and this Forum has once again supplied the answer. Had to twist the body of the car slightly to get it to POP! off.....literally flew across my bench!

Once open I found that the lamp had simply fallen out of the socket. These will get LED's and passengers one day.


2024-06-21 15.14.032024-06-21 15.13.34

2024-06-21 15.16.46

Started work on my Morris Park Switcher- final assembly time. I'll post on my build thread when appropriate.

Bob

Now that’s a productive day. Remember to reward yourself with your beverage of choice.

What did I do to my layout today? Well, started deconstruction to make way for the reconstruction.

There is always a reason for my slow progress on the layout build at times and that is I am fundamentally unhappy with the status quo. Rather than continue to build, I slow down and try different approaches.  The CEO suggested this location a while ago but it would not work with the current track configuration. I tried to get it onto the pink foam to the right, but that was too tight. Left side blocked the town too much.


Reconstruction Silo

Solution is to move the inner track back toward the wall 7 inches to allow the grain terminal to move forward and be close to what will be a revised waterfront.  I like the idea of a grain loading double track and then a barge loading area.   Good thing I built this to be easily disassembled.

Attachments

Images (1)
  • Reconstruction Silo
@RSJB18 posted:

Actually turned the power on today...... Spent a few hours in the basement today, much cooler than the 90+ temps here in the northeast this week.

I learned a new trick today.....said the old dog.

Had to replace a burned out lamp in a Railking streamlined passenger car. Remove two screws.....how hard could that be???????

Well it turns out there's a trick to removing the roof and this Forum has once again supplied the answer. Had to twist the body of the car slightly to get it to POP! off.....literally flew across my bench!

Once open I found that the lamp had simply fallen out of the socket. These will get LED's and passengers one day.


2024-06-21 15.14.032024-06-21 15.13.34

2024-06-21 15.16.46

Started work on my Morris Park Switcher- final assembly time. I'll post on my build thread when appropriate.

Bob

Bob, LoL, I can relate to taking the top off of these models! I have the Lionel Santa Fe Super Chief 13" version of these cars, clearly MTH and Lionel use the same manufacturer and tooling. Anyway, I have the full 3 car set  and the addons making a 9 car consist. When I went to populate each car with passengers, almost every time I removed the lid on one of these it went flying! Yeah, okay, two screws, easy right. Well there are molded in tabs holding the top on as well, as you found out! Somehow I managed not to damage any of the cars.

Also, if I remember right you have the baggage car for your Delaware and Hudson set, and it has no lighting and the trucks don't have the electrical pickups. Did you ever do anything with that?

Happy Friday and have a great weekend!

I have the 4 car set. And, no, I haven't yet. It's on my long list of projects though. Lot's of passenger cars to upgrade and populate. I need to finish a few engines before I move on to anything else.

Thanks

@ScoutingDad posted:

What did I do to my layout today? Well, started deconstruction to make way for the reconstruction.

There is always a reason for my slow progress on the layout build at times and that is I am fundamentally unhappy with the status quo. Rather than continue to build, I slow down and try different approaches.  The CEO suggested this location a while ago but it would not work with the current track configuration. I tried to get it onto the pink foam to the right, but that was too tight. Left side blocked the town too much.


Reconstruction Silo

Solution is to move the inner track back toward the wall 7 inches to allow the grain terminal to move forward and be close to what will be a revised waterfront.  I like the idea of a grain loading double track and then a barge loading area.   Good thing I built this to be easily disassembled.

Jeff good luck with your reconstruction, I hope it works out the way you want it. It sounds like if it does it might even give you a little bigger water front! I can't wait to see what you come up with!

@RSJB18 posted:

Actually turned the power on today...... Spent a few hours in the basement today, much cooler than the 90+ temps here in the northeast this week.

I learned a new trick today.....said the old dog.

Had to replace a burned out lamp in a Railking streamlined passenger car. Remove two screws.....how hard could that be???????

Well it turns out there's a trick to removing the roof and this Forum has once again supplied the answer. Had to twist the body of the car slightly to get it to POP! off.....literally flew across my bench!

Once open I found that the lamp had simply fallen out of the socket. These will get LED's and passengers one day.


2024-06-21 15.14.032024-06-21 15.13.34

2024-06-21 15.16.46

Started work on my Morris Park Switcher- final assembly time. I'll post on my build thread when appropriate.

Bob

Bob, Had that issue after thinking I'm going to snap this car in half and when I got it off after a few choice words, those four tabs well I cut two off on one side. It now makes life easier when adding passengers or I have painted the inside for better detail and replacing bulbs. Give that a thought. God Speed, Nice layout also

Mark

Add Reply

Post

OGR Publishing, Inc., 1310 Eastside Centre Ct, Suite 6, Mountain Home, AR 72653
800-980-OGRR (6477)
www.ogaugerr.com

×
×
×
×
Link copied to your clipboard.
×
×