
 Ran trains yesterday for about 20 minutes. This morning I took some photos for today's TEAM TRACK TUESDAY thread. Had a great time with the trains yesterday and today!
![]()
![]()
Attachments
Images (2)


|
|
Ran trains yesterday for about 20 minutes. This morning I took some photos for today's TEAM TRACK TUESDAY thread. Had a great time with the trains yesterday and today!![]()
![]()
This morning I tacked a few building corners back done. I have learned my lesson to stay with what works. I also got al the plaster off the lift out. That was easy nothing stuck to the plywood. When I get back home I'll be using MIKE G's suggestion of white glue then apply the plaster to that. And to my surprise my 36' reefer from the Canadian Club was on my doorstep. Pic..................Paul


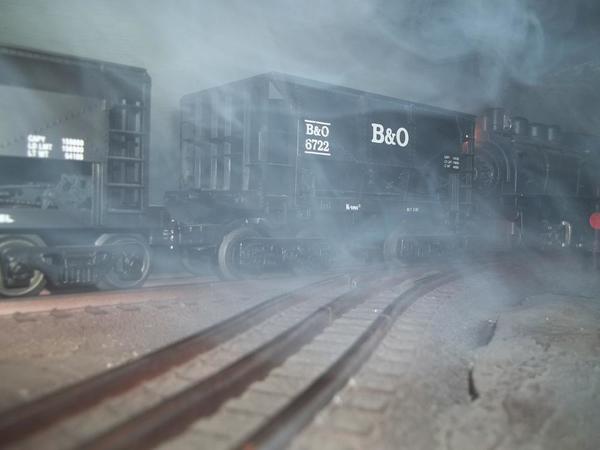
blew off some steam at lunchtime.......


Mike, Momma mastiff swallows socks like they are buttered noodles sometimes, I always worry till that passes. What did "Jaws" have in his belly anyhow? Fortescue?
Finally fell asleep at a human hour and for a whole night really![]() ..Got up before dawn, out of milk..out of coffee, so snapped a picture for tuesday & Trumptrain and went for a slow walk to Wallyworld in search of a basket of goodies and a skeleton or pumpkin face to turn onto a boiler plate.
..Got up before dawn, out of milk..out of coffee, so snapped a picture for tuesday & Trumptrain and went for a slow walk to Wallyworld in search of a basket of goodies and a skeleton or pumpkin face to turn onto a boiler plate.
I've struck out at three big stores and two dollar stores. They dont seem to make the head/pumkin shaped flashlight defusers for kids anymore. Closest thing was a string of Christmas tree lights with a skull really ment for a Día de Muertos party. Not even a cool one, just super cheesy.
Disappointed I headed towards food. Debating over coffees I bumped into another O gauge local, and we filled in the gaps on the "what ya been up to"-s. He has a couple motors saved for me to bash on and maybe steal the Magnetraction bearings from ( I need the MT correct 2037 bearings to retain MT on my first train....hens teeth it seems. I don't want to trash a C-8+ adriatic for good ones, but I might.)
I could see an itch in him developing as we talked. His layout bas been down over a year and wifes has been sick requiring him to care for her, and work every hour left that he can. She is now better and recovering well, and he has the week off too. His first chance to relax in a couple years. Knowing this, I only said to him.."It's only a half mile, this store is further" and got back a nod and smile that screamed "thank you". It started raining and would have been another hour till I got picked up again so I rode home with him too.
Today & tonigbt I'll be cleaning every layout mess, vacumming them, and wiping track so he can run what he wants where he wants. I'm looking forward to running some new and visiting trains too. It's been a long time and we used to run one of ours about once a month. No telling what he will show up with either. He doesn't collect tons, but buys, sells trades to keep a variety of things that are "fresh" to him.
I met him when I posted for Lionel trades on Craigslist and he answered. I ended up fixing his ZWs and some other things in trade. Over time, it turns out we had done buisness before. He was the regular mechanic for a number of freinds business trucks and one of only 5 mechanics to ever do my old VW brakes and valves 100% correctly. I was always too busy to really meet him and only saw him twice. I just dropped keys in his mailbox and then the cash in the mailbox and he dropped it off and collected. He said he recognized the VW campervan one day when I had the garage open and told me he used to work on it for the original owner. I told him I was second owner and it had only been dealer serviced bedore that and I was picky about who wrenched for me. Then our previous business became apparent to both of us. I'll overpay a good mechanic if I can. A tip, usually $20. He never forgot and said it "saved" him a few times...so he throws his junk that I can use my way for free, and drops off cars he thinks I "need"
Brian, So you aren't building a loco to fit the box???..
...I'm confused .
I'm glad your friend has some time to relax with trains this week!
Well MIKE G we will see if my second time plastering the edges will stick with your suggestion. If it works I can color the plaster and start putting down ballast. And I am hoping that I am done with re gluing the buildings. So I started lining them up along the piece of plywood to see how they will look.. Tomorrow I cut some strips of wood to hold that plywood in place then I can go from there. So for tonight that a wrap. Pics.............Paul


Over the weekend I canabalized a pair of a pair of prewar 042 switches so that I could access space in the yard using 18" cars and SD class road engines. I've been looking for a pair of 072 tubular switches for the last year or so (Lionel 5165 & 5166). These manual switches will tide me over until a pair shows up. Today I ran trains. ![]()


paul 2 posted:Well MIKE G we will see if my second time plastering the edges will stick with your suggestion. If it works I can color the plaster and start putting down ballast. And I am hoping that I am done with re gluing the buildings. So I started lining them up along the piece of plywood to see how they will look.. Tomorrow I cut some strips of wood to hold that plywood in place then I can go from there. So for tonight that a wrap. Pics.............Paul
Paul, one question? Did you put the plaster down while the glue was still wet?![]()
Brian, great looking pictures! I had to ask myself if maybe the house was on fire at first! LOL
Adriatic, come to find out it was a huge piece of rope that he ate! when we got it, it was about the size of a big pill bottle and about 4" long! I too am also happy you met up with your friend and you will have time to run trains! I bet you will have a great time, just like 2 little kids in a candy store!
Matt, very nice looking layout! quite the curve for those long cars, I sure am glad they work well!
MIKE G, I applied the plaster while the glue was still wet.........Did I do it wrong. Should I have waited till it dried........Paul
Nope, you did it right!![]()
Greetings Everyone,
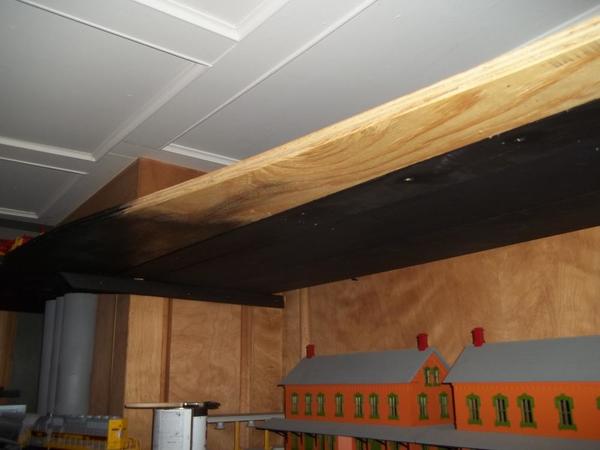
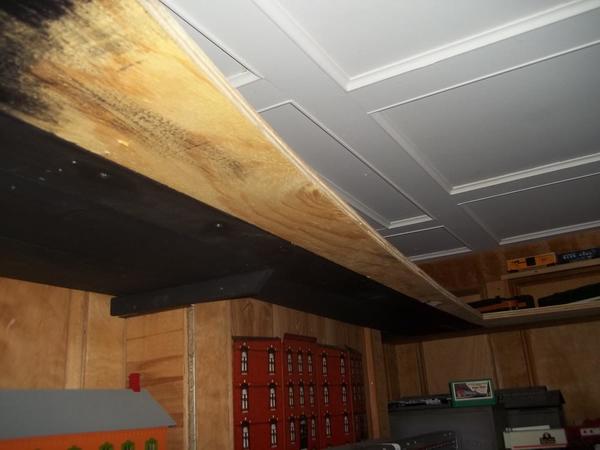
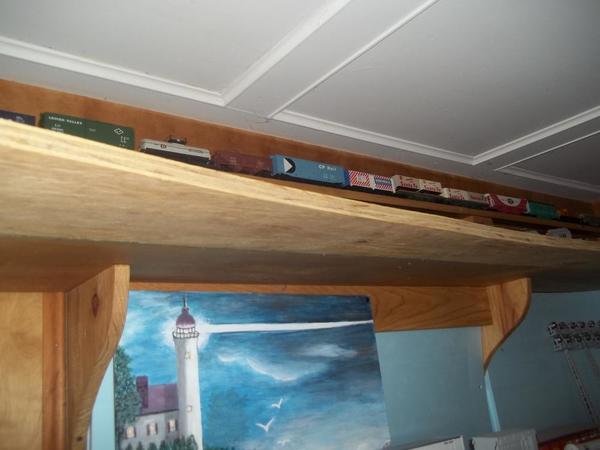
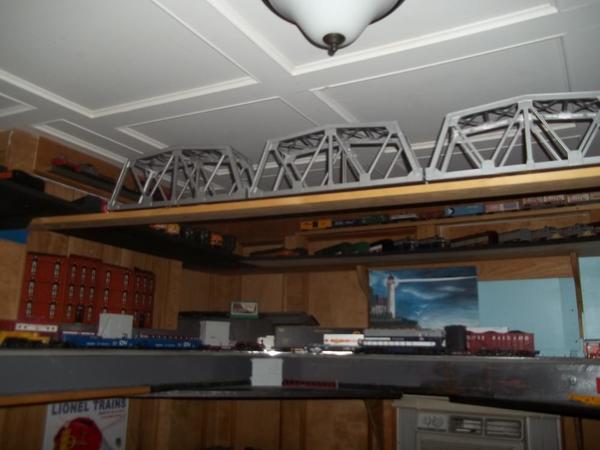
Well, I have made a bit more progress on the layout and I have posted a few pictures for those who have been following its development. ![]() I finally have all of the elevated main line (Track 3) right of way complete and I'll be making final track alignment and adjustments before adding power. The Atlas Pratt Truss Bridge has to be removed to facilitate the opening of the hinged "Lift-Out" section which allows entry into the middle of the layout. Power is supplied via a small plug/socket arrangement which allows removal of the bridge. I will be adding more MDF board along the right of way on both sides of the bridge and when time permits, it will be painted and gussets will be added so it resembles Girder Bridge Plate. Both of the 2 X 4 Piers supporting the bridge will be covered with a "Brick Veneer" made from Foam Board as shown in the pictures. Thank you all for the kind words and encouragement from my previous layout posts and please feel free to opine on these pictures as well.
I finally have all of the elevated main line (Track 3) right of way complete and I'll be making final track alignment and adjustments before adding power. The Atlas Pratt Truss Bridge has to be removed to facilitate the opening of the hinged "Lift-Out" section which allows entry into the middle of the layout. Power is supplied via a small plug/socket arrangement which allows removal of the bridge. I will be adding more MDF board along the right of way on both sides of the bridge and when time permits, it will be painted and gussets will be added so it resembles Girder Bridge Plate. Both of the 2 X 4 Piers supporting the bridge will be covered with a "Brick Veneer" made from Foam Board as shown in the pictures. Thank you all for the kind words and encouragement from my previous layout posts and please feel free to opine on these pictures as well. ![]() Thanks for looking!
Thanks for looking!
Chief Bob (Retired) 


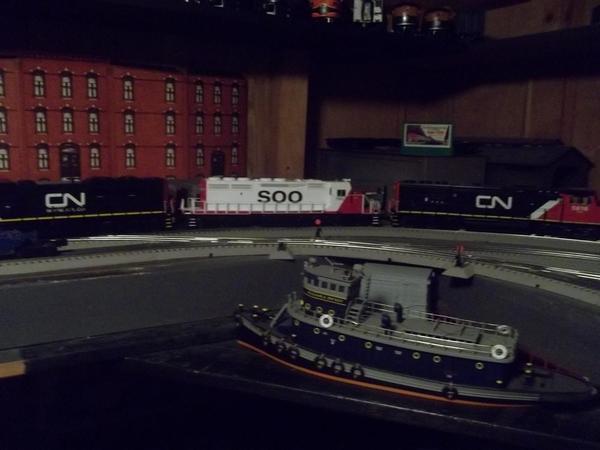
ran some trains......

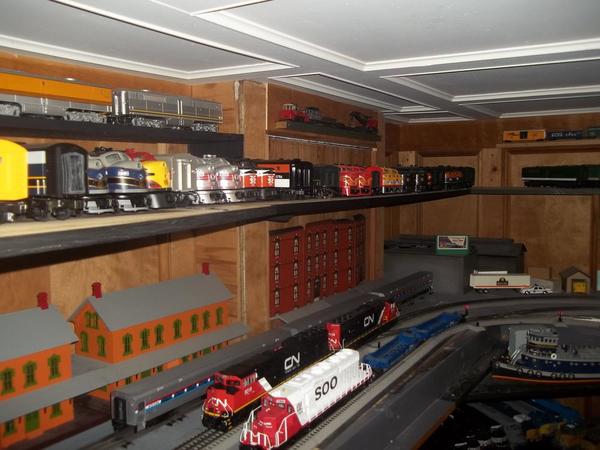
worked on some more shelves.......
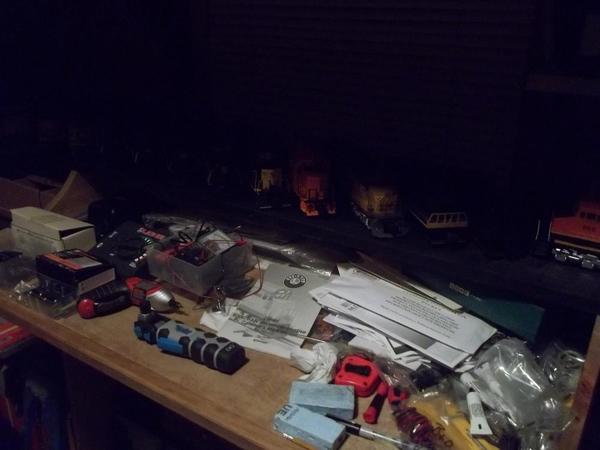
need to clean up, getting pretty messy........
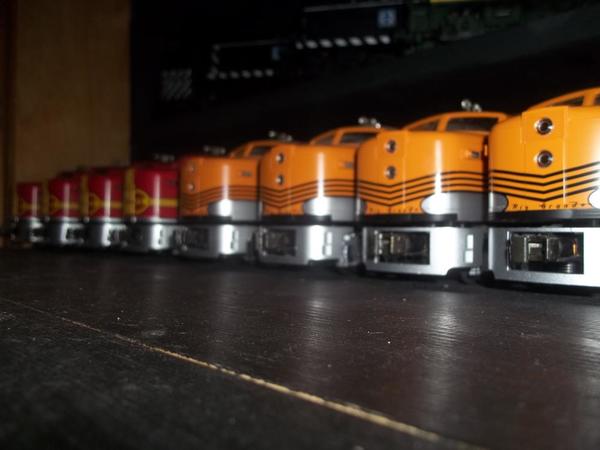
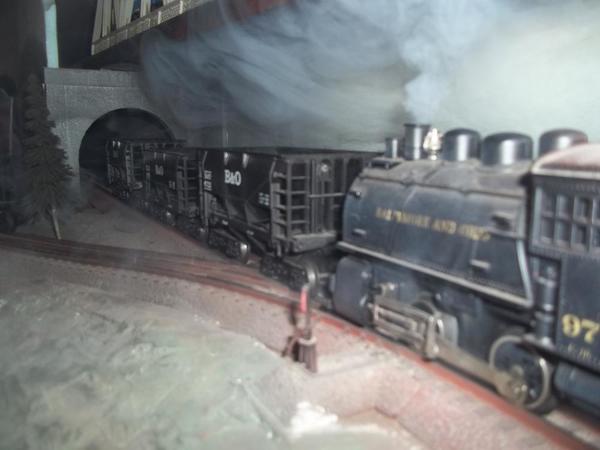
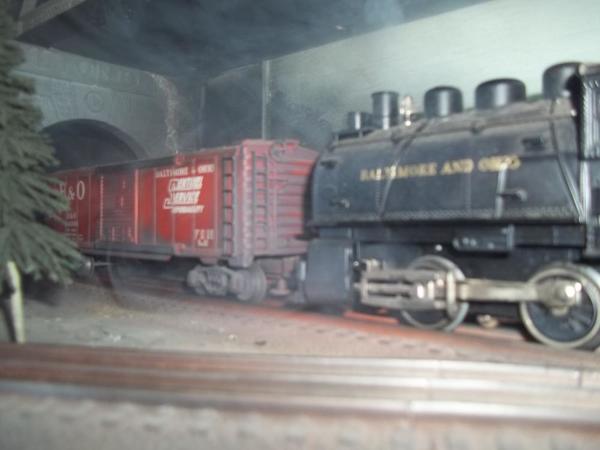
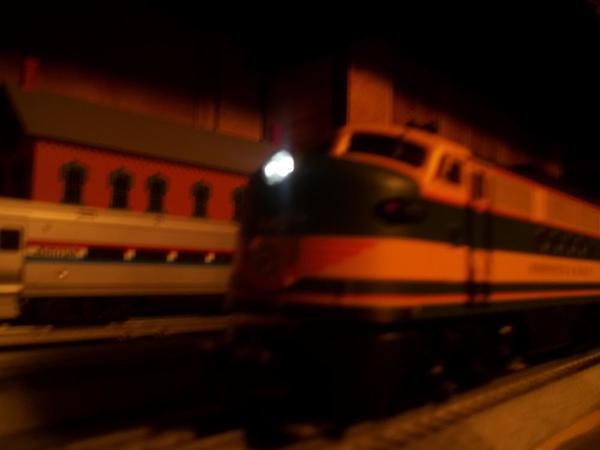
went down to the Alco dealership to check things out......

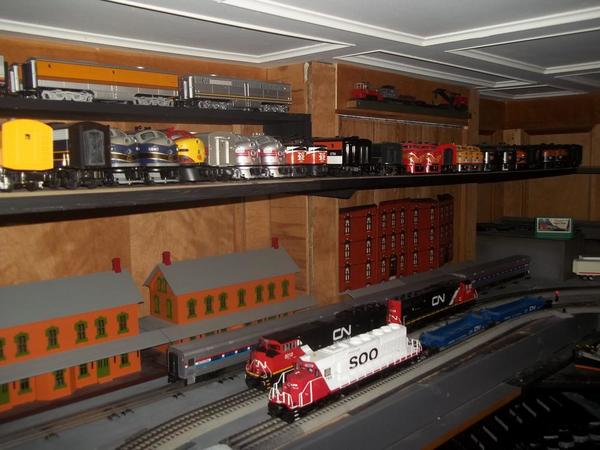
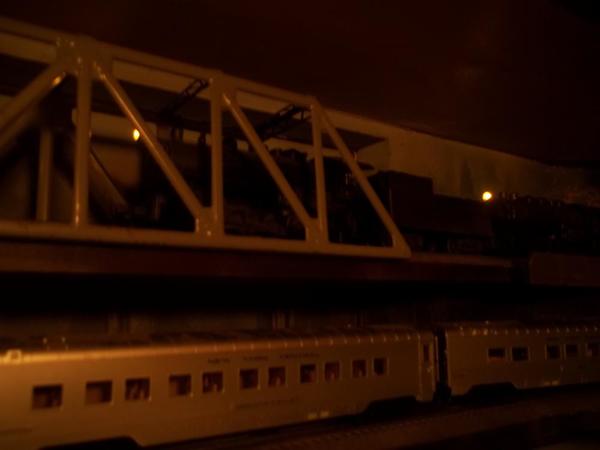
then stopped down by the station to watch some trains......
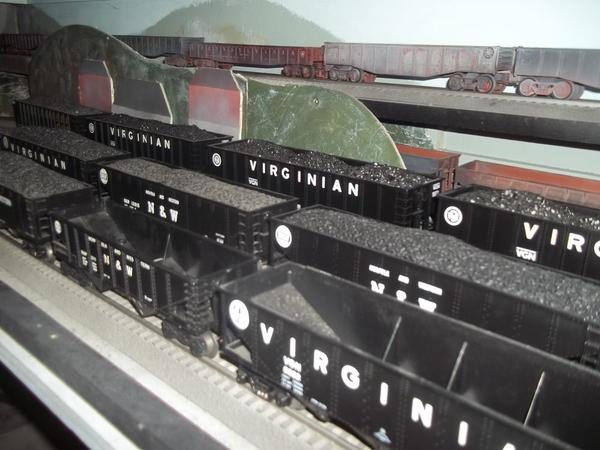

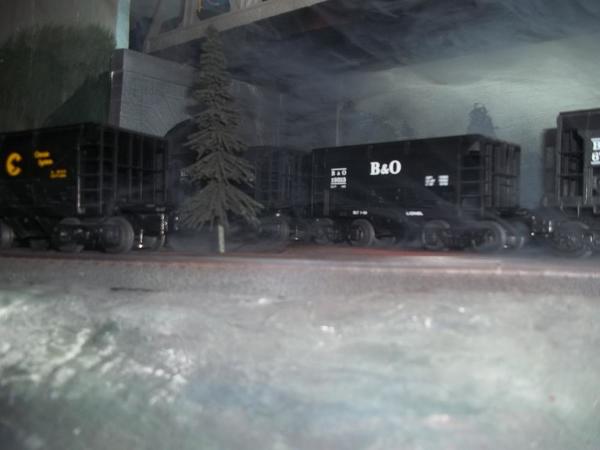
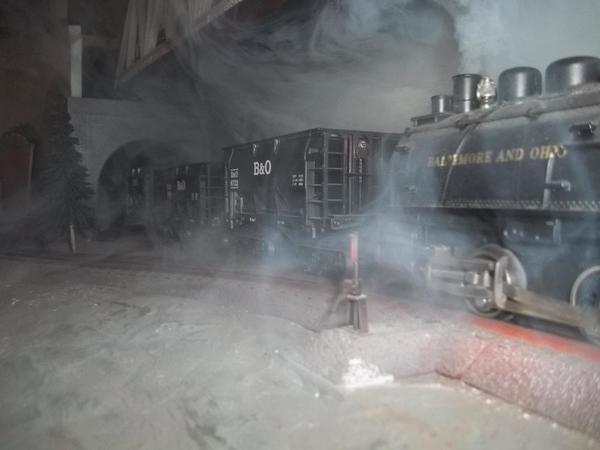
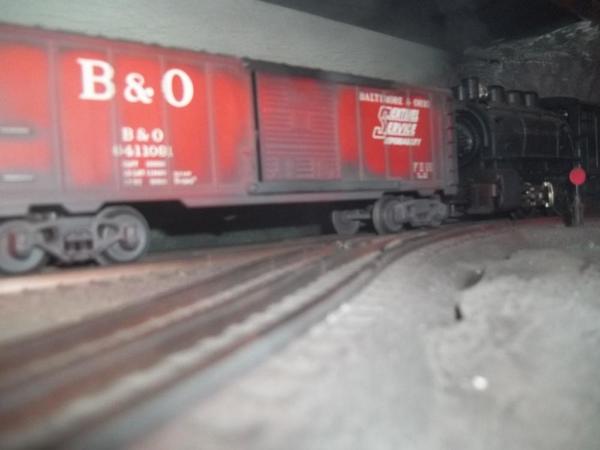
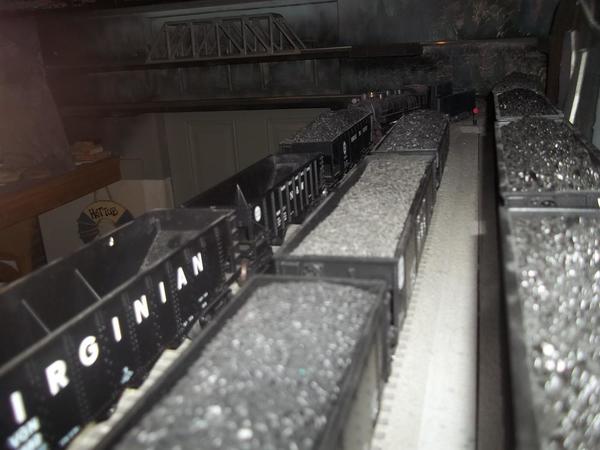
and watched them working in the coal yard.......

getting dark out, time to call it a night......


paul 2 posted:Well MIKE G we will see if my second time plastering the edges will stick with your suggestion. If it works I can color the plaster and start putting down ballast. And I am hoping that I am done with re gluing the buildings. So I started lining them up along the piece of plywood to see how they will look.. Tomorrow I cut some strips of wood to hold that plywood in place then I can go from there. So for tonight that a wrap. Pics.............Paul
Paul: Looks great !! Where did you find your buildings? Did you print them? Bob..
BOB (Dad) LOL, the buildings in the picture came on a roll. I cut them out and glued them to black foam board. I got my buildings from angiestracksideflats. They make the buildings in O, HO and N gauge. I bought a couple of HO single buildings and they came mounted on foam board. They sell on E***. The prices are reasonable. Paul
Paul, i've been following your (adventures and misadventures) of layout building for several months now and will keep my mouth shut (and fingers off the keyboard) for the most part, but your issues with plaster are unnecessary. To achieve what i think you're trying to do - that is create a natural earth look alongside the ballasted track - is quite simple and inexpensive. First paint the ply with some cheap flat latex paint - preferably a dark grey tinted with very little brown and green, but grey overall. Then using plain old cheap joint compound that has had water added to it to make it nice and sloppy, dunk some wadded up heavy paper towels (Bounty or the blue mechanic's type you can buy at any NAPA store) into the mix and lay down along your right of way. Smooth out any unnatural wrinkles, but leaving the natural rises and curves. Let dry for 24 - 48 hours. Paint with the same grey-ish paint. Then cover with your choice of ground cover held down with the age old mix of white glue and water. I used a base of washed sand interspersed with patches of coarse ground foam and occasional bits of cinders. It's lasted over 25 years. Sorry i don't have any better pics.


MODELTRAINPARTS, thanks for that information. Up until a few years ago I used drywall compound. I then decided to switch to GYPSOLITE as I was doing some new scenery, But I also switched to pink board instead of using screening. The GYPSOLITE was more porous then drywall compound and accepted coloring better, at least to me. However I did use plaster wrap first. This piece of plywood was the first time I had the plaster come off. The glue method worked so I was able to color it. So once I glue ballast, cinders and ground turf down I'll be done with this section. Pics....Paul


paul 2 posted:MODELTRAINPARTS, thanks for that information. Up until a few years ago I used drywall compound. I then decided to switch to GYPSOLITE as I was doing some new scenery, But I also switched to pink board instead of using screening. The GYPSOLITE was more porous then drywall compound and accepted coloring better, at least to me. However I did use plaster wrap first. This piece of plywood was the first time I had the plaster come off. The glue method worked so I was able to color it. So once I glue ballast, cinders and ground turf down I'll be done with this section. Pics....Paul
Looking good Paul. I was curious about how you are going to wire this section. There's a lot going on over a short distance. Do you have multi-pin connectors or some other method in mind? Is it a full lift-out or is it hinged on one end.
Inquiring minds would like to know ![]()
Today I did another modification of an 042 prewar switch to accommodate long cars and SD class engines in the yard. Below are step by step pictures. Tool used is a Milwaukee rotary tool with cut off wheel and grinding stone. These canabalized switches will work until I can get a pair of Lionel 072 tubular switches or go with Atlas 072's Other than pins that are available, not sure how to compensate for height difference.


RSJB18, it is a full length lift out. I drilled holes in each of the tables and will be using multi pin connectors. The switch is going to be a manual one. So right now all that will be needed is two wires, one for power and one for ground. But if down the road I want to add signaling on the lift out I will be able to do it..........Paul
paul 2 posted:MODELTRAINPARTS, thanks for that information. Up until a few years ago I used drywall compound. I then decided to switch to GYPSOLITE as I was doing some new scenery, But I also switched to pink board instead of using screening. The GYPSOLITE was more porous then drywall compound and accepted coloring better, at least to me. However I did use plaster wrap first. This piece of plywood was the first time I had the plaster come off. The glue method worked so I was able to color it. So once I glue ballast, cinders and ground turf down I'll be done with this section. Pics....Paul
Hi Paul, I am so happy that the glue trick worked for you! I figured if it would work for concrete it should work for plaster! Things are really looking great!![]()
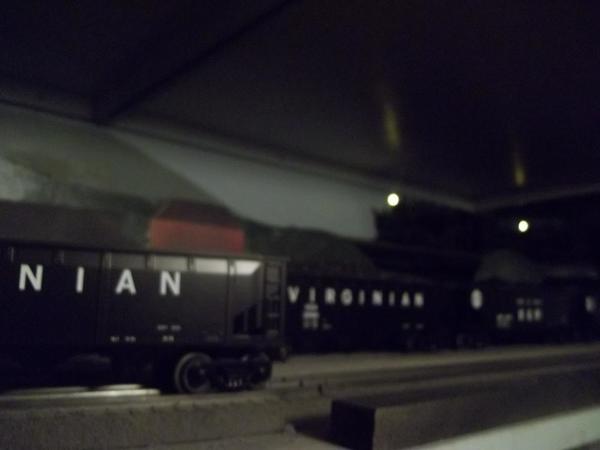
returned empties to the yard.....
I have been sick as a dog since my last post here eleven days ago. Today I was finally feeling good enough to go downstairs. When last I was down there, I had just popped the circuit breaker for the track power, after doing some high voltage rewiring. My solution to the problem was to add a second neutral wire in a piece of conduit about 25' long. I knew this was going to be a difficult task with three wires already in the pipe.
After two hours messing with this thing, I ran out of both strength and patience, and had to hang it up. I think I got it really close, like within 2', but I also got it really stuck. I guess tomorrow I'll have to pull it back, and take another run at it.
Can't run trains until this gets done.![]()
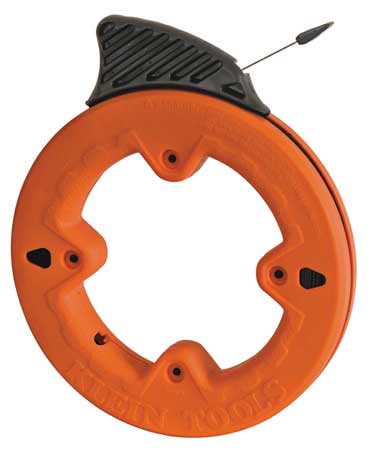
Fishtape? Ive used welding wire and tape measures with the edges to the pipe in a pinch on straights and single bends.
Wire and cable lube?
Adriatic posted:Fishtape? Ive used welding wire and tape measures with the edges to the pipe in a pinch on straights and single bends.
I worry about damaging the insulation on the other wires with the tape. I do have some smaller wire that might work as a fish. I'll give it a shot.
dobermann posted:Wire and cable lube?
Yeah, the first attempt was dry. I pulled that all the way back, and went with lube. Got a little further going that route.
Hopefully both techniques combined will get me through.
Might sound counterintuitive, but you're probably best off disconnecting the other three wires, pulling them out and running the entire four wire bundle through the conduit.
Mitch
Big_Boy_4005 posted:I have been sick as a dog since my last post here eleven days ago. Today I was finally feeling good enough to go downstairs. When last I was down there, I had just popped the circuit breaker for the track power, after doing some high voltage rewiring. My solution to the problem was to add a second neutral wire in a piece of conduit about 25' long. I knew this was going to be a difficult task with three wires already in the pipe.
After two hours messing with this thing, I ran out of both strength and patience, and had to hang it up. I think I got it really close, like within 2', but I also got it really stuck. I guess tomorrow I'll have to pull it back, and take another run at it.
Can't run trains until this gets done.
Elliot, Try taking a cotton ball and tie a string to it, then use your vacuum to suck the ball threw the conduit. Tie the string on the ground wire and pull it threw!![]()
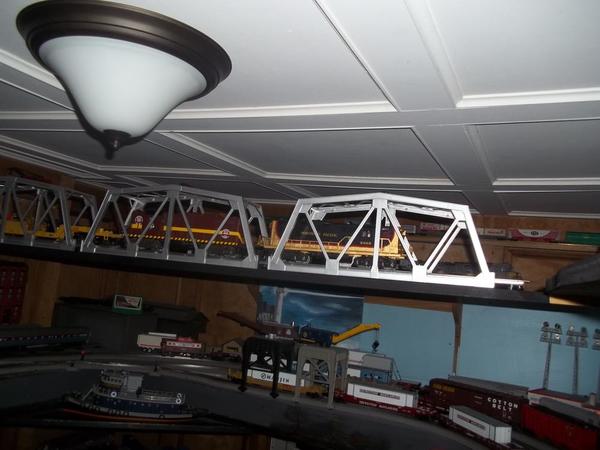
extended the shelves......
put up a bridge.....
and ran some trains.........


mike g. posted:Big_Boy_4005 posted:I have been sick as a dog since my last post here eleven days ago. Today I was finally feeling good enough to go downstairs. When last I was down there, I had just popped the circuit breaker for the track power, after doing some high voltage rewiring. My solution to the problem was to add a second neutral wire in a piece of conduit about 25' long. I knew this was going to be a difficult task with three wires already in the pipe.
After two hours messing with this thing, I ran out of both strength and patience, and had to hang it up. I think I got it really close, like within 2', but I also got it really stuck. I guess tomorrow I'll have to pull it back, and take another run at it.
Can't run trains until this gets done.
Elliot, Try taking a cotton ball and tie a string to it, then use your vacuum to suck the ball threw the conduit. Tie the string on the ground wire and pull it threw!
That is inspired, Mike. ![]()
I've got to run some new cable up the cavity wall for my new range hood. Hmm. ![]()
MaxSouthOz posted:mike g. posted:Big_Boy_4005 posted:I have been sick as a dog since my last post here eleven days ago. Today I was finally feeling good enough to go downstairs. When last I was down there, I had just popped the circuit breaker for the track power, after doing some high voltage rewiring. My solution to the problem was to add a second neutral wire in a piece of conduit about 25' long. I knew this was going to be a difficult task with three wires already in the pipe.
After two hours messing with this thing, I ran out of both strength and patience, and had to hang it up. I think I got it really close, like within 2', but I also got it really stuck. I guess tomorrow I'll have to pull it back, and take another run at it.
Can't run trains until this gets done.
Elliot, Try taking a cotton ball and tie a string to it, then use your vacuum to suck the ball threw the conduit. Tie the string on the ground wire and pull it threw!
That is inspired, Mike.
I've got to run some new cable up the cavity wall for my new range hood. Hmm.
Hi Max, works great for me! I was able to get the string threw 120' of conduit and then pull the wire!![]()
My layout so far. The trolley is on a bridge to nowhere.....
JoeSage posted:My layout so far. The trolley is on a bridge to nowhere.....
Pretty neat. That's what trolleys do, back and forth, back and forth... ![]()
With the tape edges turned to rub against the pipe, the tapes curve cant slice most sizes of wire, even lightweight 2 wire communication wire is safe. I wouldn't worry until I was under16 gauge, unsheathed single strand, or smaller.
Small thinner tapes at 1/4 & ⅜ wide work best if you find yourself in a pinch. i would flatten the tape's stay tab by vice so there was to poking with a broken blade either.
I didn't learn the trick from an old and well known plumber ![]()
Actually, Mitch has the answer we had to use most on AC pulls, but sometimes on straight and easy runs, the tape got used. 25ft would be too long for many small tape measures too come to think of it. But we spliced them, covered them with tape, etc. etc.. Enough undamaged tape and you stop worrying. Those electricians worried more about about "micro" nicks in the wire from stripping ends. (systems work, & I did communications; we had to run that and system AC together sometimes and electricians did all of the AC if we used them, often jump the gun not considering other wires might follow because 99% of the time they don't deal with comunications rubbing elbows with any ac that way.)
Big_Boy_4005 posted:I have been sick as a dog since my last post here eleven days ago. Today I was finally feeling good enough to go downstairs. When last I was down there, I had just popped the circuit breaker for the track power, after doing some high voltage rewiring. My solution to the problem was to add a second neutral wire in a piece of conduit about 25' long. I knew this was going to be a difficult task with three wires already in the pipe.
After two hours messing with this thing, I ran out of both strength and patience, and had to hang it up. I think I got it really close, like within 2', but I also got it really stuck. I guess tomorrow I'll have to pull it back, and take another run at it.
Can't run trains until this gets done.
Elliot,
Tie a string to the existing wires and pull them all out. Then add the 4th wire and pull it all back. They are probably twisted in the conduit and causing the extra wire to get stuck.
Hope you are feeling better. If I was closer I'd be happy to help but Long Island to Minnesota is a bit of a hike for a service call ![]()
Bob
JoeSage posted:My layout so far. The trolley is on a bridge to nowhere.....
From humble beginnings.......
mike g. posted:MaxSouthOz posted:mike g. posted:Big_Boy_4005 posted:I have been sick as a dog since my last post here eleven days ago. Today I was finally feeling good enough to go downstairs. When last I was down there, I had just popped the circuit breaker for the track power, after doing some high voltage rewiring. My solution to the problem was to add a second neutral wire in a piece of conduit about 25' long. I knew this was going to be a difficult task with three wires already in the pipe.
After two hours messing with this thing, I ran out of both strength and patience, and had to hang it up. I think I got it really close, like within 2', but I also got it really stuck. I guess tomorrow I'll have to pull it back, and take another run at it.
Can't run trains until this gets done.
Elliot, Try taking a cotton ball and tie a string to it, then use your vacuum to suck the ball threw the conduit. Tie the string on the ground wire and pull it threw!
That is inspired, Mike.
I've got to run some new cable up the cavity wall for my new range hood. Hmm.
Hi Max, works great for me! I was able to get the string threw 120' of conduit and then pull the wire!
Mike's technique will work fine with an empty conduit, can't do it in one with wire already in it. This works best in PVC too.
Max- if you have to get a wire up a stud wall, you are going to need a snake- 1/8" steel or fiberglass and drop it down from the top (or up from below if you have a basement)
Access to this requires an OGR Forum Supporting Membership


