Apples55 posted:mike g. posted:Apples Nice looking freight yard, I think the tower and parking lot look just wonderful!
Mark Boyce posted:Paul, I'm glad you got the wiring corrected! The tower looks mighty good!
Mike & Mark;
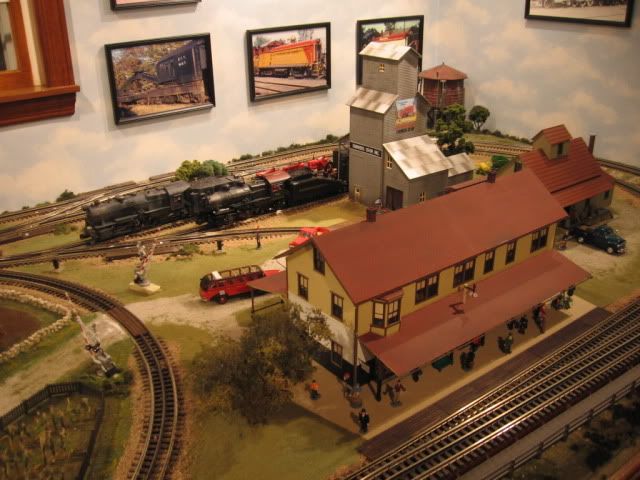
Thanks for the kind compliments. The switch tower is really something - I got it from Crescent Locomotive Works at one of the Yorks last year. I originally intended it for the entrance to my engine yard, but it ended up in the freight yard, so I had to order another one from Dave at October York!!! It is very detailed. One of my favorite features is that there are moving switch levers in the tower and a sample board that actually lights up. This isn't the greatest picture, but you can get the idea.

that looks great, That is the tower I asked Dave to make for me about a year before he brought it to York The tower is the B&O tower in Halethorpe MD I was looking for a tower and he made 4 of them for me and he started to sell them I think he does a awesome job