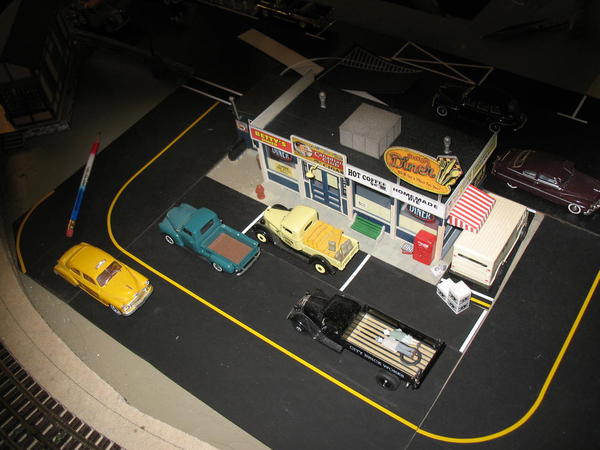
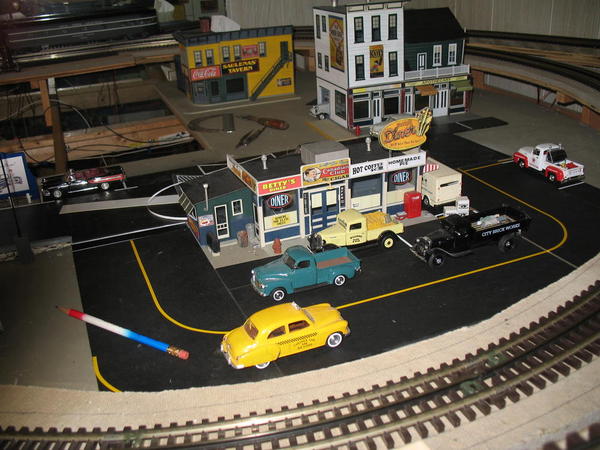
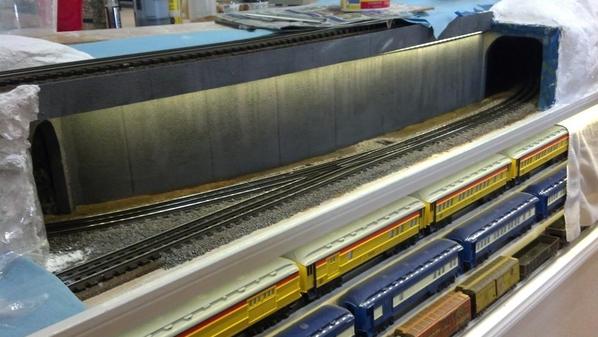
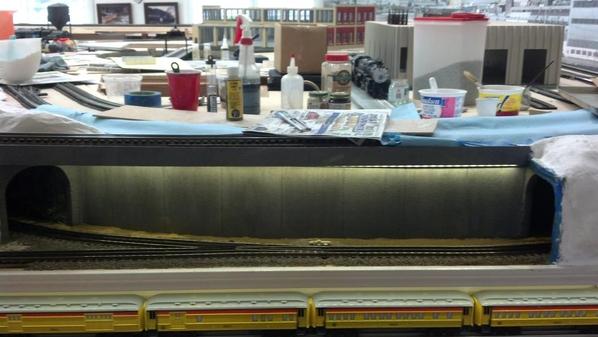
Trying to determine exact building locations going up the mountainside. The buildings have to be leveled, wired for interior lights, then ground cover snow.
03-04-2014 It snowed like crazy on the mountains today. The ballast crew managed to complete the ballast all the way through Cataract from Camp Disappointment to the tunnel near the Glacier Gravel Company. In addition, the ballast crew got started on the mountain itself from the turnout at Rising Wolf up to the dance hall at old McCartyville.
Attachments
For the first time in months, I was able to sit down at my workbench and do a train
thing (other than play at the computer). I opened the box of this kit I'd looked for
several years, a StoneMill Models stone water mill (odd). I was startled at how simple
it was..definitely not LaBelle. Six resin cast parts, four walls and two roof halves,
stick in the windows and doors, and you're done. That was not good news because
that meant there was no flume or water wheel included, and I was going to have to
make a fourth one of those (having made different ones for three other kitbashed
stone mills...I was not patiently waiting...including the MTH one). I guess I will make
a tall, rusty, iron wheel for this mill. Beck's Mill (wooden )in southern Indiana has an iron wheel with a pipe for a flume. (the stone mill in So. Indiana is, of course, in Spring Mill State Park) The Falling Spring mill in Missouri, in a fantastic setting, has an iron wheel, too. All the other wheels have been different. Since I have made different flumes, too, I wonder if I could make a decent looking "log" flume, as I think
serves the mill in Cade's Cove in Smoky Mountain Nat. Park.
Post some photos when you are finished.
"The Glacier Line" My main-line ballast, with snow, is complete. Here is a link to a video of my Lionel GN plow clearing the snow.
Attachments
Replacing the last old gargraves turnout with a Ross, gargraves works good but not with two rail locomotives.
Clem
Replacing the last old gargraves turnout with a Ross, gargraves works good but not with two rail locomotives.
Clem
Dear Diary....(Yesterday)
Today I decided to turn on the train(s) and make a couple of runs around. Maybe I should've waited for another day. It was not a good experience.
I have one set of MTH Gates/Flashers, 30-11012, that are front-and-center as you come down the stairs to the empire. One of the gates...for the first time ever...decided not to lower. Bummer. I could hear the motor, but no motion.
![]()
Disconnected. Removed. Dis-assembled.
Problem: The tiny 10-tooth spur gear on the motor shaft is split.
Well, I'm familiar with this. I've also been heavily invested in HO motive power, and the early runs of Proto engines had their axle gears splitting frequently. So much so that, after Walthers took over the product line, they would send you 'handfuls' of the gear/axle/wheel sets at a time. But, no more for that problem.
This is a new problem...same defect issue.
I haven't contacted/tried MTH repair, but I thought I'd try the 'experts' for problems of this sort....Northwest Shortline, 'The Gear People'. I believe a replacement gear is within their ability. I just can't put my finger on an existing stock number. Email has been sent....no reply after 24 hours.
So, that's my 'Dear Diary' entry for now.
Hey, you asked.
KD![]()
I did fine tuning of some switches. Been putting it off, but it had to be done.
Patrick was here a couple of times last week, but had to cancel yesterday, so I've been on my own. Last week we did a bunch of wiring, not very exciting to look at, but still important.
I've quietly been working on a number of different projects: prepping Tortoises for Matt to install Wednesday, making control panels, assembling Hump Yard switch throws, making shields for coils on railsounds boards and starting to gather materials for LED passenger car lighting.
Keeps me out of trouble.![]()
Attachments
I did NOTHING on my layout today because I sat here and Read MANY MANY Posts. It's like being in School.
Class Dismissed
Scott
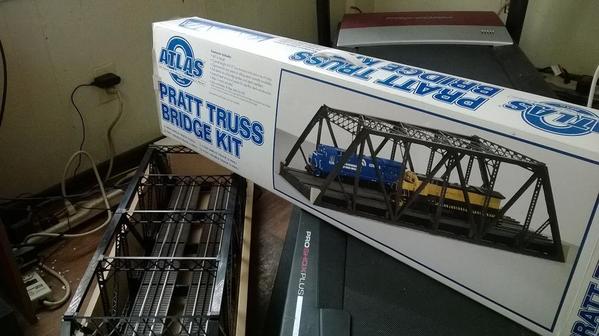
I know how bridges can make you feel like your spinning your wheels sometimes. I been fooling with three of them on my small upper level, But I also know your going to like the finished product. A toy train layout gota have a bridge somewhere IMHO.
Scrubbed track.
Alchohol Wipes.
Black.
Played with my trains. Don't care if anything gets "accomplished," long as I'm having fun.
Pete
Putzed around and tweaked for the umpteenth time an 054 Gargraves switch that sparked and stalled out my Boston and Albany legacy locomotive whenever certain flat cars ran through it at slow speed. The fix for today was to apply a short strip of electrical tape on the offending switch rail. Seems to be good......for now.
Pete
Chris, I'm using the circuit that RailRide posted here. I decided to mount them on perf board, instead of just going free form. LED strips were picked up on Amazon. Total cost about $3 per car (+ time to assemble).
Attachments
Matt was over yesterday and today, and made major progress.
It's only taken 9 years, but the track on the big helix is finally done.
That crossing to nowhere looks a little odd right now, but eventually the turntable and roundhouse will fill the center of the helix, and that will be the access.
The zoom lens makes things look a little wavy. It also shows the spikes of the Ross turnout.
The missing link is now complete. Look for the golden spike later this year.
Attachments
Worked on connecting a reverse o-72 loop, wired for DCS and ran a variety of locomotives. Everything worked great until I put my 4-8-4 Pacific on the track. It keeps stopping or getting hung up on Lionel Fastrack switches. I'll work it out tomorrow. Now I'm taking my frustration out on a bottle of Bushmills!
Besides fooling with more ballast trying to improve on fastrack appearance , I also put in a few LED in some of the tunnels and my sorta start on coal mines.
Terry I'm working on it.
Attachments
That looks awesome, Larry!
Great work!
Chief
Matt was over yesterday and today, and made major progress.
It's only taken 9 years, but the track on the big helix is finally done.
That crossing to nowhere looks a little odd right now, but eventually the turntable and roundhouse will fill the center of the helix, and that will be the access.
The zoom lens makes things look a little wavy. It also shows the spikes of the Ross turnout.
The missing link is now complete. Look for the golden spike later this year.
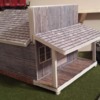
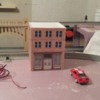
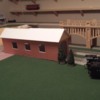
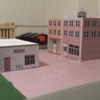
Larry I really like the look of that !! here's what I have been up too. these are my first foamcore/cardstock buildings. I'm having a lot of fun designing them. I bought the model designer software yesterday to play around with.
Really like the first two bldg. photos! Looks real.
Looks good on those buildings, I like that big bridge in the background also Looks like we both are scrapping along. Chief I'm looking forward to see you get started especially that big boy UP hing. That's got to be exciting.
Have fun guys.
hard to believe I started this layout about a month ago. moving right along ![]()
Wll today...I ran the trains...and planned out tomorrow including adding extra support underneath the layout at two fire escape areas and finally going to mount the largest transformer that supplies track power only.
Thanks John, that helix is 10' diameter and goes from 2' up to 6', for a net height of 4'. There is a second helix that is 8' diameter, same height. Each makes 6 turns of 8" rise per turn.
Here's the small one.
From the inside.
Attachments
Dappled the four stone walls on this Sudbury Mill kit. Have an interesting color cast
on one wall that I'm not sure how I got, and that I need to match on the other three.
Will try a black acrylic wash. Left to dry overnight.
Discovered my passing siding was dead. Planned its fix.
Peter
Ran my 2343 pulling a passenger consist on the outer loop. Ballasted the inner loop.
2001st reply, if my count is right.
I added two switches and a short length of track on my bridge, to make my outer loop into a giant turning loop, so I can run larger equipment point-to-point without having to jam it through my O-27 section.
Thanks John, that helix is 10' diameter and goes from 2' up to 6', for a net height of 4'. There is a second helix that is 8' diameter, same height. Each makes 6 turns of 8" rise per turn.
Here's the small one.
From the inside.
Late last night after everybody was in bed I Did a test installation of street lights I had bought from AMC Dave. Pics show lights in final position. I will finish mounting today sometime.
Doug
Attachments
Larry I really like the look of that !! here's what I have been up too. these are my first foamcore/cardstock buildings. I'm having a lot of fun designing them. I bought the model designer software yesterday to play around with.
The buildings look great. What do you use to get such a square cut on foam core? In the past, I have used a metal straight edge and an X-acto knife. I cannot get such a neat edge as you have.
I just line up a scrap piece with the edge take a pen and draw a line then with a xacto follow that line then cut 90 following the front plastic cover of the foam once I have the rabbit joint done I go back and scrape any leftover foam off the front plastic cover. it's all done by hand no straight edge. then using hot glue gun on low setting I glue the 2 edges and push them tight .
and thank you for the compliment these are the first ones I have done I still have a lot of detail work to do on them but it has been fun building. I still have one more printed out to build. then I want to build the station . attached is a photo of the station .


