ScottV. I think the clouds look great. I like the looks of your layout, too. Nice scenery, especially the retaining wall.
Rusty
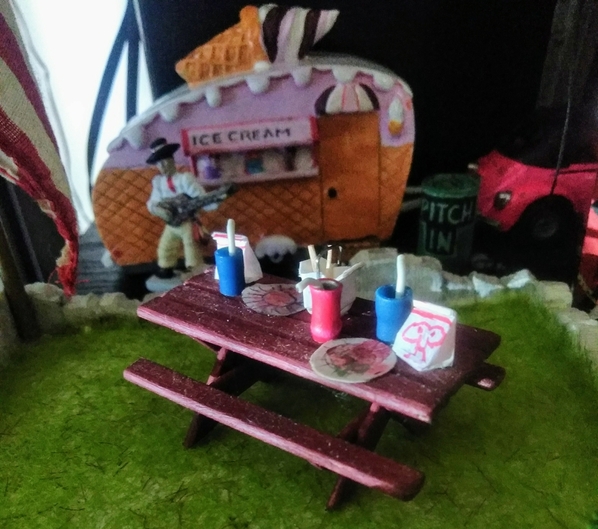
I screamed ; Only one side of this trailer came decorated! This was plain pink.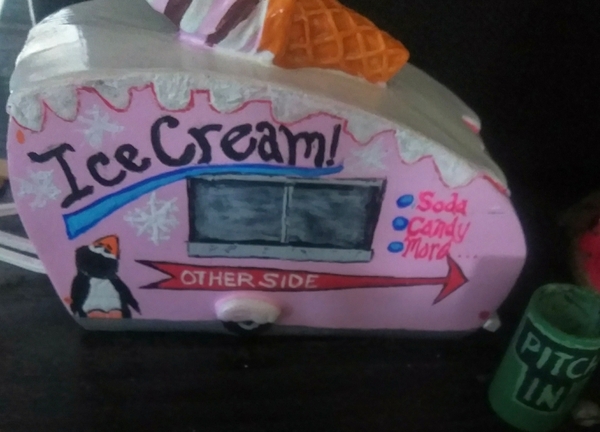
So I gave it a fast, crafty acrylic "pop".
and bumper and license I C MOO
I might redo these; drawing the bag art before folding this time ![]()
The cups are 3 different wire connector crimp covers with a tiny piece of wire insulation for straws. Chinese carry out tub is folded paper & a staple handle...w/chopstick slivers for chopsticks... of course.
It doesn't doesn't need to perfect for outside, just liven the mood. So I didn't worry about the new art being "loud"; the waffle side was too quiet and quaint alone.
Attachments
Adriatic, seeing that picnic table made me hungry. I would have never guessed what you had used to create it.. Great job matching the front decor on the back. Cute penguin too. Time to go raid the fridge....
You made a wonderful scene out of it, Adriatic!!
Happy 4th all!
Everyone is doing great work.
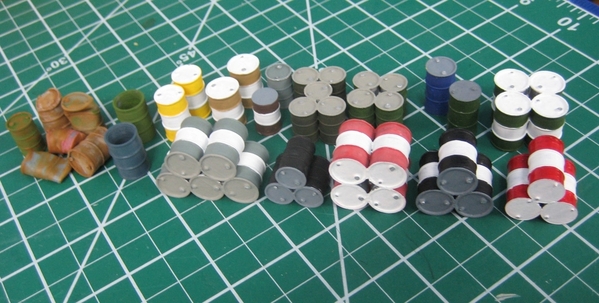
Ray- the lumber yard is looking great. Love the barrels too.
Adriatic- searching for the ice cream truck.....
Mark- I've noticed the heat bothers me more as I creep up on 60 (very slowly ![]() ) 20+ years behind a desk is making me soft.
) 20+ years behind a desk is making me soft.
Scott- the room looks great. The clouds have nice depth to them.
John R- going to be another great car.
B&O Fan- nice fencing.
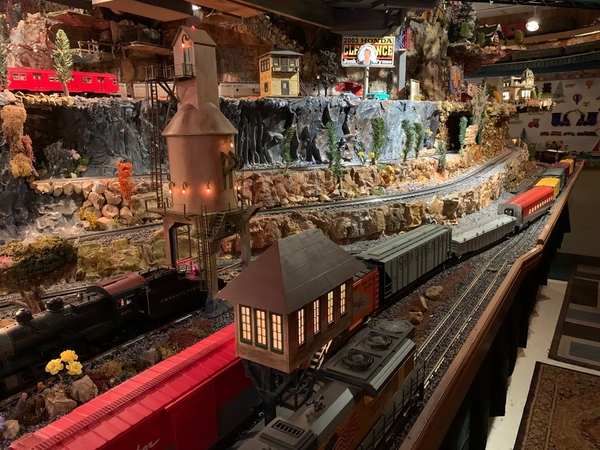
Pennsynut- that's a busy railroad you are running.
Dave-- nice work on the UP/ DMIR diesel. Looks perfect.
Thanks for all the likes and comments on my building flats too!
Bob
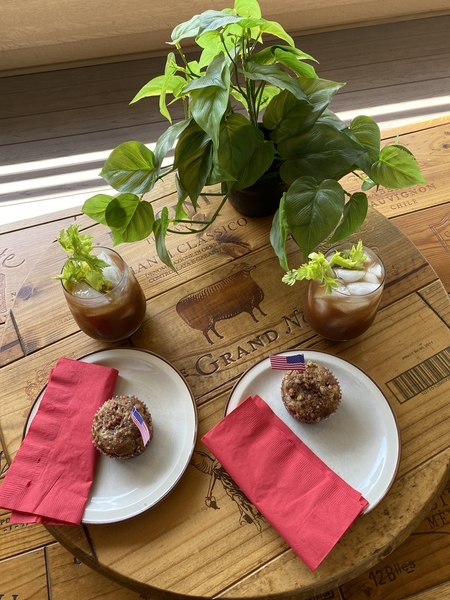
Happy and safe 4th of July to all! We are saying home, no friends, no parade, no fireworks, no fun, but still enjoying our annual Bloody Mary toast to honor our Country! Be safe, maintain your social distance, wash your hands and don't touch your face!
Cheers, Dave
Attachments
Last night I ran some trains a took a video https://youtu.be/QRVCTjmbewo
Featured items include MTH NYC green E8, MTH Santa Fe F3, MTH Metra, and a Lionel custom run Santa Fe F3. All of these are from @MrMuffin'sTrains. Enjoy.
Thank you Dave! You too!
First pix from my un-named "leaky basement railway." Started out with the best of intentions wanting to do it all "by the book". Later I realized that if I started out doing a plan in RR Track and going from there, I would never live long enough to see a train run on the doggone thing. So I stole parts of a John Armstrong plan and adapted it to my space and goals. I laid the yard to make sure I had the space for the one I wanted, then I installed the turntable and "imagineered" the rest of the engine terminal to make sure I had a least MOST of the space set aside for that--a good diesel/steam servicing facility was a must-have for me.
I had originally planned to have staging underneath the platform. But I decided my back just wasn;t going to be up to the down-low work. So I am building UP instead, with an elevated reverse loop and a 2-loop helix to make connections to the yard and engine terminal. All this work is cut-n-try, then cut again. I just lay out the track where I think it needs to go and then I figure out the connections, curves and grades. So far, so good.
No scenery yet. Ignore the structures that you see--they are just being stored where they sit. They won't end up where they are. Some of the won't even end up on the layout! I lay some track or work on a structure kit every day. Progress is slow but.....getting there!
Don
Attachments
@John Rowlen posted:I took some time today away from the heat and bright sun to detail the Alaska 72' Baggage Car from the four-car set. The doors do not open and one window is blocked by the 60' interior used in the car. I moved the interior around and painted the floor with Yellow, Sand, Dark Tan and Earth Red Testor's Flat Acryl Paint.
Fortunately I was able to find some crates and people to put inside the baggage car near the doors so they would be seen through the windows.
Back out to work around the pool after dinner when it cools down. The weeds love this weather.
Sincerely, John Rowlen
Is this new tooling? I didn't know some baggage cars had interior details from Lionel. If not, where did you find them?
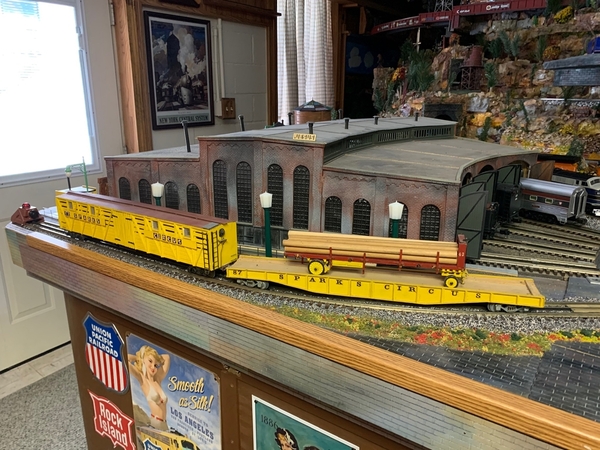
Wow, everyone, great work, enjoy your holiday, July Fourth, and stay safe, stay healthy, Pray continually. Have a great weekend to. Happy Railroading .. The two cars on the siding are hand made circus cars, actually scale with Kadee couplers.
Attachments
WinstonB,
These two interior pieces are from the Lionel 60' Baggage Cars (C&O, Santa Fe, Amtrak, etc.) Lionel has used these same interiors in the longer Baggage Cars (Union Pacific, Canadian Pacific, Penn Central, etc.) that have doors that do not open. The 60' Baggage cars have opening doors and details in the car can be viewed..
These interiors are made by Lionel and are included in the new cars. Unfortunately, the interiors sometimes do not line-up properly and need to be modified.
I wet blended the floor with Yellow, Sand, Dark Tan and Earth Red from Testor's. The people and crates are Woodland Scenics figures as the factory produced them.
Sincerely, John Rowlen
Attachments
Attachments
@RSJB18 posted:Happy 4th all!
Adriatic- searching for the ice cream truck.....
It's a trailer; a Dollar Tree item, pre-Easter. Seems like it's drywall material. I made a brass tow tounge and frame too. Its towed by a pink VW Beetle convertible (bout time I found a way to make it fit in)
The company made the grass yard seen before and little gnomes, furniture of flowers, toadstools, leaves, etc. I chose leaves as they were at least near real designs Ive seen. I also ground away overly foo-foo flower detail off the wood fence in places.
Sidehack, That is a very nice lumber yard.
John Rowlen
@John Rowlen posted:Sidehack, That is a very nice lumber yard.
John Rowlen
Thank you John
the drums look great Ray. If you really want to go over the top, add some labeling and haz-mat warnings.
Sorry you can't get more people to paint John. Hopefully the shipping restrictions will be lifted soon.
@RSJB18 posted:the drums look great Ray. If you really want to go over the top, add some labeling and haz-mat warnings.
yes I have been looking at them, very small but we will see, maybe
Well, my heart goes out to everyone working in a small room. Mark's is 11x11 and I can hardly imagine that! Put in the train, leave some aisle space and then....where do you work? Where do you store raw materials? Or works in progress? You spend more time moving things around to make working space or digging something out of a packed storage area than you do working on the layout!
My layout is a 16x17 island with 24-30 inch aisles on all sides except one. I use flat-top carts on wheels as work space. For big stuff, I sometimes work right on top of the tracks.
It's sometime a doggone zoo.
Don Merz
@Don Merz 070317 posted:Well, my heart goes out to everyone working in a small room. Mark's is 11x11 and I can hardly imagine that! Put in the train, leave some aisle space and then....where do you work? Where do you store raw materials? Or works in progress? You spend more time moving things around to make working space or digging something out of a packed storage area than you do working on the layout!
My layout is a 16x17 island with 24-30 inch aisles on all sides except one. I use flat-top carts on wheels as work space. For big stuff, I sometimes work right on top of the tracks.
It's sometime a doggone zoo.
Don Merz
Don,
You are absolutely right; It's a zoo! Sometimes I spend my whole train time for the day just moving stuff around. Saturday a week ago was like that. The benchwork and backdrop is up enough that I cleared out almost all the wood scraps, loaded them up, and drove them over to my friend's place for his bonfires. You should have seen the room before that! ![]() Indirectly I am benefiting my family in another way. My friend's son married my older daughter, and his grandson married my younger daughter.
Indirectly I am benefiting my family in another way. My friend's son married my older daughter, and his grandson married my younger daughter. ![]() Actually there is less than 4 years separating the 4 young people. So my daughters can roast hot dogs over my wood scraps.
Actually there is less than 4 years separating the 4 young people. So my daughters can roast hot dogs over my wood scraps. ![]()
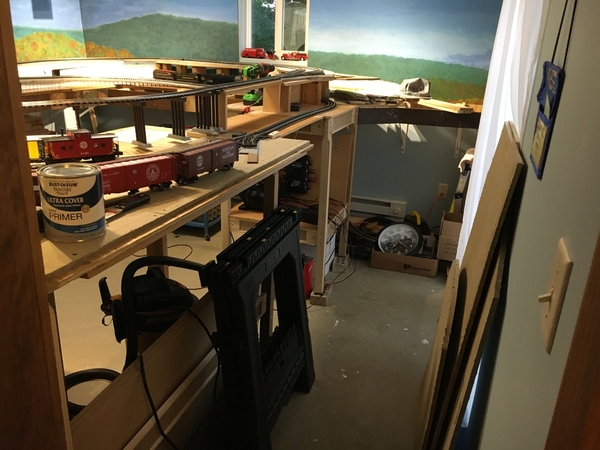
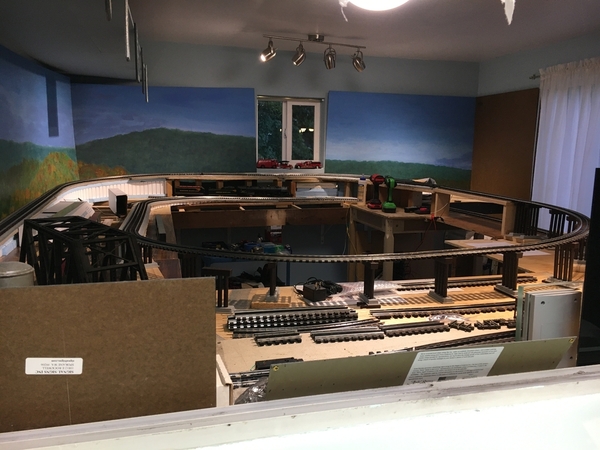
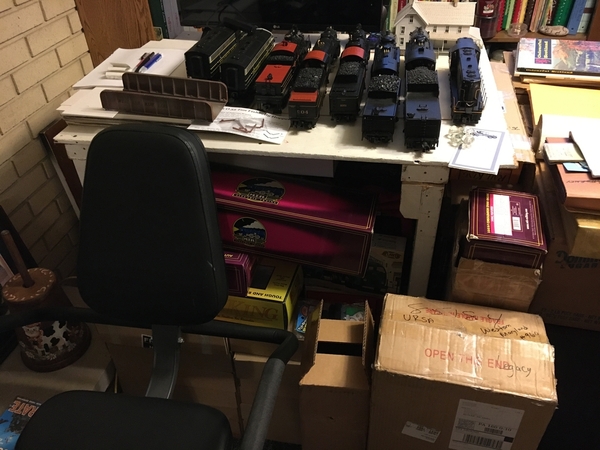
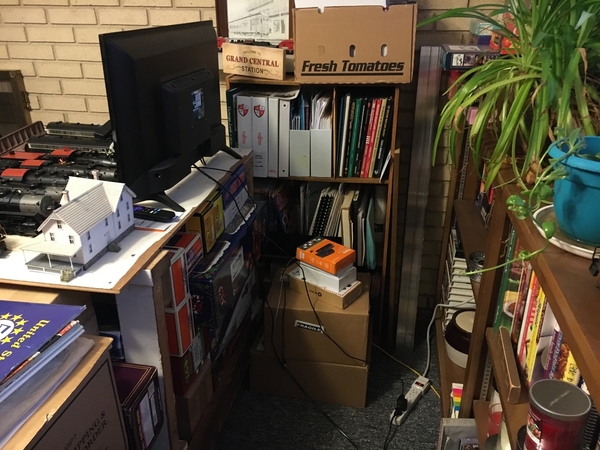
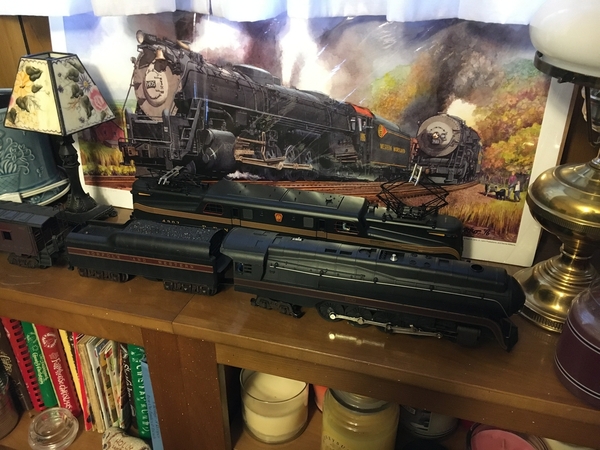
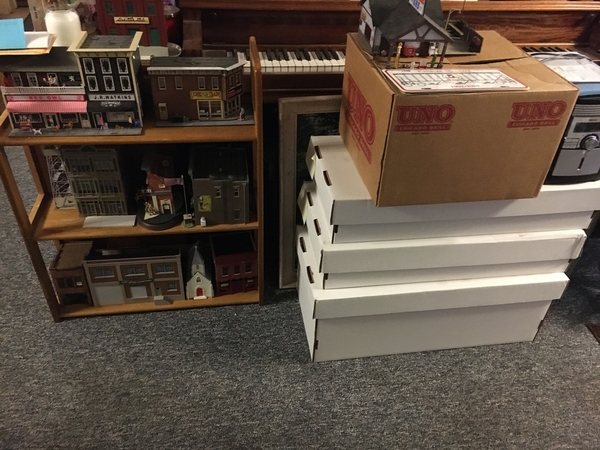
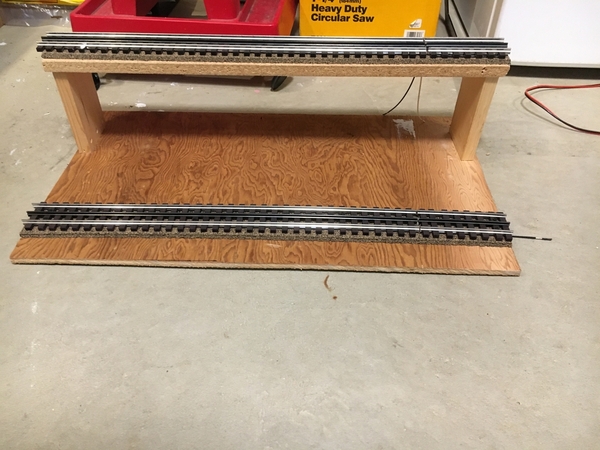
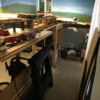
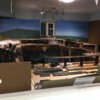
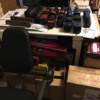
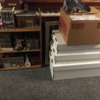
Here are a few photographs of the train room; and the overflow.
Entering the train room.
View from the laundry room is the best overall view. No we can't expand through the window. You think the train room is small.....
Overflow
I just took a video of a first run around the layout using the temporary lift out Bob suggested. It works good. I'm waiting for the video to download, so come back tomorrow. Same bat time, same bat channel!
Oh yes, the young'ns!
Attachments
WHOO HOO! A FULL LOOP! ![]()
YOU'RE WELCOME! ![]()
You should be proud of your girls Mark (I'm sure you are). Seems like they both chose well!
Bob
@Mark Boyce, in the 3rd and 4th pics it looks like you have set up a drive-in movie theater for your engines!
I like your room, it looks like "home", and your family has grown in a most positive way - good lookin' bunch o' kids!
Keep chugging along!
George
I wish I had your space. Almost every time I work on my 9x13 layout, I think if I only had an extra foot this way or that - mostly for staging or a yard. At present I keep only a rolling cabinet with ~40 cars on it. Everything else is either in my workshop / furnace room or in a storage room on either side of the layout. I keep thinking about taking down a wall for some extra space, but then that means I will rebuild my layout once again - that is not going to happen in this house.
So I have been busy putting in a concrete crossing, finally getting signal wiring proper for a couple of z-stuff signals - (my idea of up-track is not the same as theirs, not to mention how I think the signal should work), redid one of my movable bridges, and decided I needed to stop thinking about more cool ideas I get from you all and focus on one major thing at a time. Also found/bought a 500 foot roll of 4 / 22 gauge stranded signal wire to replace the solid thermostat wire I was using - just too stiff.
The MTH bridge has a door hinge which swings out from this view, the middle Lionel bridge is a lift out and the inside Lionel bridge swings in . The latter two are wired with banana plugs so I can pull out the entire bridge as necessary. Hinges are on the left side of the photo and all bridges are mounted on a pine 1x4 mainly so I can get alignment right. The bottom hinge is nothing more than a 3/4 inch piece of thin wall conduit through a couple of 2x4 pieces. For this photo the Lionel bridges are just placed on top of the track to get an idea of position. BTW - the date on the image is wrong - should be June 2020.
Attachments
George, You must be referring to the TV I brought home after my aunt passed on in March. It has been sitting on the floor in front of the bookshelves with the buildings. I moved it to take photograph 6. It does look like the engines are all facing the movie screen!
Bob, They went to church, Sunday school, and youth group with the fellows. They come from an excellent extended family.
ScoutingDad, I think the square space is better than a small rectangular space. This is the most room I have had going back to my first HO layout in the late '60s. It looks like you have the movable bridges worked out to access the middle of the layout. The three bridges will look great once installed permanently. I think mine will swing up. I'm glad I took Bob's advice because I was going to tackle the hinges, electrical contacts, etc. At least I can run some trains to check out all the track with different engines and consists first while I work on ideas for the flip up bridges.
Thank you everyone.
@ScoutingDad posted:I wish I had your space. Almost every time I work on my 9x13 layout, I think if I only had an extra foot this way or that - mostly for staging or a yard. At present I keep only a rolling cabinet with ~40 cars on it. Everything else is either in my workshop / furnace room or in a storage room on either side of the layout. I keep thinking about taking down a wall for some extra space, but then that means I will rebuild my layout once again - that is not going to happen in this house.
try living with a 4 X 8.......![]()
The bridges look good.
Here is the video of the first run I mentioned last evening. To answer Don's comment about stuff everywhere, I did another spin around the underside of the layout to show what is under there. And yes, when the weather is bad out, or too hot (bad also), I setup the sawhorses in the 6x4 center viewing space to make cuts. It can get a little crowded for sure! I don't think this layout will ever be on anyone's open house schedule once events start happening again. ![]()
very cool Mark, great job ![]()
Looks great Mark. 3 + minutes for a full loop is not a bad run at all.
Congrats!
Bob
Earlier in this string I showed the automation of my Command Gantry Crane. https://ogrforum.ogaugerr.com/...7#146142158431808647
Well, I finished it. I replaced the 1ft. spindle with a 2ft spindle giving the crane plenty of room to roam. I also decided to scratch build a platform for the scene and to cover the above layout spindle. Gave me an opportunity to give it some more interest. I also extended the road to provide a transfer point for trucks to also supply the crane with another loading/unloading opportunity. It worked. This weekend my 8 yr. old Grandson fired up the layout and moved the crane into position and started transferring cargo. Now, that's what I'm talking about.![]() Here are a few pics and short video. Notice the fearless Superintendent on the Crane.
Here are a few pics and short video. Notice the fearless Superintendent on the Crane.![]()
Attachments
@Mark Boyce posted:Here is the video of the first run I mentioned last evening. To answer Don's comment about stuff everywhere, I did another spin around the underside of the layout to show what is under there. And yes, when the weather is bad out, or too hot (bad also), I setup the sawhorses in the 6x4 center viewing space to make cuts. It can get a little crowded for sure! I don't think this layout will ever be on anyone's open house schedule once events start happening again.
Very nice first run and very smooth. Thanks for the video.
Ed- love the crane. The platform is a nice way to hide the rod too!
Bob
Thanks, Bob.
Mark, I like your track plan. I wish I had the foresight to plan more than one level to extend a continuous loop. I watched your video and my first reaction was to slap my forehead and utter those infamous words of Homer Simpson “D’oh”. Well done ![]()
First run! I am so jealous! Nice work Mark!
Don Merz
@ToledoEd posted:Earlier in this string I showed the automation of my Command Gantry Crane. https://ogrforum.ogaugerr.com/...7#146142158431808647
Well, I finished it. I replaced the 1ft. spindle with a 2ft spindle giving the crane plenty of room to roam. I also decided to scratch build a platform for the scene and to cover the above layout spindle. Gave me an opportunity to give it some more interest. I also extended the road to provide a transfer point for trucks to also supply the crane with another loading/unloading opportunity. It worked. This weekend my 8 yr. old Grandson fired up the layout and moved the crane into position and started transferring cargo. Now, that's what I'm talking about.
Here are a few pics and short video. Notice the fearless Superintendent on the Crane.
Very Nice and well done!! Thanks for sharing!
Cheers, Dave
@Mark Boyce posted:Here is the video of the first run I mentioned last evening. To answer Don's comment about stuff everywhere, I did another spin around the underside of the layout to show what is under there. And yes, when the weather is bad out, or too hot (bad also), I setup the sawhorses in the 6x4 center viewing space to make cuts. It can get a little crowded for sure! I don't think this layout will ever be on anyone's open house schedule once events start happening again.
Mark, Congratulations on the smooth run! So glad that you are progressing. Well done!
Cheers, Dave
@ToledoEd posted:Mark, I like your track plan. I wish I had the foresight to plan more than one level to extend a continuous loop. I watched your video and my first reaction was to slap my forehead and utter those infamous words of Homer Simpson “D’oh”. Well done
Thank you Ed! I came up with the idea, not a new idea by any means. DoubleDAZ Dave is the one who drew it up in SCARM to make it work. BTW, I like how well you gantry crane works!!
@Don Merz 070317 posted:First run! I am so jealous! Nice work Mark!
Don Merz
Thank you, Don! I hope you can get a first run soon!
@darlander posted:Very Nice and well done!! Thanks for sharing!
Cheers, Dave
Thank you, Dave!!
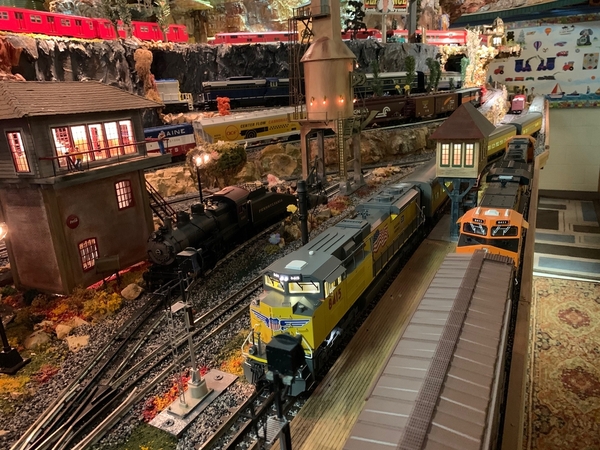
dan 77 Good start on scenery on your multi-level layout! It takes a bit of thinking and maybe trial and error to scenic a layout like ours convincingly!


