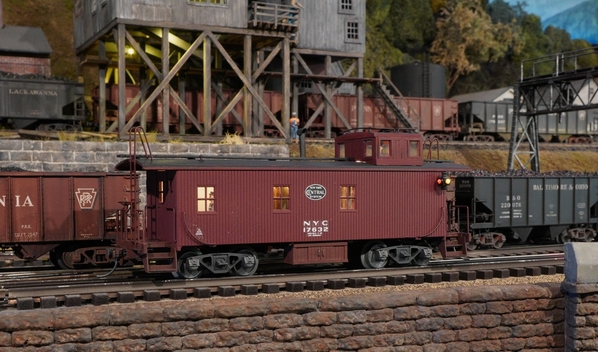
Rich, @trestleking, I would measure the clearance between the curve and the Brick Wall. If you ever decide to run a larger Articulated Steam Engine on that loop, you may not have enough room for the front overhang on the curves... That would be a bummer once you cover the whole return loop. It looks pretty darn close on the video, but tough to determine "how close it is" from the video.
I had 096 curver entering an Atlas O Double track Truss Bridge thought everything was fine till I ran an B&O EM-1 through there, what a shock !!! Chris a