


I put up LED strip lights in two display cabinets.
Brewman.....where did you get that extra wide tunnel portal?
Rick
I purchased 4ea dz-100 switch machines and just dreamed about it. I was at the Big-E train show today. Maybe tomorrow I'll have a chance to work on it for a few hours.
Originally Posted by Rixster:
Brewman.....where did you get that extra wide tunnel portal?
Rick
Looks like an extra piece has been spliced into the center. Not tough to do.
I fired up my new Railking New Haven Hudson.
I re-wired the inner loop at the far side of the layout (where I was noticing slower speeds).

I wrote down a plan of projects for the coming 6 weeks.....that is sure to be broken![]() at some point!
at some point!
Peter
Attachments
Images (1)
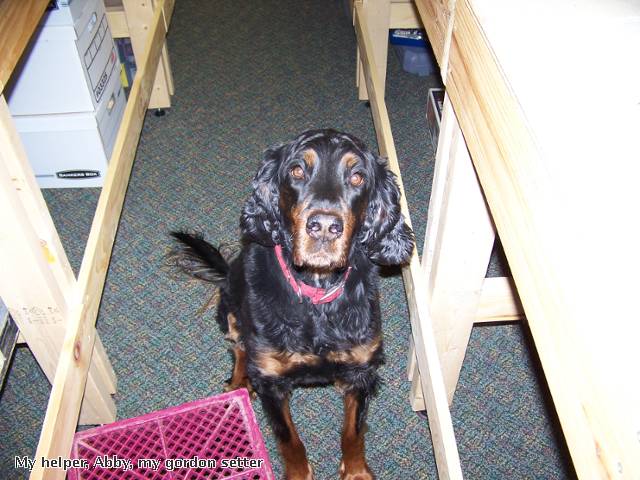
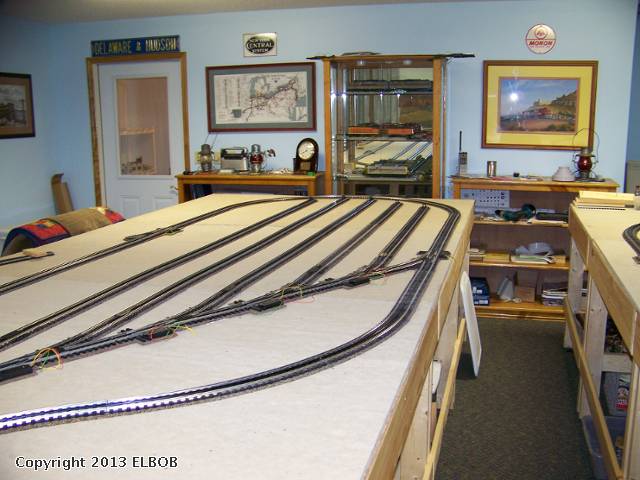
I spent a long time planning my layout. I realy got into the layout construction phase after winter settled in here inNorthernNew YorkState (and after my wife threatened to use my train room for quilting if I didn't get moving!) My lower level basically consists of a folded dogbone with the right side containing a five track yard and a ladder track, and the left loop containing a reversing loop. I have plans for the upperlevel, but that part of the project is a long way off. I used Gargrave track and Ross switches. I installed Gargrave uncoupler tracks on all the yard tracks, and also on a siding coming off the reversing loop on the left side. Included are some photos. I have spent the last several days (including today) on my knees under the tables running and connecting the wires for the electrical system. I am learning to do the electrical as I go.
EL BOB

Started wiring DZ2500 switch machines - my goodness, that wire is tiny!
Former Member
Finally got the 2nd attempt at the control panel to the point where it could be installed and wiring process began.
Did some of the wiring at the bench where it was easy to get to and work on.

Built the frame work for the panel and got it painted.

Started wiring up the Tortoise Switch Machine toggles with LED switch point indicators (green/yellow) for normal and diverging routes.

Attachments
Images (3)
Former Member
Originally Posted by Rixster:
Brewman.....where did you get that extra wide tunnel portal?
Rick
Hi Rick and Harry, I used the heavy clear plastic container that the K-Line tunnel portals came in as a mold, which I then poured modelling plaster into. I made two and spliced them together. You can see from the picture that it lacks much of the detail, but it looked ok after painting. To give it extra strength, I added a wood brace on the back. If I had it to do over again, I would not have put the portal on a curve. I had to trim the sides a few times to allow for overhang from some of my larger engines.


Attachments
Images (2)
I didnt do any actual work on the layout today, but ran trains with my son.
I also have started talks with Alex Malliae about building a new feature of the layout. This will require a large rebuild of the corner closet that cover the sump pump. It will also cut down on my asile space but I think the end results will be well worth it.
I worked on a vignette. A couple of guys cutting firewood.

Attachments
Images (1)
Really worked on the railroad yesterday setting up a newly acquired ZW-L to replace my two ZW's. Had to run some new wire under the layout as I have the railroad divided into two power districts and the ZW's were in different locations. Now the ZW-L powers both districts. I was up until 3:30 this morning running trains. So I guess I did do something on the layout today! ![]()
Tom, like the new vignette. Well done!
Worked on my wesite this afternoon and wrote about the new ZW-L. Bo ![]()
Visit my website Bo's Trains at http://www.bostrains.com
I have decided to upgrade my layout wiring to operate all my switches and uncouplers using the MTH AIU. I have also removed my switches from track power and will be running them from aux transformer power. I am also adding track detection blocks by isolating one of the outer rails. This will allow for realistic block signalling.
I have rewired 2/5ths of the layout and have used up 800ft of 4-wire phone cable so far.
In the pictures below, I have mounted my AIU's to a movable pannel (1/8" plywood) so I can do all the wiring on my lap while sitting in a chair. This only requires that the wire runs have an extra 3ft length so I can pull the AIU pannel out from under the layout for easy access. I have found this very practical, since there are about 100 wires to teminate for each AIU.

Isolated outside rail by cutting rails and removing track pins on Lionel Fastrack, to create a train detection circuit. this will allow for block signals

AIU with extended wires, so you can do all the wire connections while sitting comfortably in a chair.

Wire labels and color codes, created using excel spreadsheet, allows for easy tracking of wire connections. Each 4-wire phone cable is labeled, and the colour codes indicate where each strand color for the cable should be connected.

AIU is hanging on 2 screws, under the layout. this view is in a closet, so there is no scenery and skirt. The AIU's in the rest of the train room are hidden by a skirt that hides the under table mess. In my train room, there are bankers boxes under the layout that store all our "stuff". This demands that the train table be as large as possible in order to store the many bankers boxes.
Attachments
Images (4)


Still making a mess. But enjoying it.

Attachments
Images (1)
I added four tunnel portals on the third level and finished laying the track on the fourth tier of my display. Hopefully I'll be able to crown it with a fith tier today.
I rewired 4 switches on the fasttrack and secured the wires under the layout. Today gonna do four more. Gotta get the switch wire under the layout so I can start doing scenery, and wiring the buildings,light posts,yard lights......
finished the roadbed on a 46ft long straight double track main. It is perfectly straight, thanks to a laser sight!
Originally Posted by Putnam Division:
I fired up my new Railking New Haven Hudson.
I re-wired the inner loop at the far side of the layout (where I was noticing slower speeds).
I wrote down a plan of projects for the coming 6 weeks.....that is sure to be broken![]() at some point!
at some point!
Peter
I like your idea of the old rail line leading to the scrap train, I'm going to steal it!
Originally Posted by Super O Bob:
finished the roadbed on a 46ft long straight double track main. It is perfectly straight, thanks to a laser sight!
Wow Bob, I wish I had the room for a 46long straight!
Started the morning gluing together a couple of crossbucks for a crossing and then worked on ballasting a yard area. Later plan to work on some more trees. There seems to always be a need for more trees. Bo ![]()
Visit my website Bo's Trains at http://www.bostrains.com
I painted up a few locomotives and will be decaling them tonight for a customer. I will be running trains this afternoon when my son gets up from his nap.
Originally Posted by Jdevleerjr:
Originally Posted by Super O Bob:
finished the roadbed on a 46ft long straight double track main. It is perfectly straight, thanks to a laser sight!
Wow Bob, I wish I had the room for a 46long straight!
this layout is long and skinny. It gets very hard to keep such a long straight perfectly straight. I set up a datum line with a laser and measure off that.
Gentlemen,
Christmas 2012 layout coming down, disassembling the layout in process.
Final runs with the Williams Pa Green GG1 & the Lionel Union Pacific GP7 engines.
PCRR/Dave
Last night I took my 30+ LEDs off the transformer and on a 12v 1 amp Wall Wart. I installed my Atlas O Oil Pump and luckily I still had an old HO DC transformer around to dedicate to that.
Attachments
Videos (1)

I Prepared the upper level and broke Ground for Pennsylvania Station.
Is my support stantion overkill?


Attachments
Images (5)
I didn't work on the layout, but I did work on a Lionel GP7 that I am detailing and painting for a C&O GP7.
While I watched the Red Wings game I decaled a Legacy 0-8-0 for a Grand Trunk Western. I will clear coat it tomorrow, 1st witha gloss coat to hide all the decal edges and after that dries with a semi gloss or dull coat. Havent decided on that yet. Just have the front number board to do and paint the cab window frames red and it will be all done. Next up a Soo Line Mikado.
Yesterday I drilled holes in the platform to insert Christmas lights in the buildings on my layout. When my Dad gets a chance, he is going to build me a dimmer box for them (it's handy having an electrician in the family) so I can dim them.
Today, I used my rivet press to make the screw holes bigger for my American Flyer track. Tomorrow, I finish laying it out and securing it down.
I just ran trains. My layout is taking so long because I enjoy watching the "action" too much!
I spent some time making tree armatures and painted a couple of crossbucks. There are never enough trees or so it seems. Bo ![]()
It wasn't exactly on the layout, but it was in the train room. I finished the ramp that leads up to the raised floor. I didn't even realize that was the final piece until just now.

I always hated having to do that 12" step up. The ramp was always in the plan, and now it's done.![]()
Attachments
Images (2)


Drilled some holes in the bench work so I can run wires for turnouts tomorrow.
I uprooted a bunch of my crappy pine trees and broke out the "Good Trees" finally and started to install them.

Attachments
Images (1)
I wired up six Lionel yard lights. Slow and steady wins the race or gets the layout done?
Last night I plaster clothed part of my river and a hill that will go behind my grist mill. This morning I installed the motor to my Grist mill and the mill. I will do more plaster cloth this week when I get to the hobby shop to pick some up.
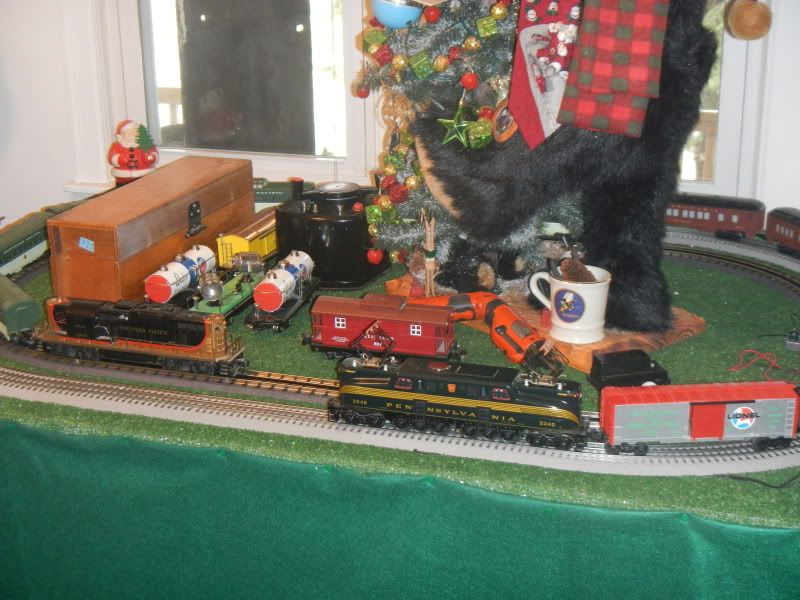
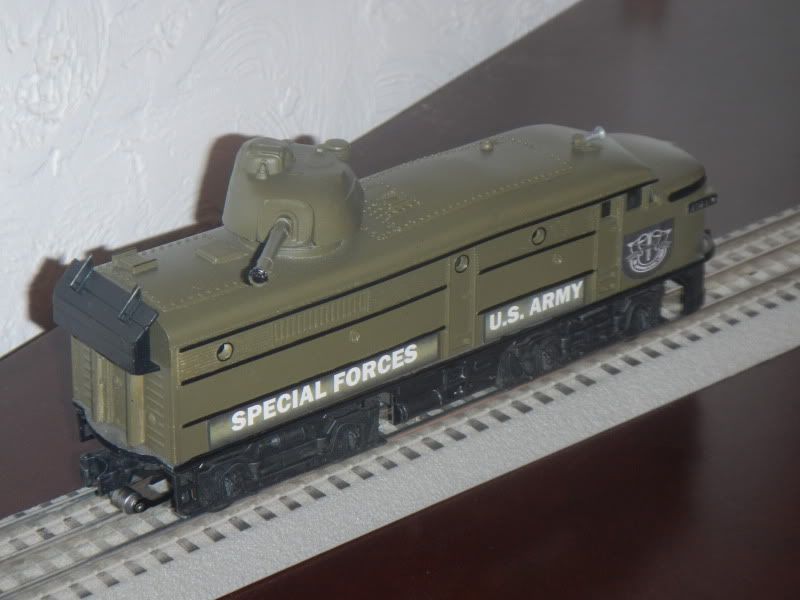
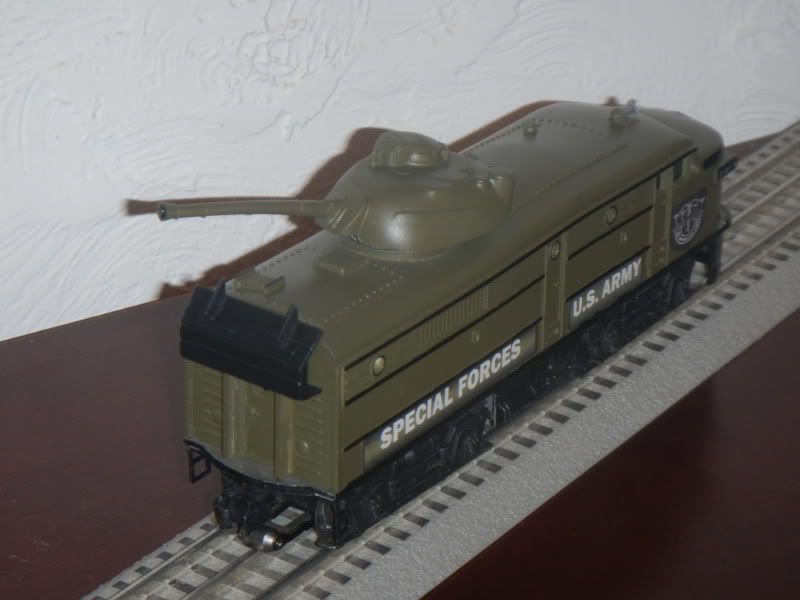
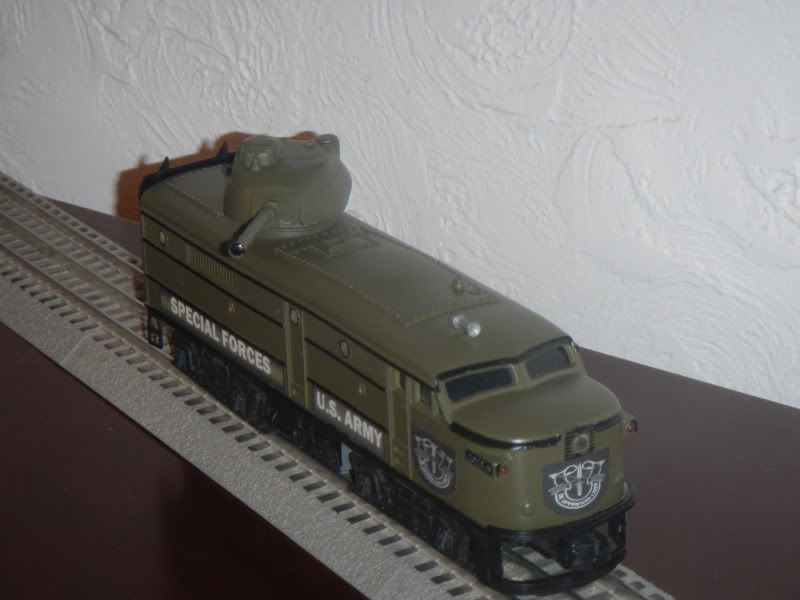
Did some measuring and planning for the new book shelf, ceiling layout, and tested my new Special Forces Shark Engine.
PCRR/Dave
I worked on my "control stand", and getting some RMT 70 ton hopper ore loads ready for repainting. For some reason they look uniformly pink/rust.
And I ran trains for a combined 1.5 hours.
I made a video using two new wireless mini video cams that I installed on my Grand Central subway station. The images are broacast to my TV and the cams can be changed by remote control. I now have a total of 4 cams in three stations.
Also added besides the two cams are a third rail right by the station track.
Attachments
Videos (1)

I worked on my country Superstreets road - the difficult part, on a section of the layout that is both challenging to access and that means while working I can run no trains until it is done. Didn't get it done, but the end is in sight.
Wiped down the track.
Ran trains for fun.
Worked on rrtrack yard plan for the modular group
Read up on the ZW-L threads.
Add Reply
Sign In To Reply
