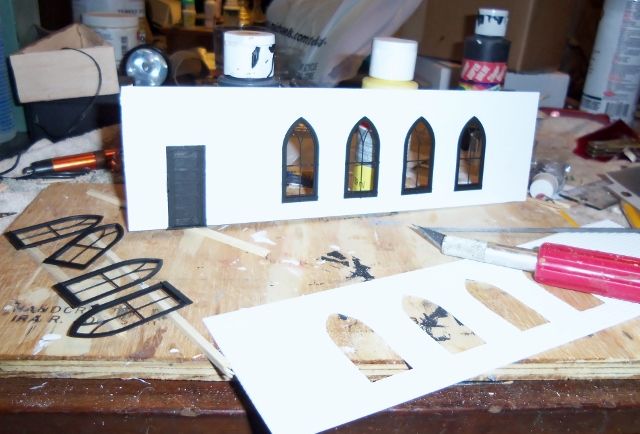
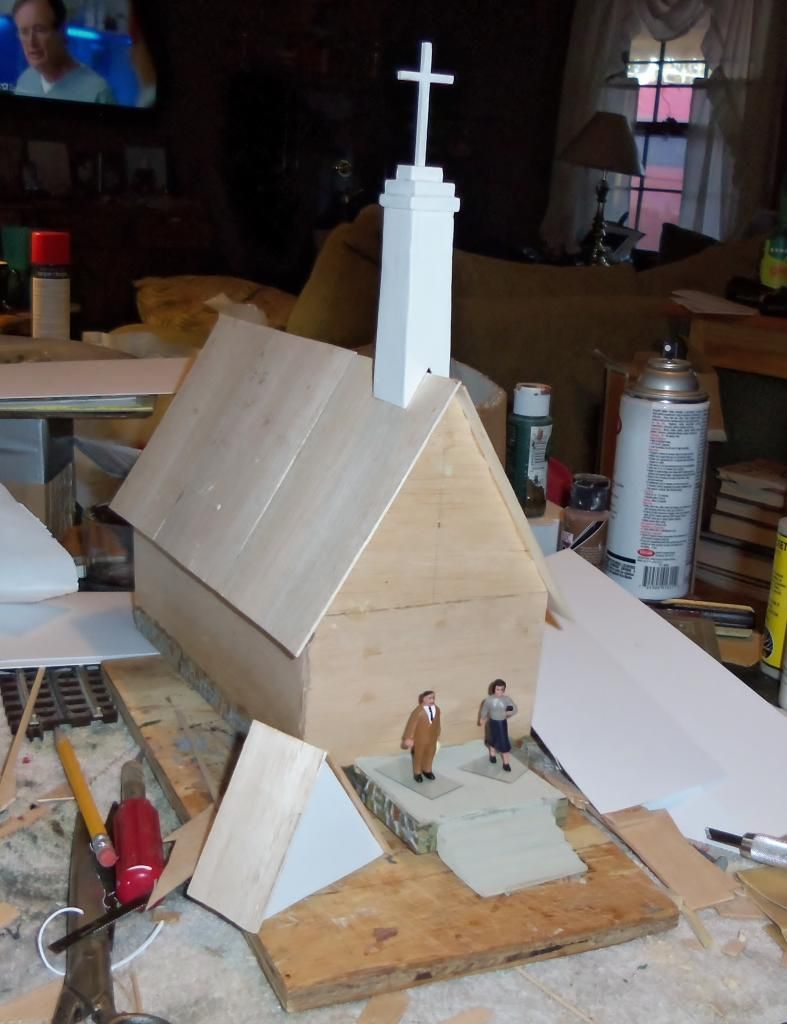
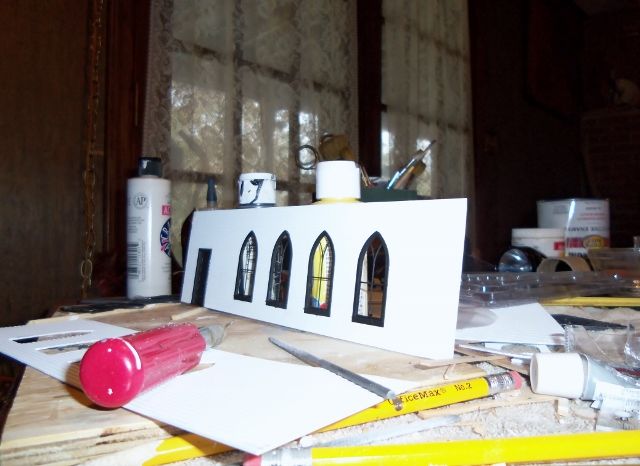
as i posted earlier I am building a small church, country style, has a steeple with a cross, and using GRANDT Line for windows and doors> This is the window i am putting on each side, four to s aide. These windows are recessed and i had to build a small jig to outline each window on the side and i used the jig to mark on (scale ) 6' centers four windows to a side, front door is double and same deal had to build a cut out jig probably will have a access door on the side.
so far actual labor hours in project (actual sit down with wood or tools in hand) 10
got incredible cedar shingles for roof, can not wait to put them up, so so real looking, and the siding from evergreen is so so real also, it is conventional siding
now to figure out how to color the window paines, five of em, but think they have to have color
suggestions, all i can think is clear acetate and paint??
Pelago:
Tamiya paints makes a series of paints that are translucent. The colors are Clear Green, Clear Red, Clear Orange, Clear Yellow and Clear Blue. Their part numbers are 810XX (green is 81025). We use this with great success on stained glass windows of custom built churches. We use overhead projector transparencies for glass. On the transparency, you dab one color on with ample space between splotches for future colors. Let one color dry before applying the next in a similar fashion. The effect is GREAT!
Another trick we use if a client wants the image of a real stained glass window/s from their church is to take a digital photo of the window from the inside of the church on a sunny day, reduce the photos to the proper size for the window, print them, via color laser printer or copier on the overhead projector transparency and apply them to the window frames.
Though I do not have Tamiya paint on my web site, I can get it for you, but, my wholesaler looks as if he is low on stock. Many local hobby shops carry it, also.
Happy modeling and do share a photo of the finished church with us on the forum.