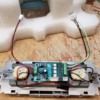
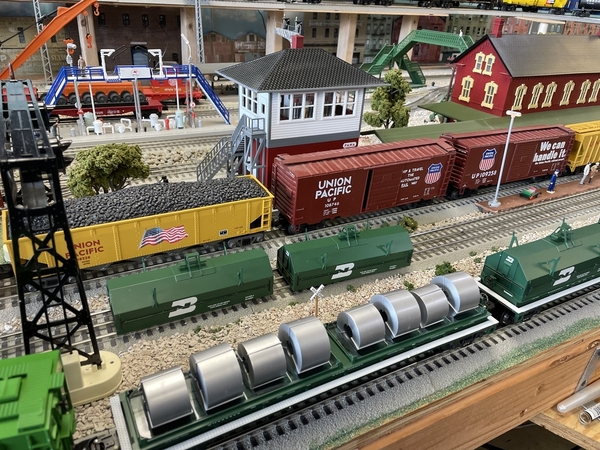
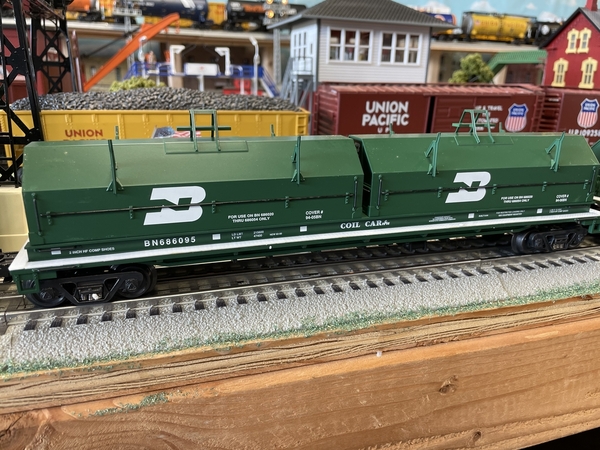
I forgot to post his in this thread last week, I updated my semi scale PE Disappearing Hobo car fire.

What it was: I drilled out the silly little plastic fire and installed a steady on LED. It was okay, but I wanted more!

Here's current. I built my own fire with flicker and a still photo won't do it justice, so here's a video:

And I can still flip the hobo and make him disappear. I'm making the cooking stakes too, to hang the coffee pot from.

Scott

Attachments

Images (3)
  • mceclip0
  • mceclip1
  • mceclip2

I forgot to post his in this thread last week, I updated my semi scale PE Disappearing Hobo car fire.

What it was: I drilled out the silly little plastic fire and installed a steady on LED. It was okay, but I wanted more!


Here's current. I built my own fire with flicker and a still photo won't do it justice, so here's a video:

And I can still flip the hobo and make him disappear. I'm making the cooking stakes too, to hang the coffee pot from.


Scott

Very nice Scott, Lionel really cheaped out. Yours looks great.

Last edited by Dave Ripp.
@Dave Ripp. posted:

Very nice Scott, Lionel really cheaped out. Yours looks great.

Thanks Dave, I got my inspiration from another OGR member, Rob (rjsmithindy) who had updated his Hobo Fire on top of his Scale PE Hobo car. Here's the link to his post:

Polar Express Hobo Car Modification.  Check it out with the link below.

https://ogrforum.ogaugerr.com/...3#157688391380735773

Scott

I spent a couple minutes last night on the BEEP. I had been thinking about what could be wrong all day and decided to try connecting the cab markers to the track power terminals. I also connected the markers and the headlights together and they worked fine so I know it's not a wiring issue on the boards I built. I also tried reversing the polarity as GRJ had instructed but still nothing so this will work. It actually will be a good indicator to show when the engine is powered on too without having to grab the Cab 1.

I still don't have an answer for why the feature terminal won't work, but I think this solution will do. It's a learning process.....

Hope to find time this weekend to put the wiring together now that the testing has been completed.

Bob

Last edited by RSJB18

Scott, I was on the top side creeper. I usually try to show up in the mirror. At least I was dressed LOL. Thanks Paul, Mike & Mark, Mike did a great job on the unloader. Once I got it I had to make a spot for it. They had an unloading area about 5 miles from me that closed a few years ago. It's a cool process to watch but I wouldn't want to drive down a ramp. 

@Dave Ripp. posted:

Scott, I was on the top side creeper. I usually try to show up in the mirror. At least I was dressed LOL. Thanks Paul, Mike & Mark, Mike did a great job on the unloader. Once I got it I had to make a spot for it. They had an unloading area about 5 miles from me that closed a few years ago. It's a cool process to watch but I wouldn't want to drive down a ramp.

Oh my, glad you were dressed, we don't want a  scandal! LoL So, does your wife ask you to work on your layout in your speedo sometimes? ;-)

Thanks Mark, yeah, wiring is very slow tedious work. Just finished up tonight the fourth and final insulated rail sections with soldering jumper and feeder wires, still got the rest of it to do in sections, then I'll get it put together enough to make sure everything lines up correctly before drilling holes down through the foam and plywood to drop the feeder wires down. Then the fun part, getting underneath the layout to do all the wiring down there, and getting back out and back up. This 63 year old broken down disabled body is already shot but way much better than sitting around doing nothing!

back savercreeper

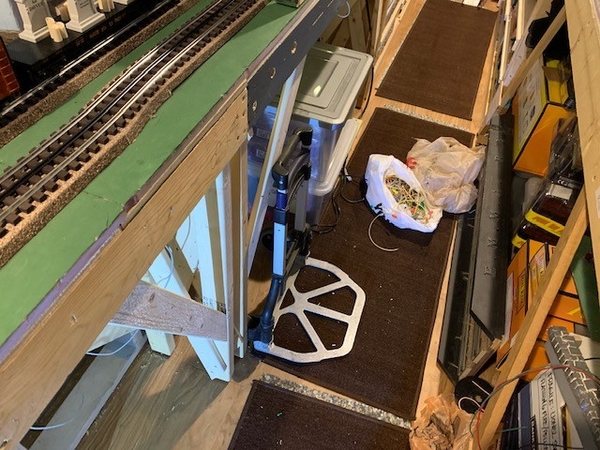
Gary, I've been working on my wiring under the layout (36" from floor to table top) for several weekends.  Pictured on the left is a portable two wheeled cart I used for work, carry samples.  I was looking for something to give me back support and this cart allows me to sit upright on the floor on the base of the cart and use the vertical part of the cart as back support while I connect wires.  The other tool is my automotive creeper.  I inverted it upside down to raise it just enough to lay on it and wire.  Wiring under the layout, in my view, is the worse task to do for folks with a few years on them.  With permanent lighting hooked up (led Christmas lights) and carts/creepers, the tough task of wiring when your body is creaky like mine, is a heck of a lot easier and actually almost enjoyable.  I'm probably not saying anything you haven't heard or done, but just in case....
Mike

Attachments

Images (3)
  • back saver
  • creeper
  • creeper

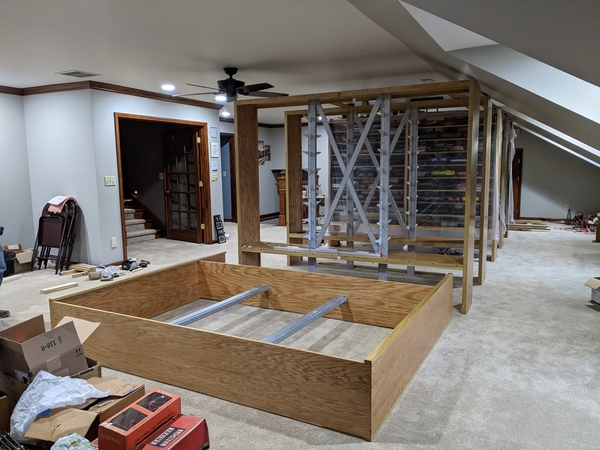
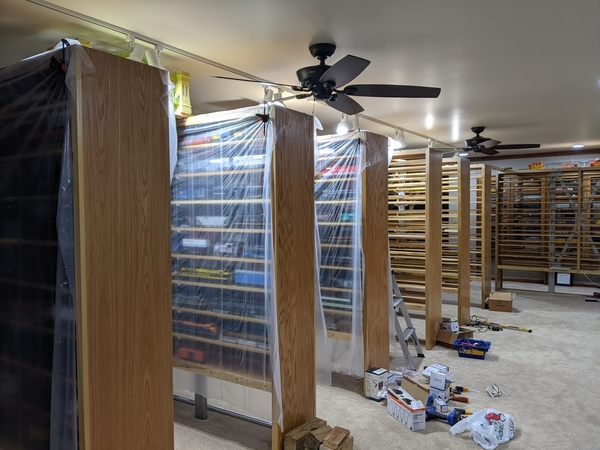
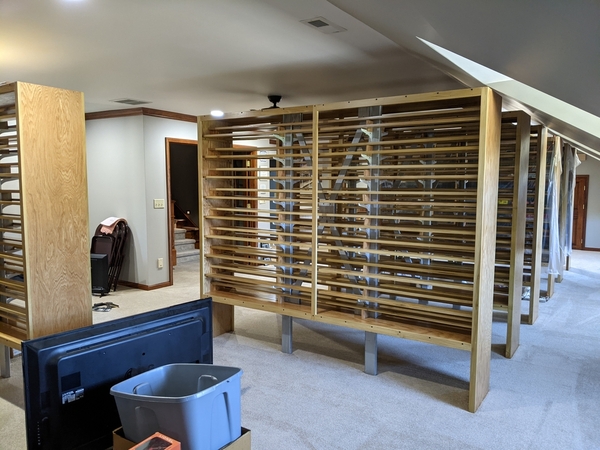
We finally finished our display cases and have started the process of populating them with trains which is the fun part. We finally get to see our trains on display and not packed away in boxes. Our display cases are tiered shelves where the back shelf on each row is elevated about 2 3/4 higher than the front shelf. Each shelf will hold about 300 items plus or minus depending on the length of some of the engines or other extended length cars.

PXL_20211029_223247408PXL_20211118_012750406PXL_20211106_164919410

Thanks;

idea-thinker

Attachments

Images (3)
  • PXL_20211029_223247408
  • PXL_20211118_012750406
  • PXL_20211106_164919410

We finally finished our display cases and have started the process of populating them with trains which is the fun part. We finally get to see our trains on display and not packed away in boxes. Our display cases are tiered shelves where the back shelf on each row is elevated about 2 3/4 higher than the front shelf. Each shelf will hold about 300 items plus or minus depending on the length of some of the engines or other extended length cars.


Thanks;

idea-thinker

WOW!

I'm confused though- I see skylights and a sloping roof line to the right like an attic, but stairs going up to the left?

Bob

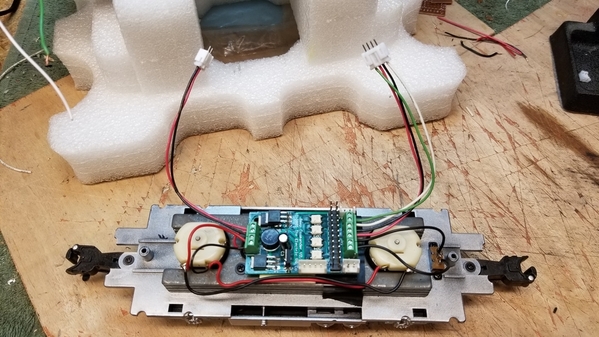
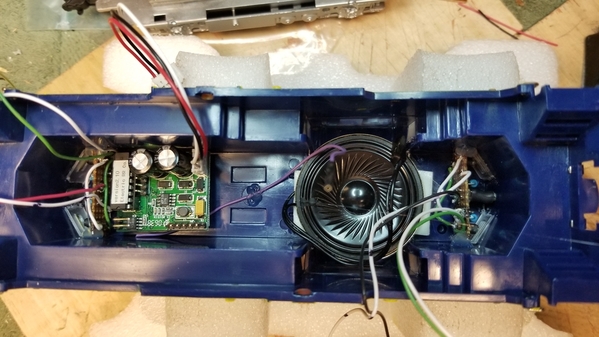
The BEEP is starting to look like something again. Got the main boards permanently installed and wired, after replacing two of the original wires that broke . And began putting the lighting in place.

To be continued.......

2021-11-20 17.22.532021-11-20 17.47.542021-11-20 18.28.23

I just hope and pray I can fit the shell back on the chassis. So far I think so but can't say for sure yet.

Bob

Attachments

Images (3)
  • 2021-11-20 17.22.53
  • 2021-11-20 17.47.54
  • 2021-11-20 18.28.23
@RSJB18 posted:

The BEEP is starting to look like something again. Got the main boards permanently installed and wired, after replacing two of the original wires that broke . And began putting the lighting in place.

To be continued.......


I just hope and pray I can fit the shell back on the chassis. So far I think so but can't say for sure yet.

Bob

Looking good Bob. I wish I had your patients and skills.

Idea-thinker, that sure is alot of train storage! WOW a 3 level house, you must be young as my knees could never handle that many steps anymore! Sounds like a great train room, do you have dumb waiter to move the cars up to the train room?

Bob, I sure hope you got everything working correct! That sure is alot of work, but is going to be wonderful looking!

Well I went out and painted some bare plywood and hope to place some buildings in my industrial area. Sorry no photos as we all know how fun it is to watch paint dry! LOL

@mike g. posted:

Idea-thinker, that sure is alot of train storage! WOW a 3 level house, you must be young as my knees could never handle that many steps anymore! Sounds like a great train room, do you have dumb waiter to move the cars up to the train room?

Bob, I sure hope you got everything working correct! That sure is alot of work, but is going to be wonderful looking!

Well I went out and painted some bare plywood and hope to place some buildings in my industrial area. Sorry no photos as we all know how fun it is to watch paint dry! LOL

Mike;

       We have an elevator that spans all floors. Comes in handy.


Thanks;

idea-thinker

Idea Thinker, the showcases look great!  Your home sounds like you have thought of everything!  Oh, that's why you are Idea Thinker!!    I just follow the KISStupid principle myself! 

Bob, I expected a great looking job on the BEEP and the perseverance to get it all working!

John, they look great!  Yes it is sad K-Line is no longer in business!

Iron Horse Mike, both creepers look great!  Yes, at 65 I am defiantly in the category of not liking being under a layout anymore. 

Speaking of under the layout, at our work session on Thursday 2 other retired guys in the new 'club' were talking about 24" high table for children to see the layout well.  I agree, but oh my aching back just working on prep and painting while the tabletops were on sawhorses!  I'm going to let the younger guys tackle the low stuff.  What will I do if we ever have grandchildren!!!    Today, I drug out the Lionel North Pole Central 0-4-0 and caboose, lubed and made a test run.  I also found a box to transport my ZW, PE Hero Boy House, and selected 3 cars.  Tomorrow evening is another work time with everyone.  I'll get some photographs here sometime of this project that is a trial for a possible new club in the Zelienople and Butler County, Pa area.

For the past few months I have been reassigning some of my rolling stock to the Duluth Missabe & Iron Range RR (DM&IR).   As of yesterday, I have completed eleven prototypical cars: a PS2 covered hopper for transporting dome sand, a flat car with tie load, a gondola loaded with pulpwood, one tanker dedicated for loco lube oil, two tank cars for potable water and five general purpose box cars.   All are now in service, serving “My World”.    In spite of some gremlins, it's been a good two months!

Cheers, Dave

Attachments

Videos (1)
IMG_5580
Last edited by darlander

Add Reply

Post

OGR Publishing, Inc., 1310 Eastside Centre Ct, Suite 6, Mountain Home, AR 72653
800-980-OGRR (6477)
www.ogaugerr.com

×
×
×
×
Link copied to your clipboard.
×
×